In a few days my baby boy will be turning 11. I really have to keep saying it over and over again, because I honestly just don’t believe it. Gone are the days of asking for a new toy for his birthday. This year it was drum lessons, video games and high tops. But not just any high tops. He wanted custom high tops. I’ve realized that I am the most un-hip person on the face of the planet. When I went shopping I didn’t even know where to begin. (I think there should be a place where you can rent a hipster – someone that can go with moms like me who are obviously not cool anymore and show them where to shop and what to buy. And of course they would need a catchy phone number – 1-800-GET-COOL or something.) Anyways. I came up with NOTHING.
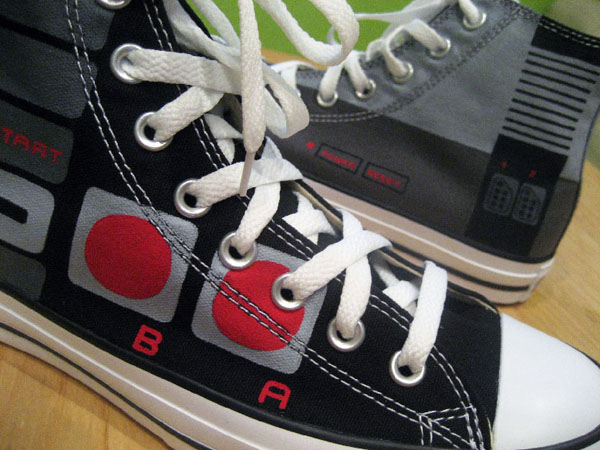
So I did the next logical thing and Googled. I saw tons of cool things that were way out of my artistic abilities ( and trust me, there isn’t a ton of artistic ability in me!) But when I saw these I thought, I can do that! Just rectangles right?
Well, we are happy! I was happy that it wasn’t too hard and Josh is happy because, well they are awesome! 🙂 (Drummers need cool shoes you know!)
You will need:
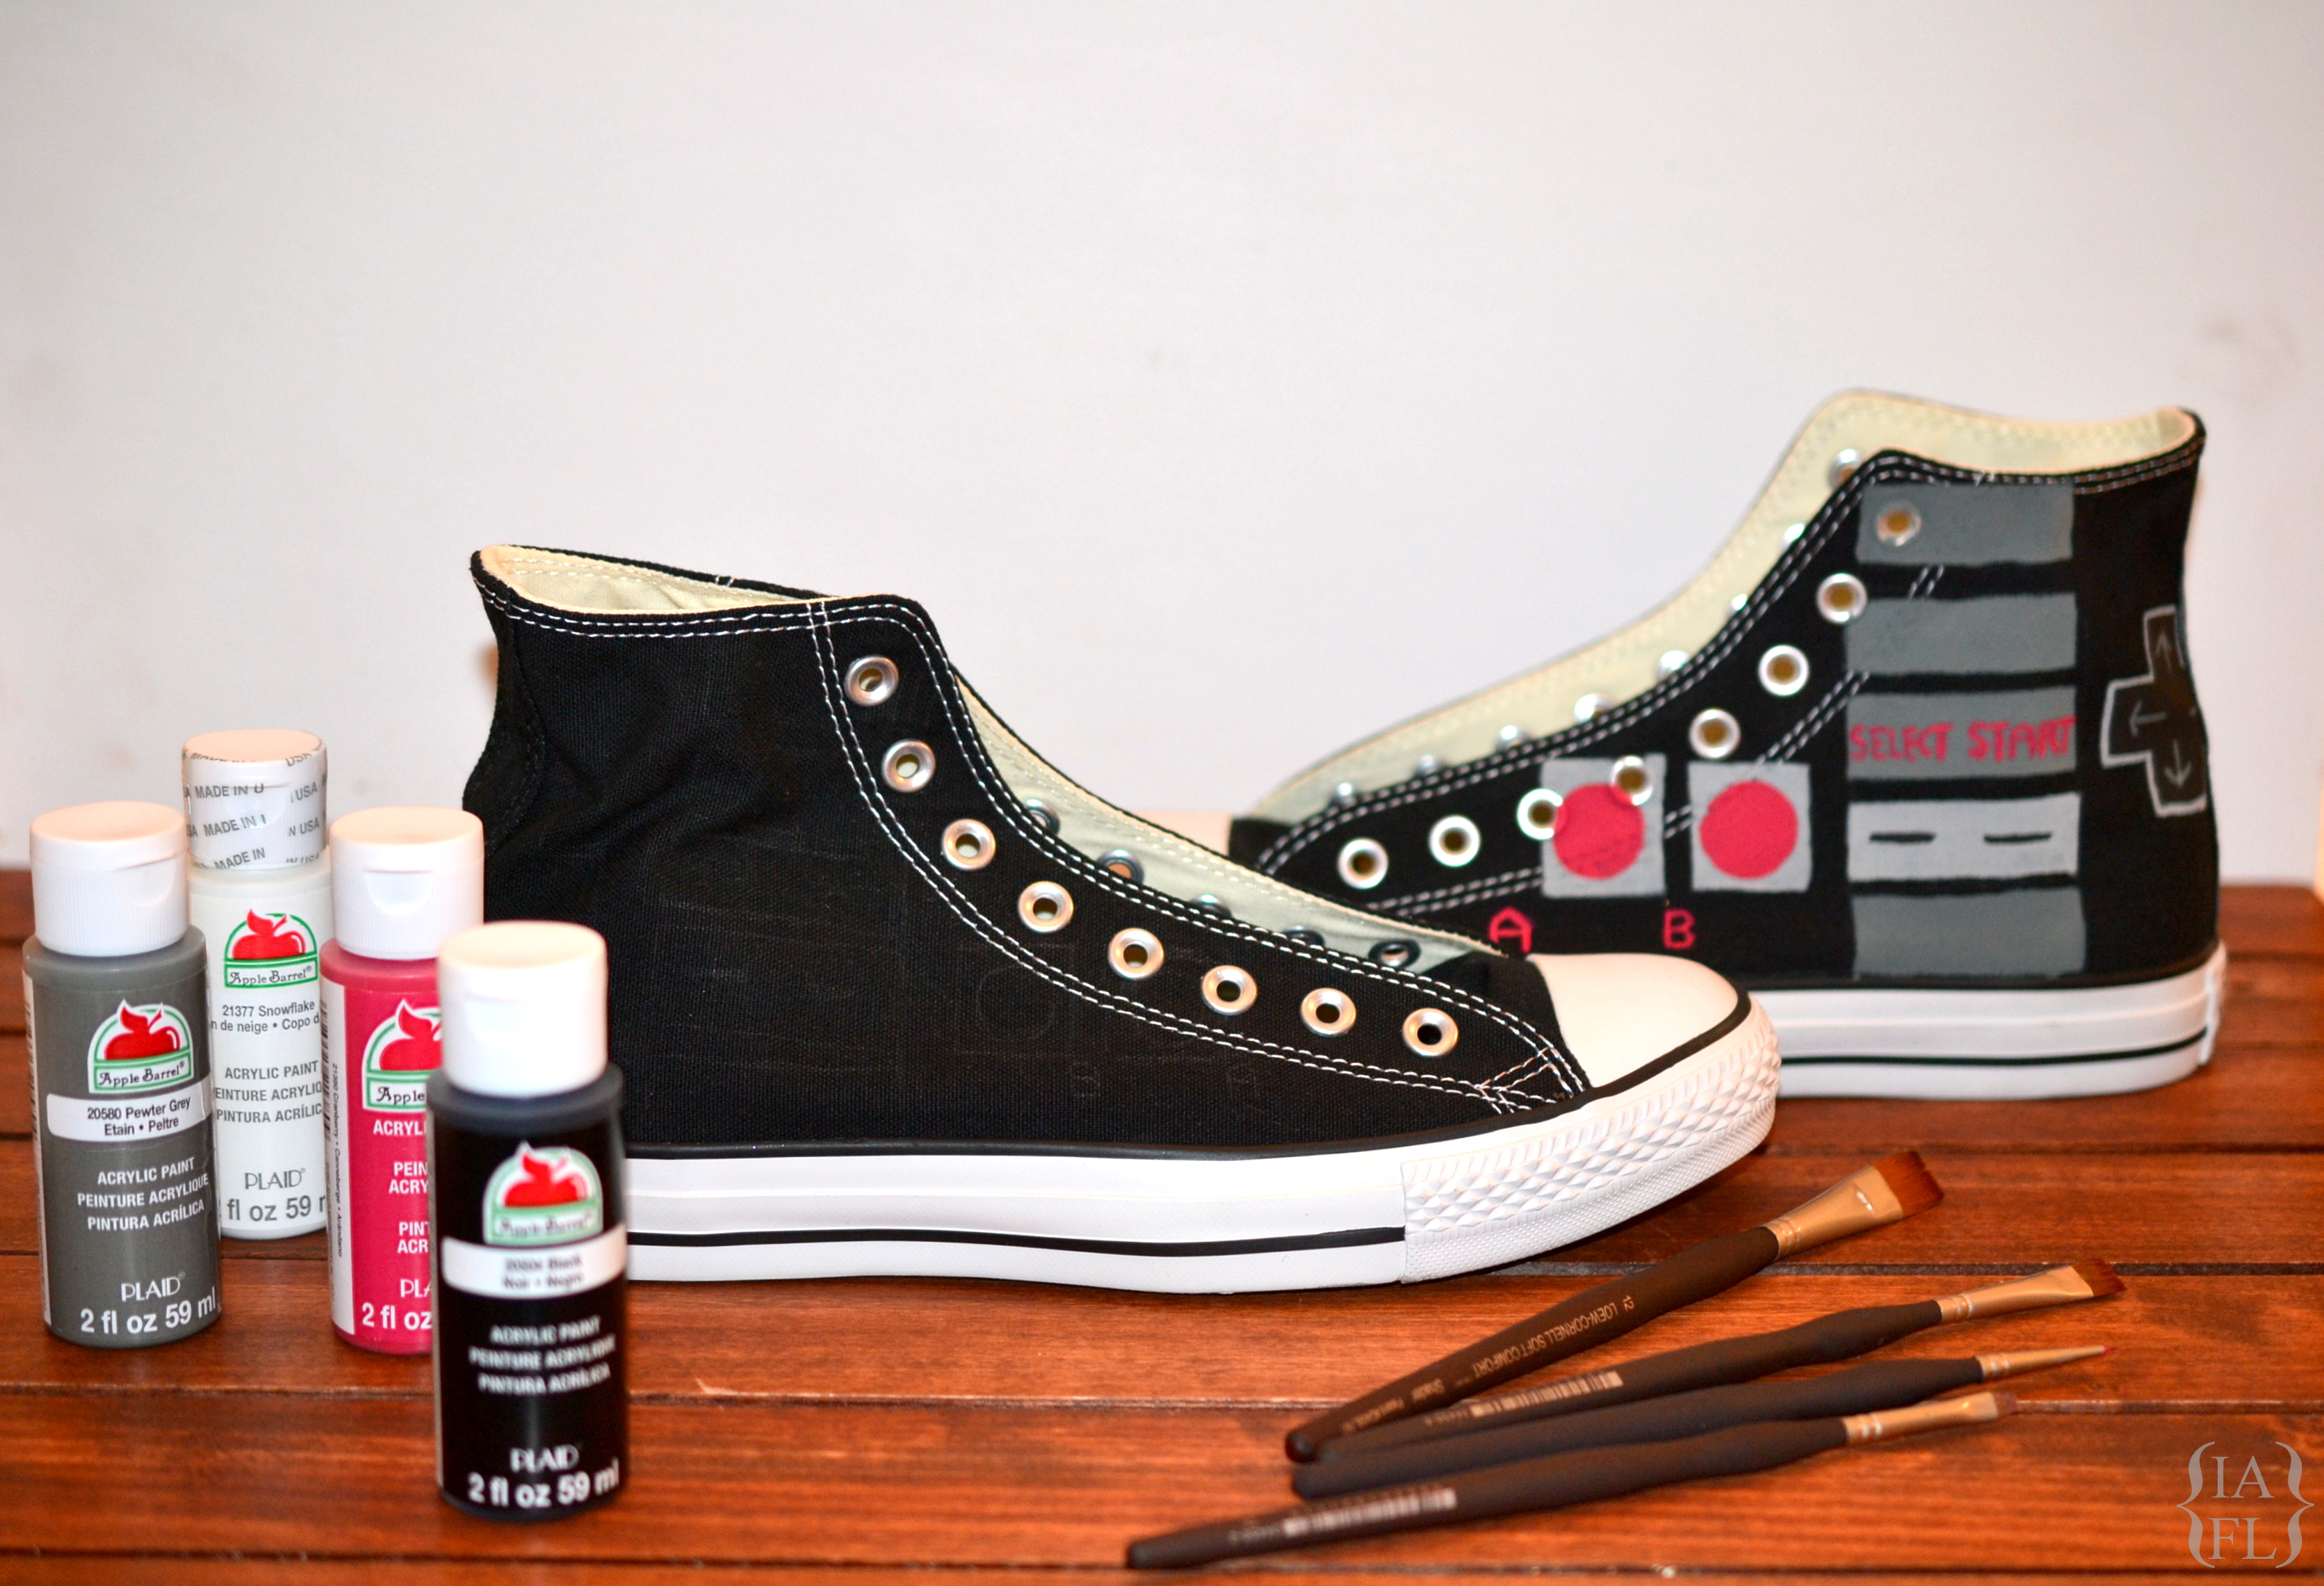
A pair of Converse shoes! (We have plans to paint some slip on shoes too this summer!)
Paint Brushes (This is not a pull out your kid’s watercolor paint brush project. You don’t need the most expensive brushes but some good ones! Here are the ones I used: Spotter, Blender, Shader, & Blender. For the price, I wish I would have also picked up the Wash/Shade Brush set! A slightly bigger brush would have saved time on the bigger areas!)
Since I had the two buttons I also picked up a pack of stencil sponges. (These were only about $3 or $4 at the store I picked them up at!)
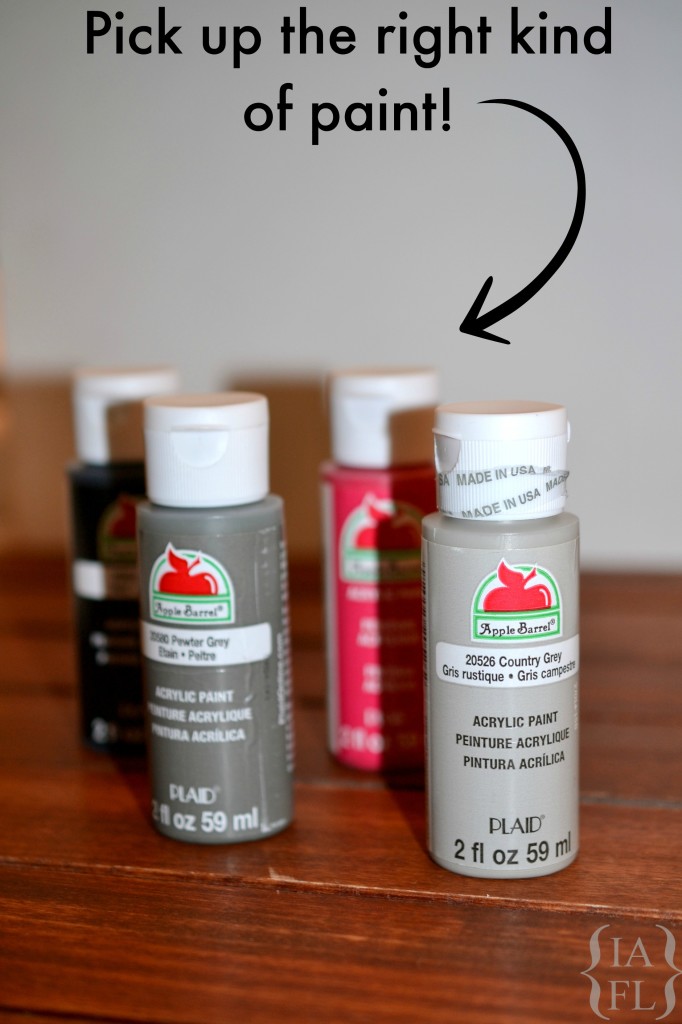
Acrylic paint (I used Apple Barrel by Plaid) Make sure you get acrylic paint!
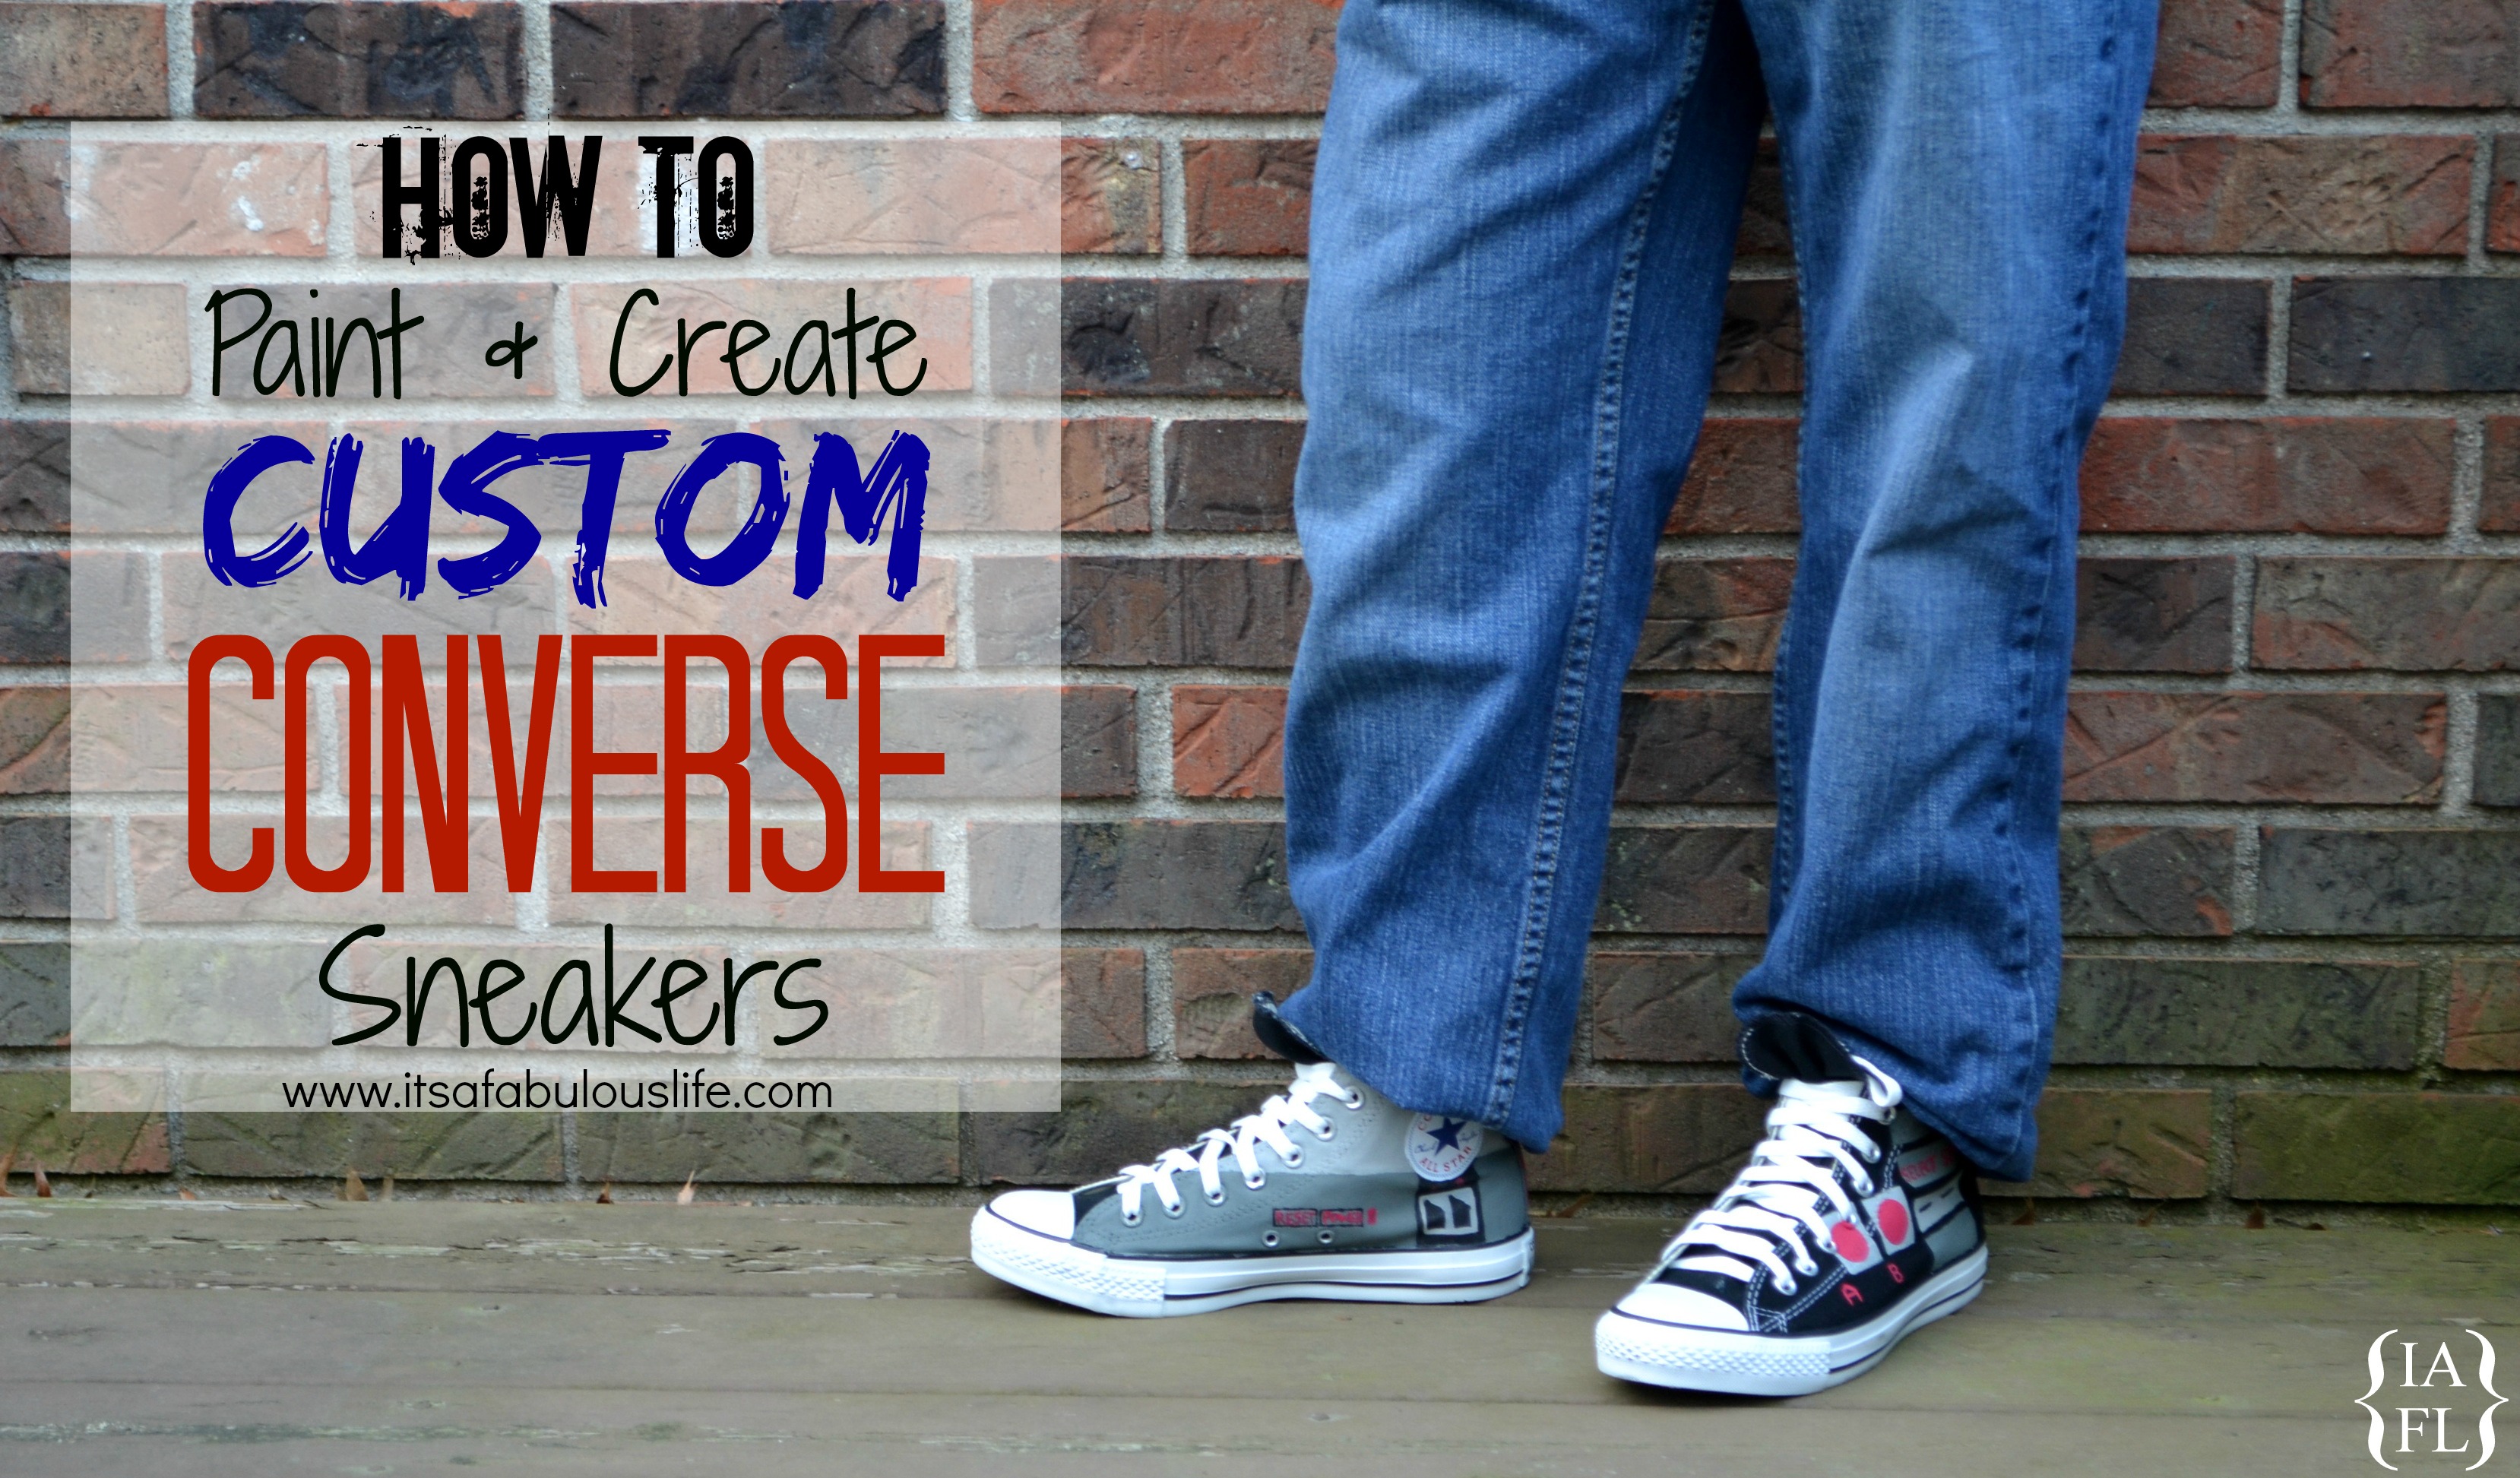
Want to make your own? Here area few things I learned along the way!
– Go ahead and sketch out a rough design on the shoes in pencil.
– Work one shoe at a time! It’s easier!
-Most of the time I was painting I had one hand inside the shoe! It helps to give you some stability.

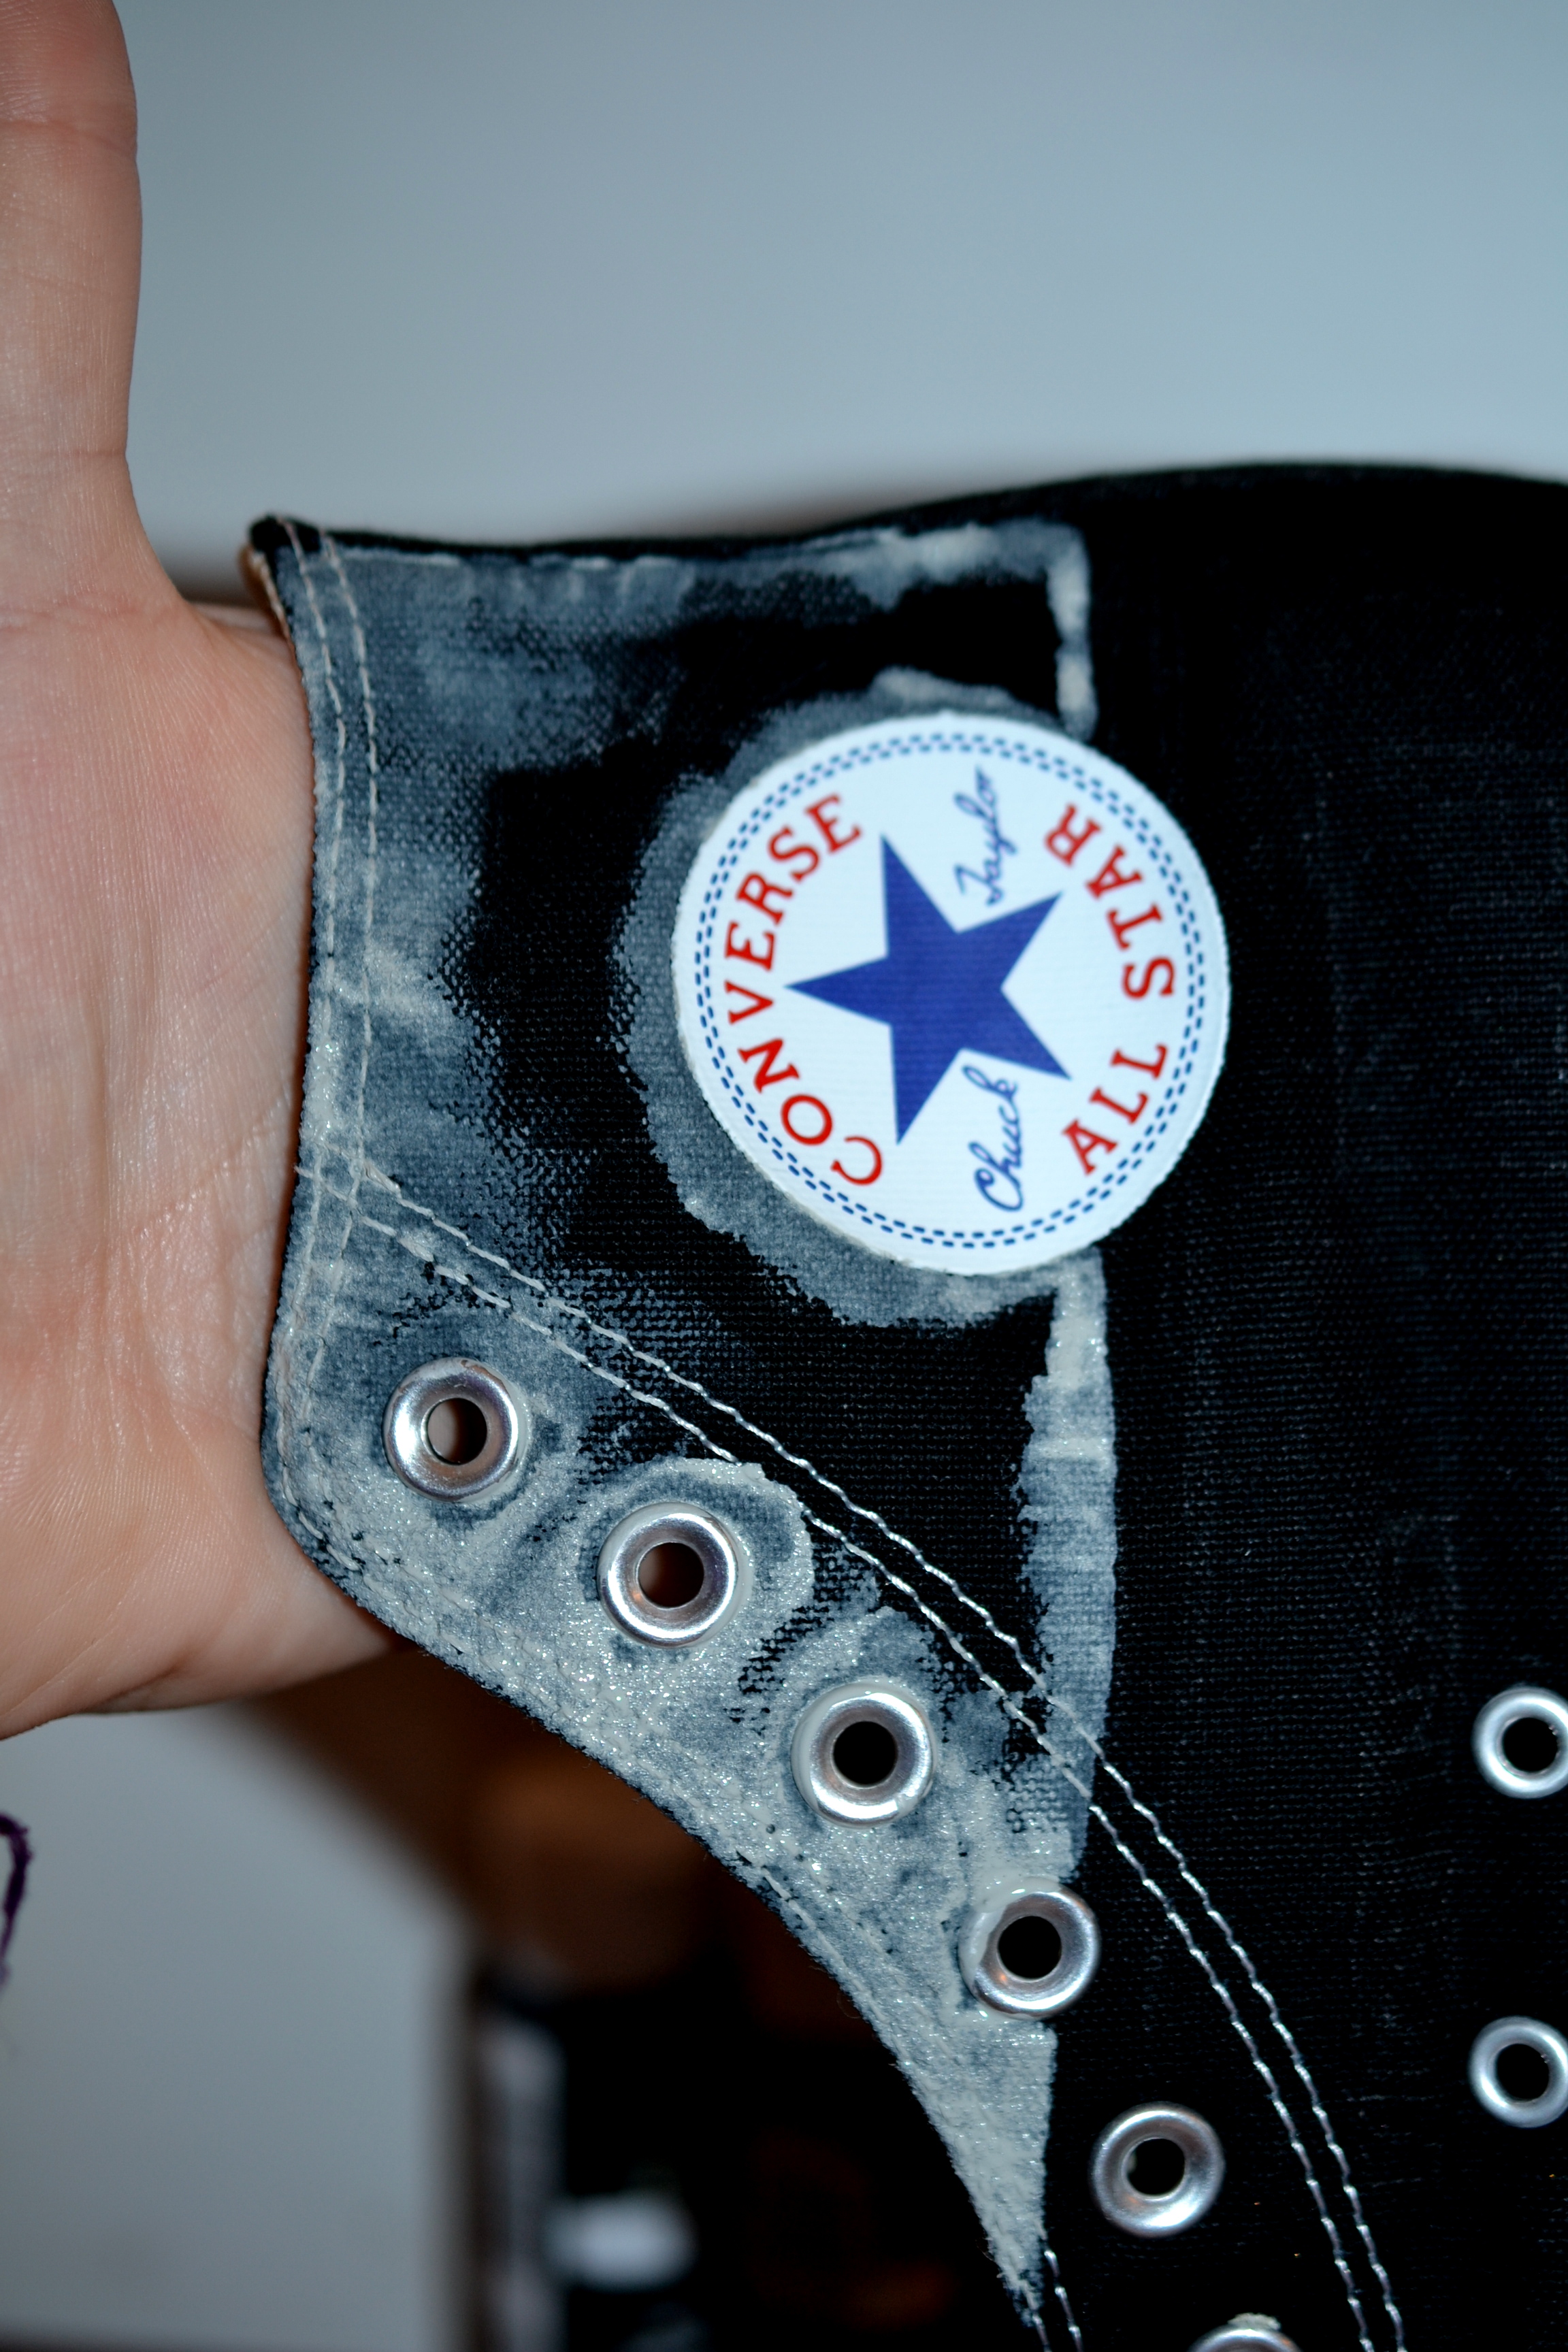
-Do your outlines first and then shade them in. If at first when you are painting, the color isn’t exactly what you were thinking, let it dry and give it another coat! Especially if you are using black shoes! 🙂
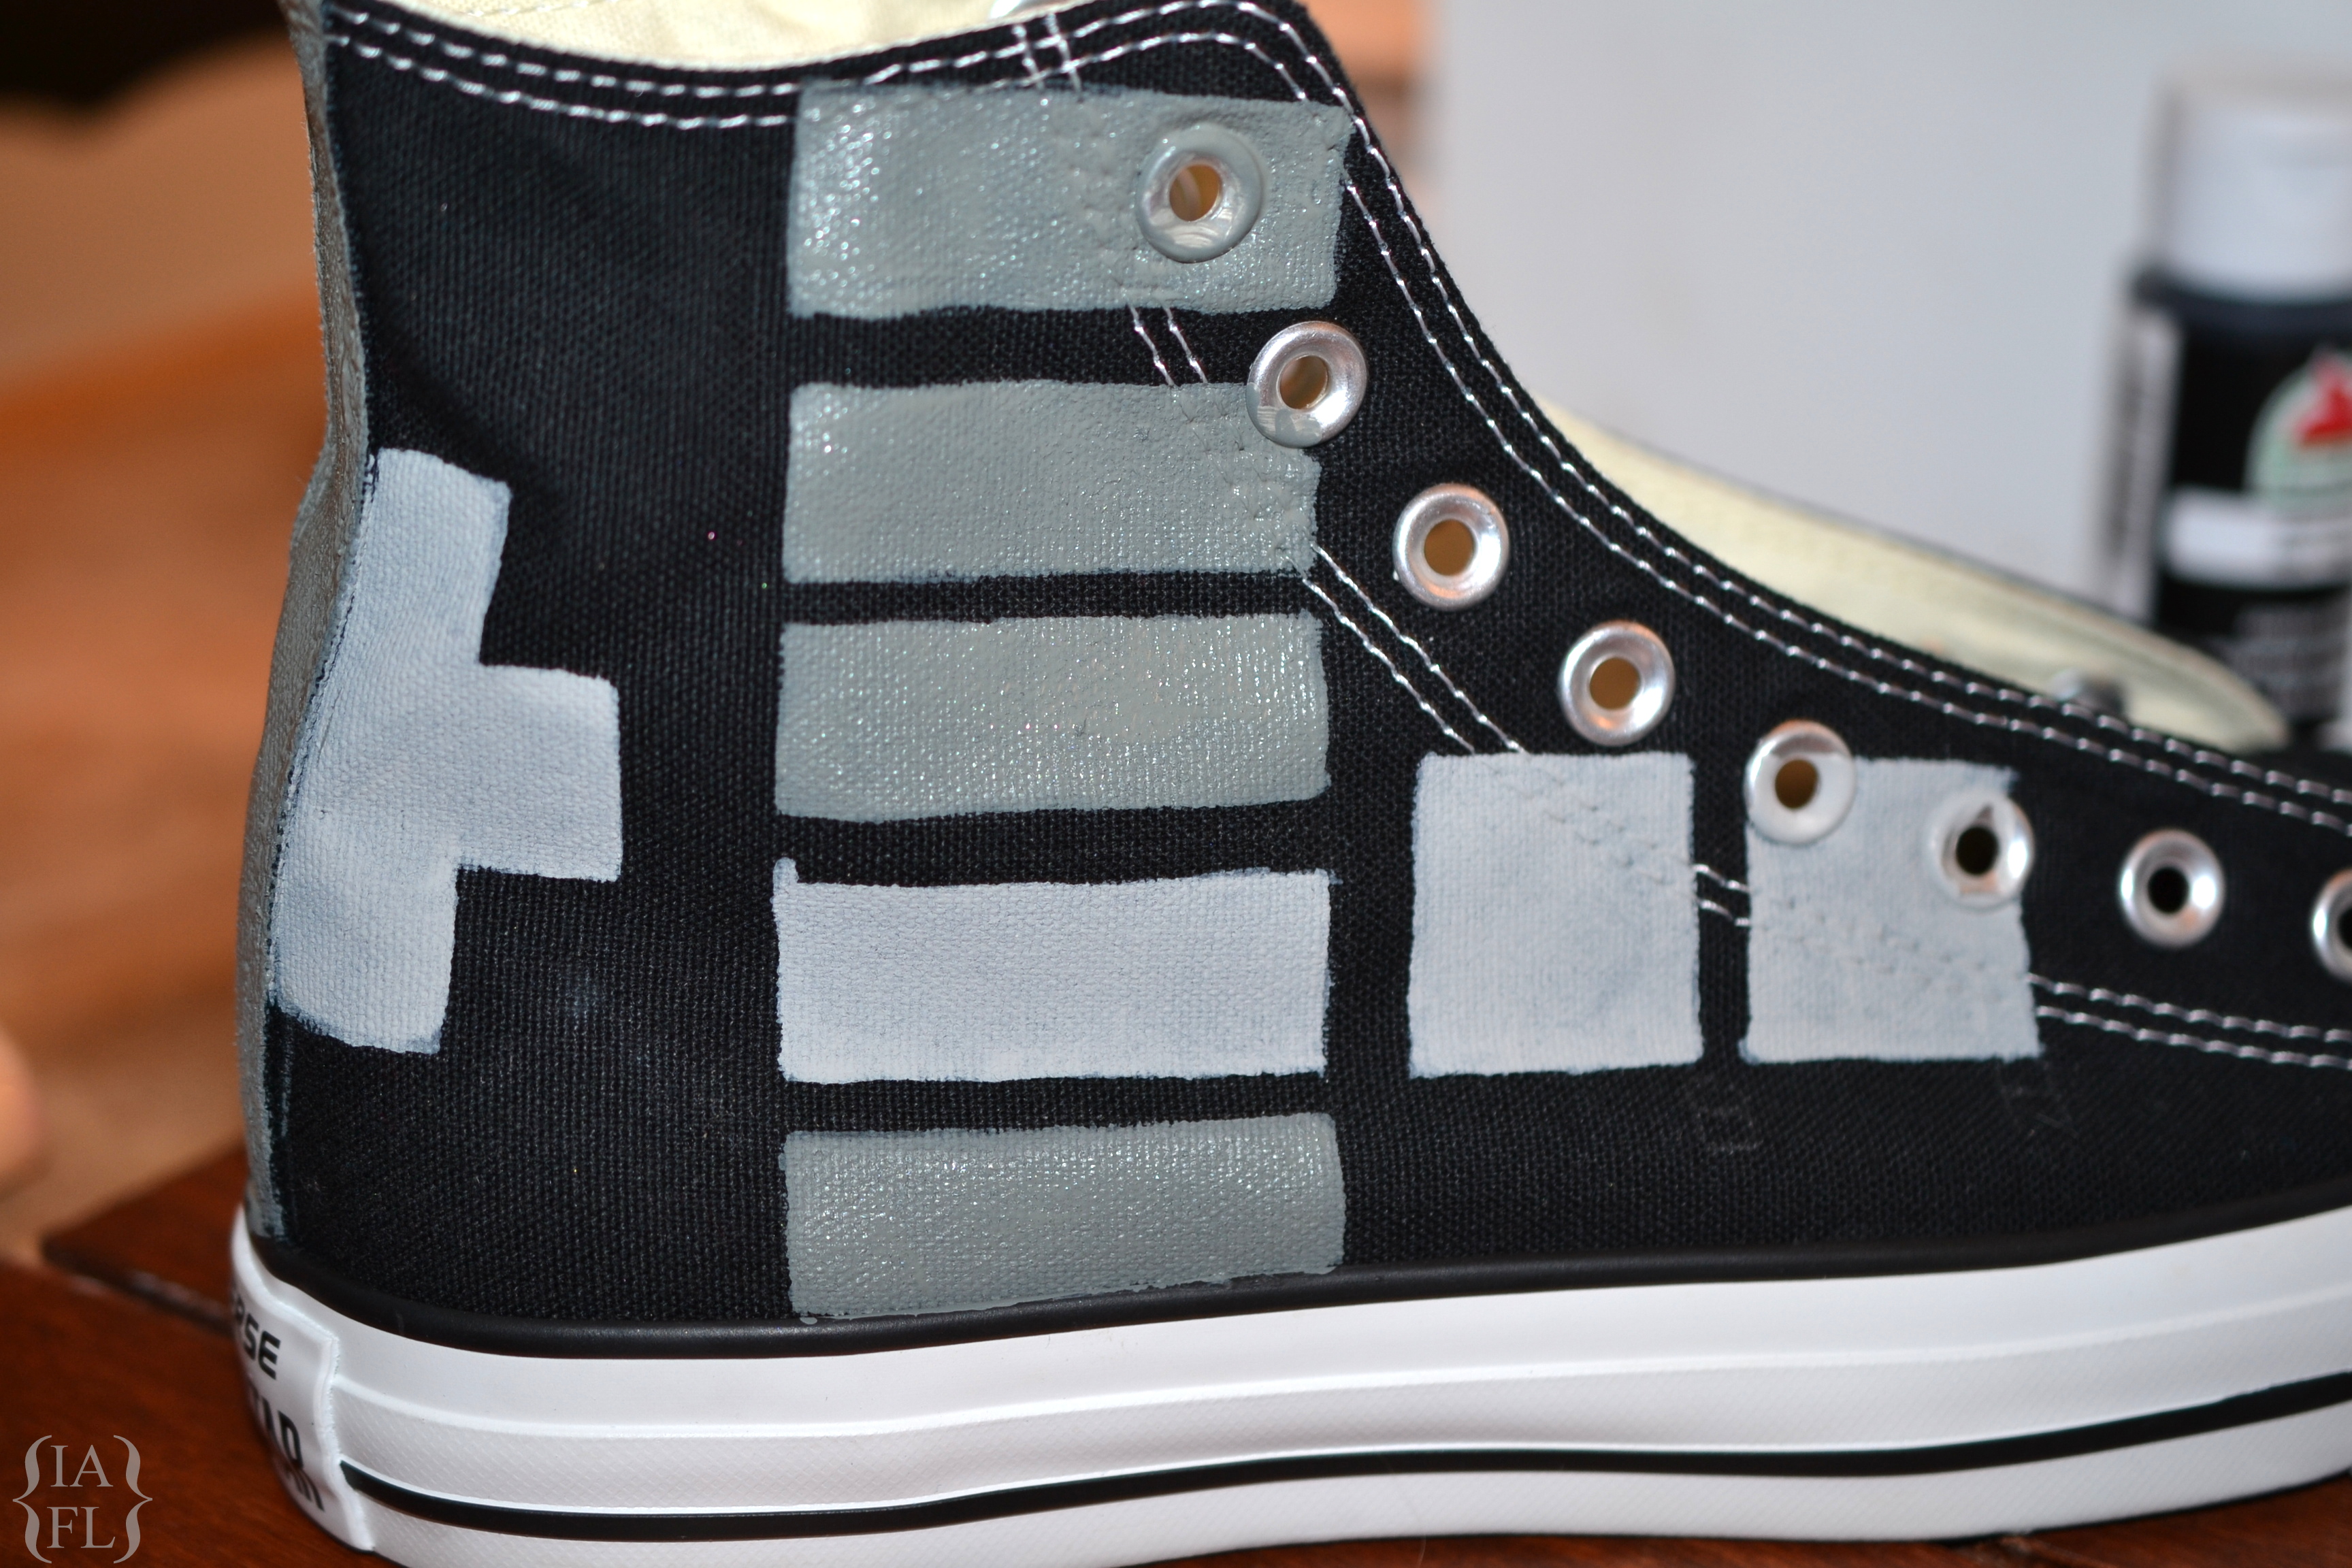
-The shoes are really forgiving! While I did have a light sketch on the I honestly did it mostly free handed. As you can tell above there were some blemishes. But you can always paint over a mistake! (Even on the black where I wasn’t painting anything – a small mistake just took a little black paint and you can’t even tell!) The style we did was a lot of squares and rectangles. This is why having good brushes will come in handy! They make it much, much, much easier to paint a straight line. And if there is a little curve in it – that’s ok! Honestly, no one will notice! Plus, they are hand painted! You will have a little quirk here or there!
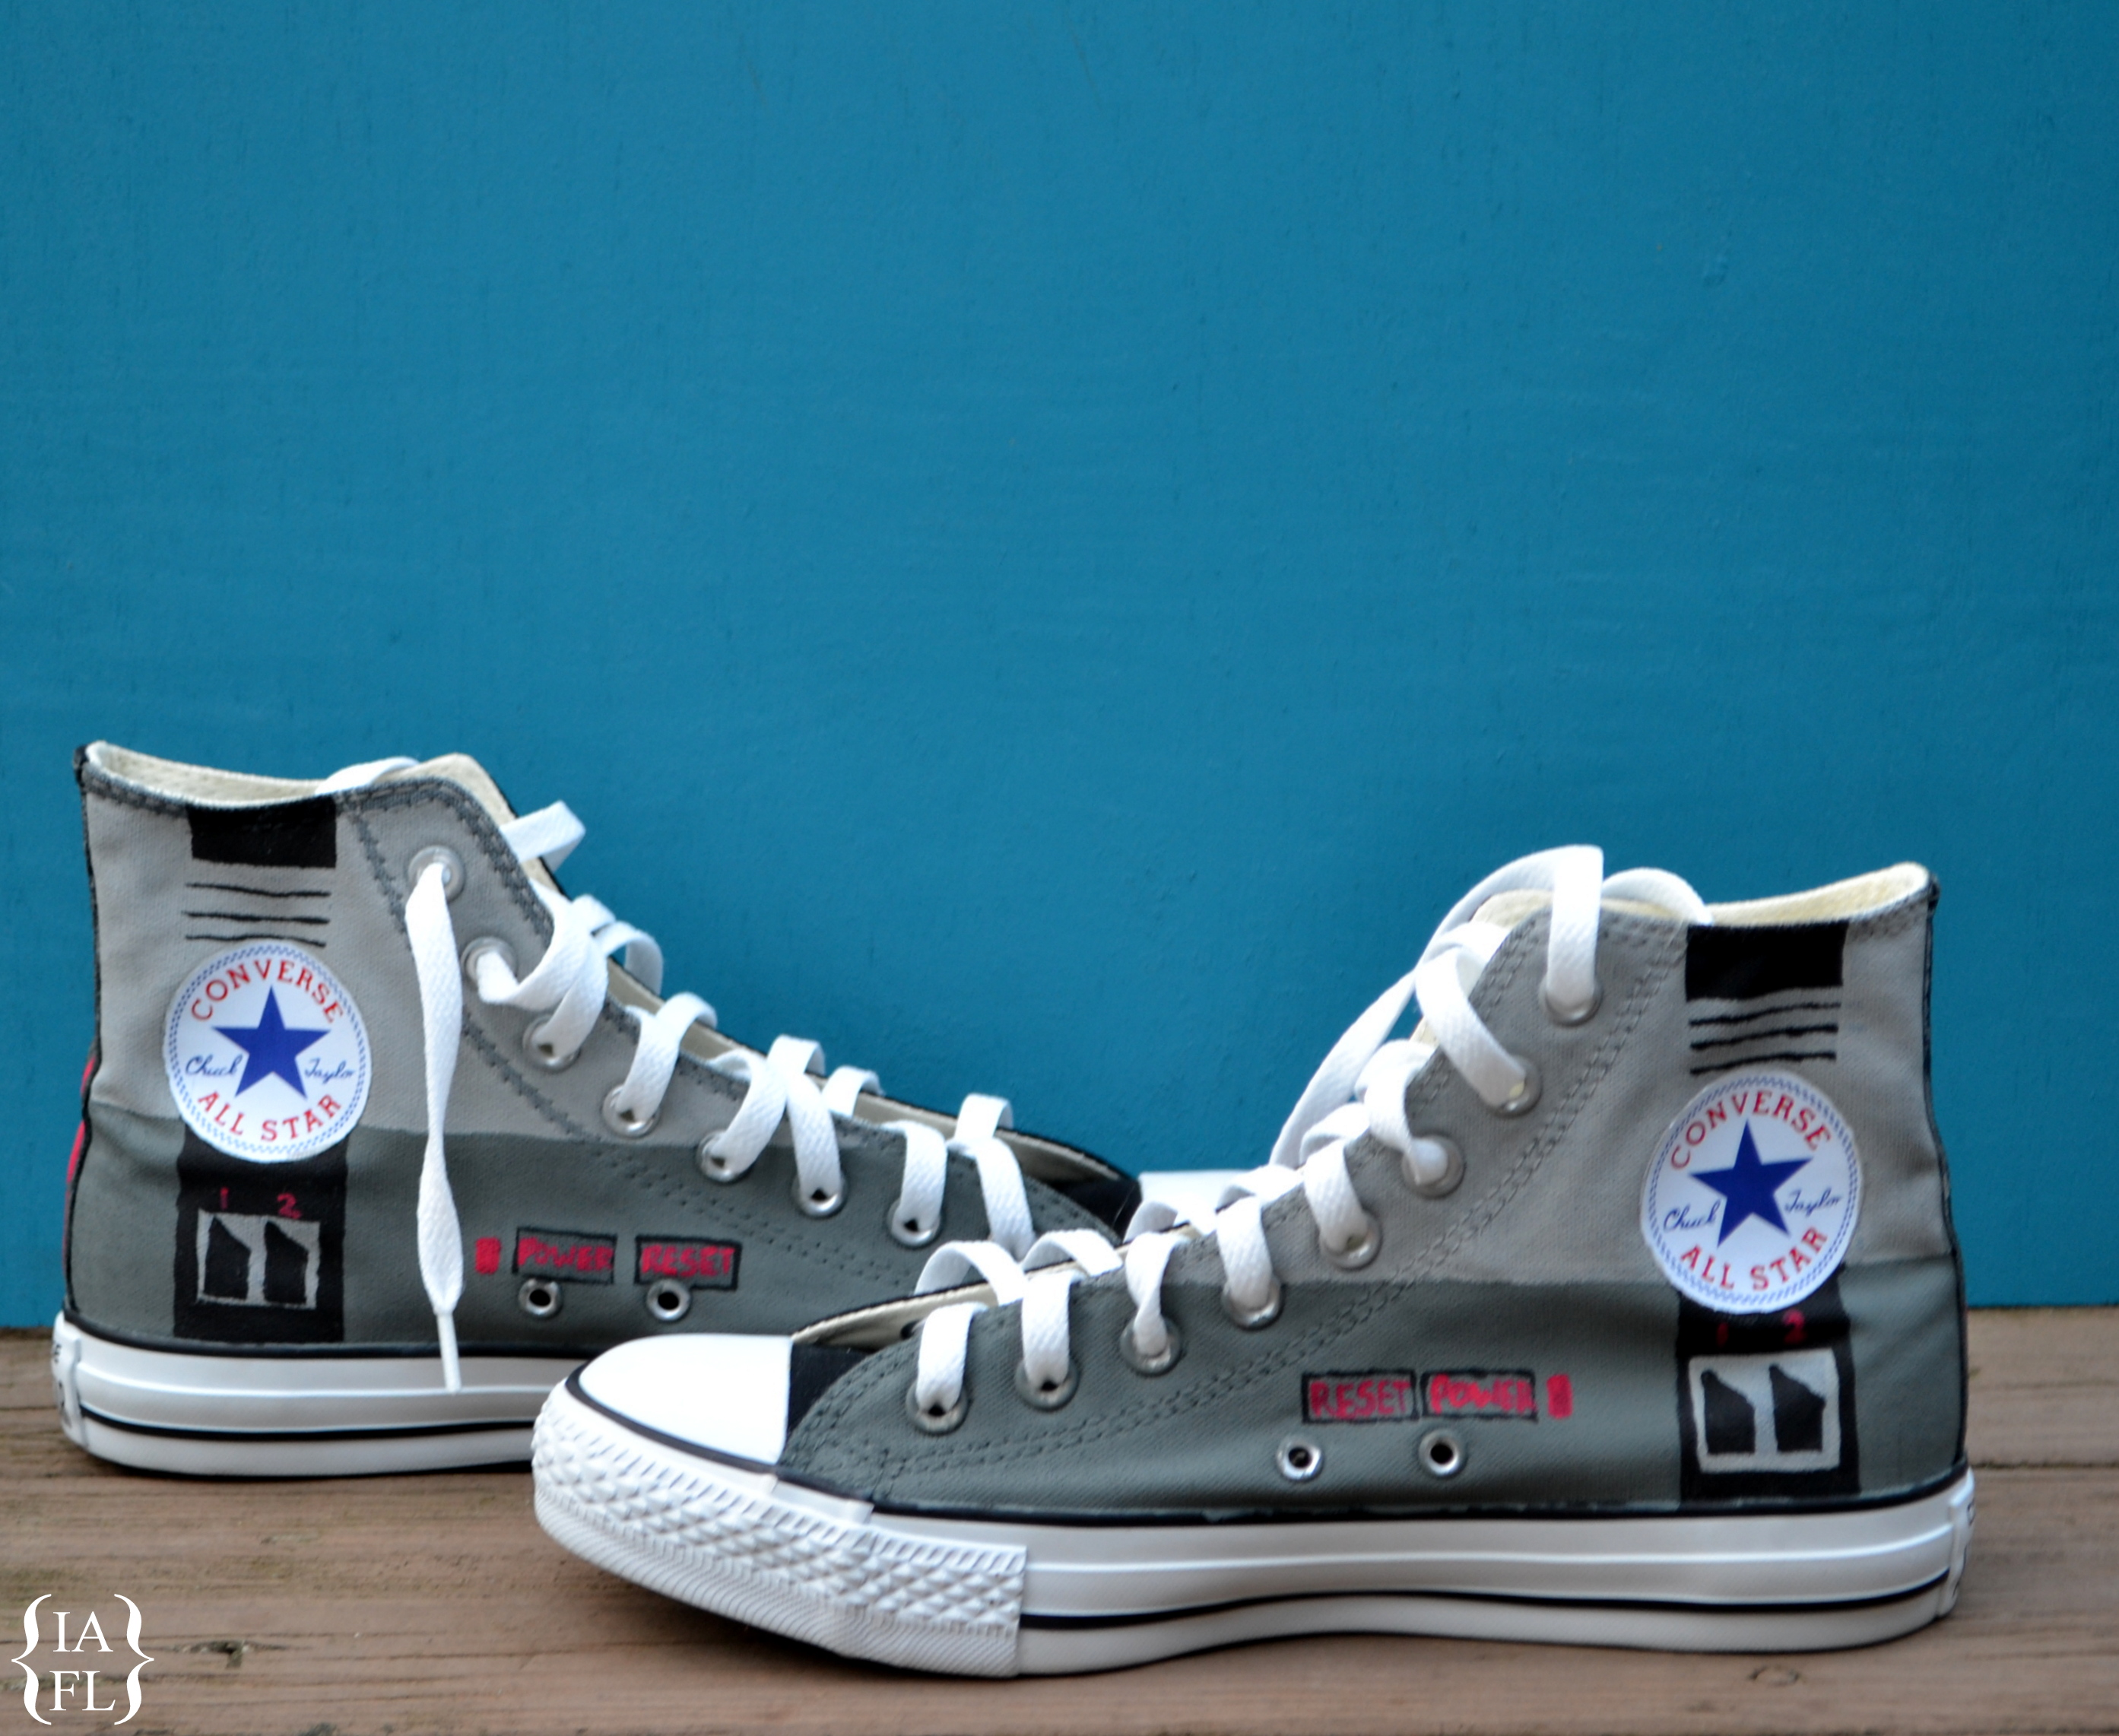
-See? That light grey box with the two black buttons? If you look close you can see where I touched up my mistake with a little black paint to make it look even? See! What mistake? 🙂 Work in layers! The paint will dry pretty quickly! Layering details on top will save you lots of headaches as opposed to tying to work around them!

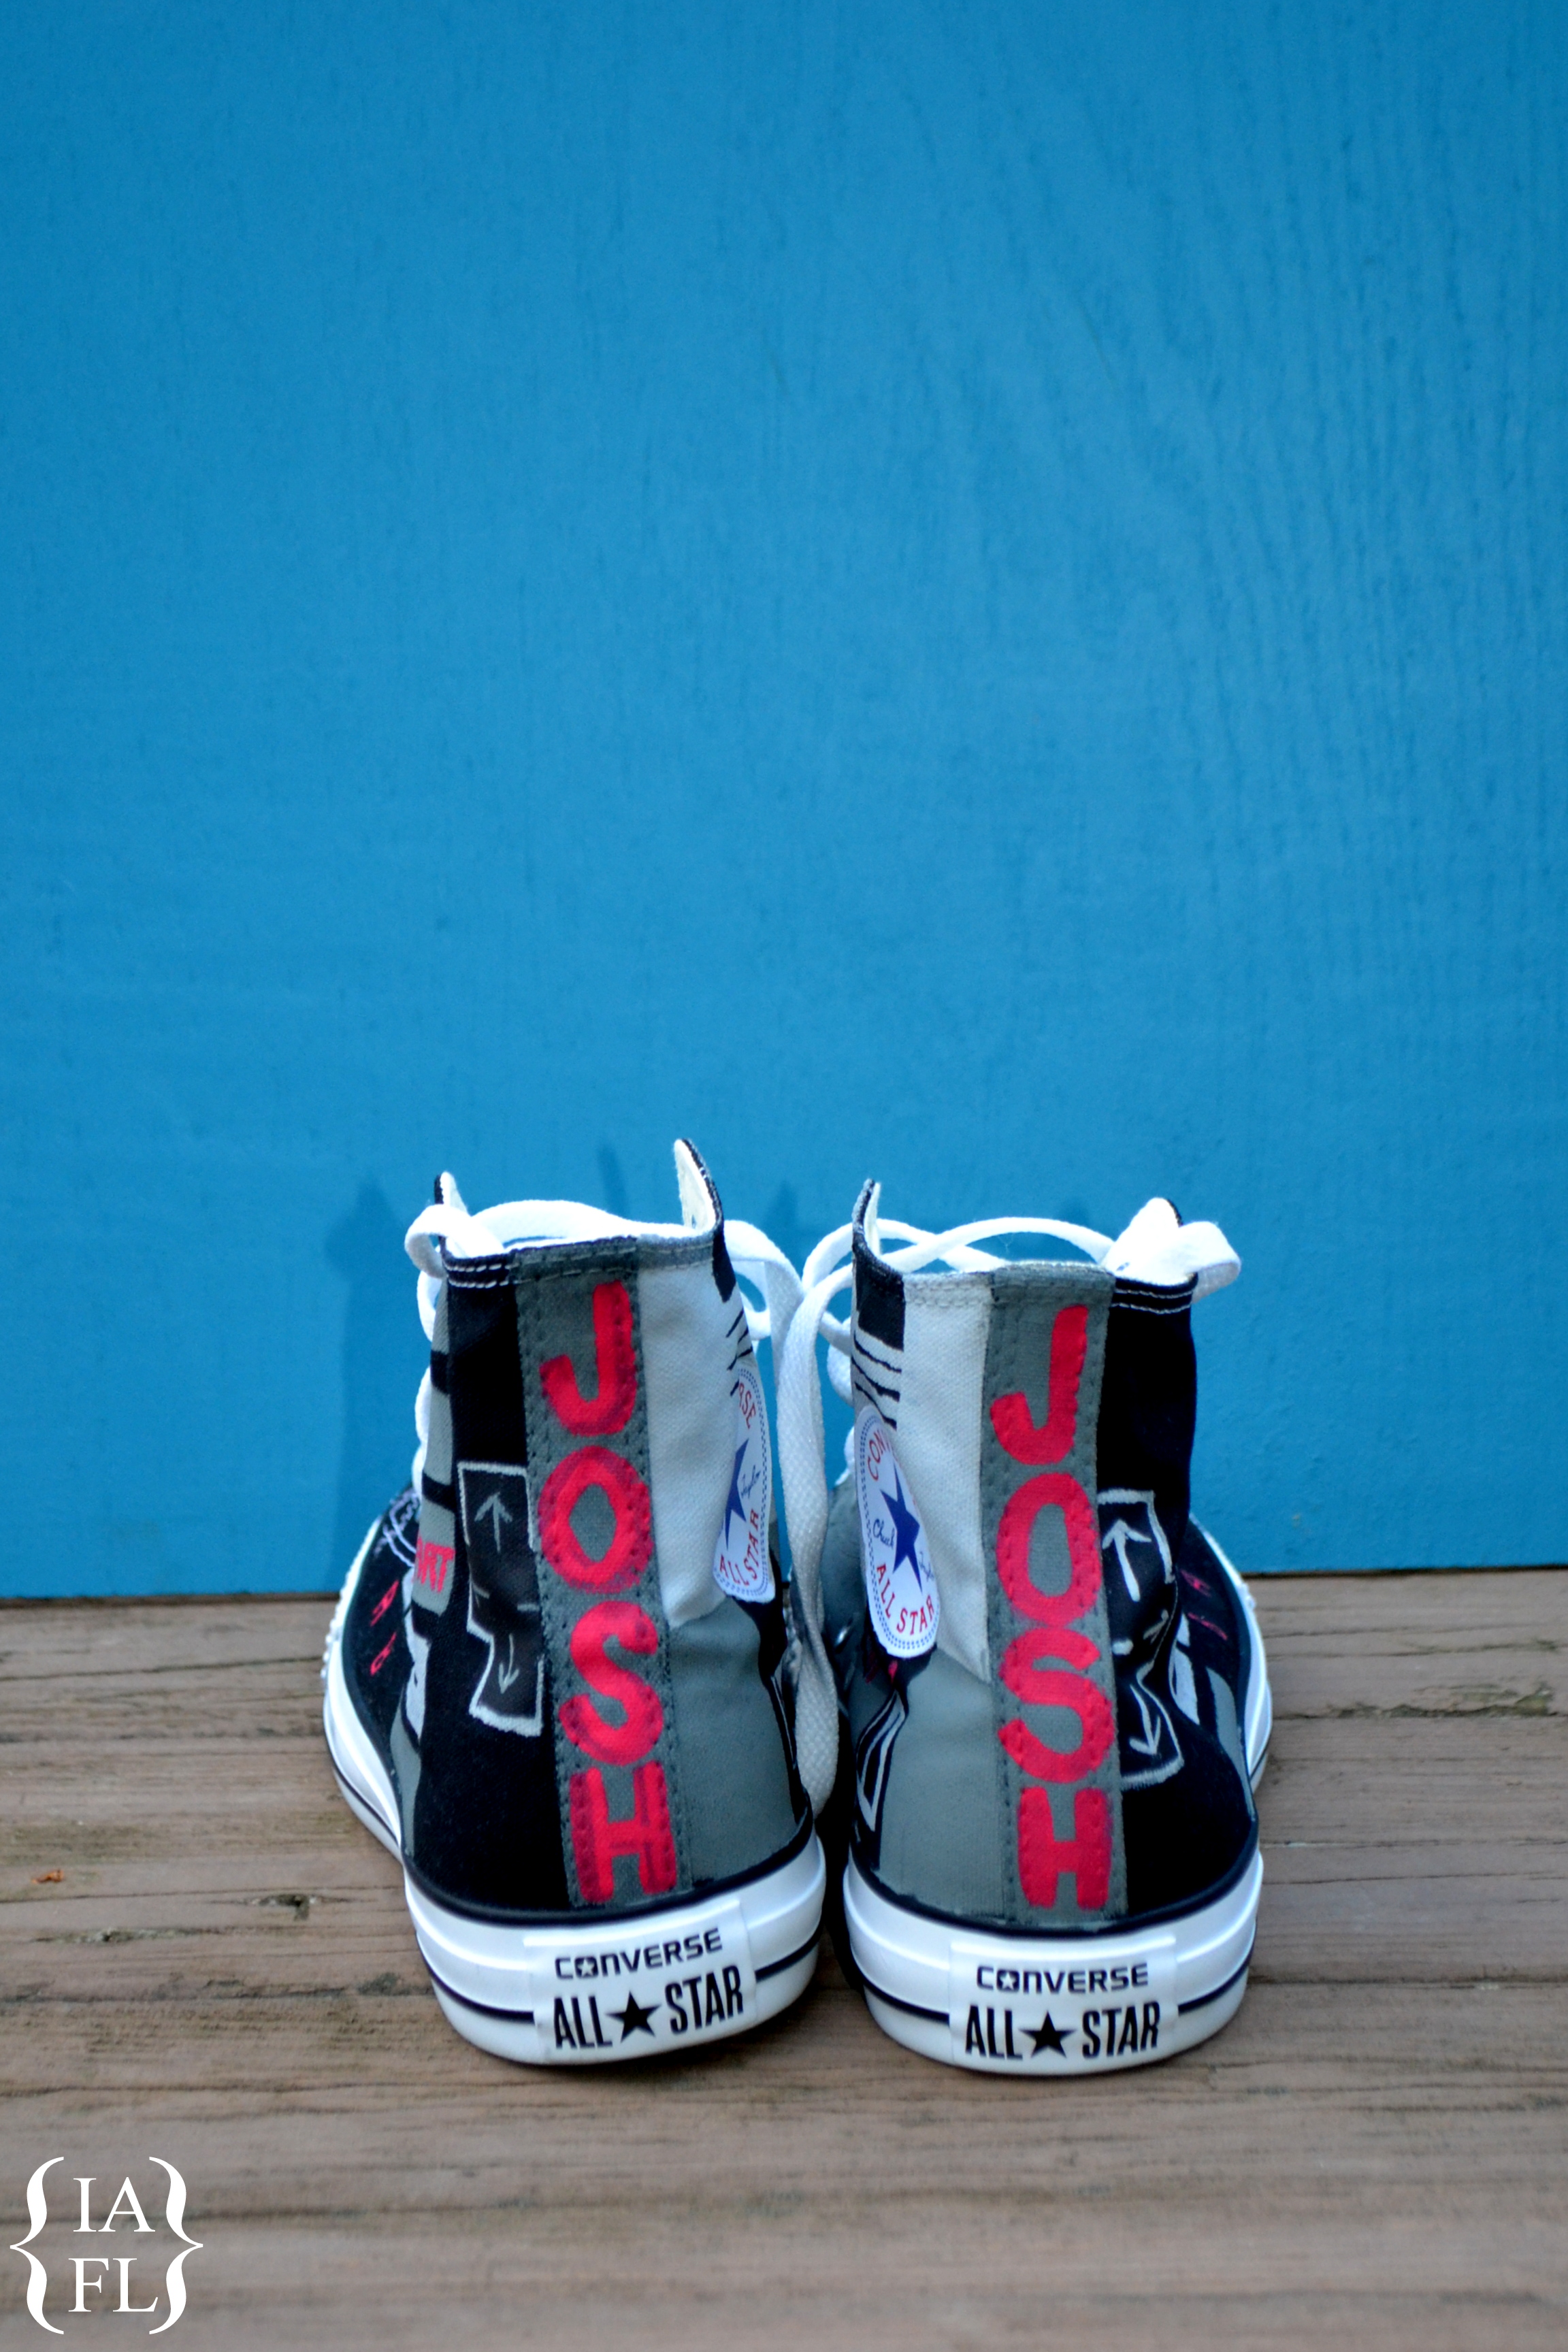
– Add your own touch! We wrote Josh’s name down the backs of his shoes. Not that he would get them mixed up with anyone elses! 😉
-Know that even though they aren’t perfect – they are still 100% cool.
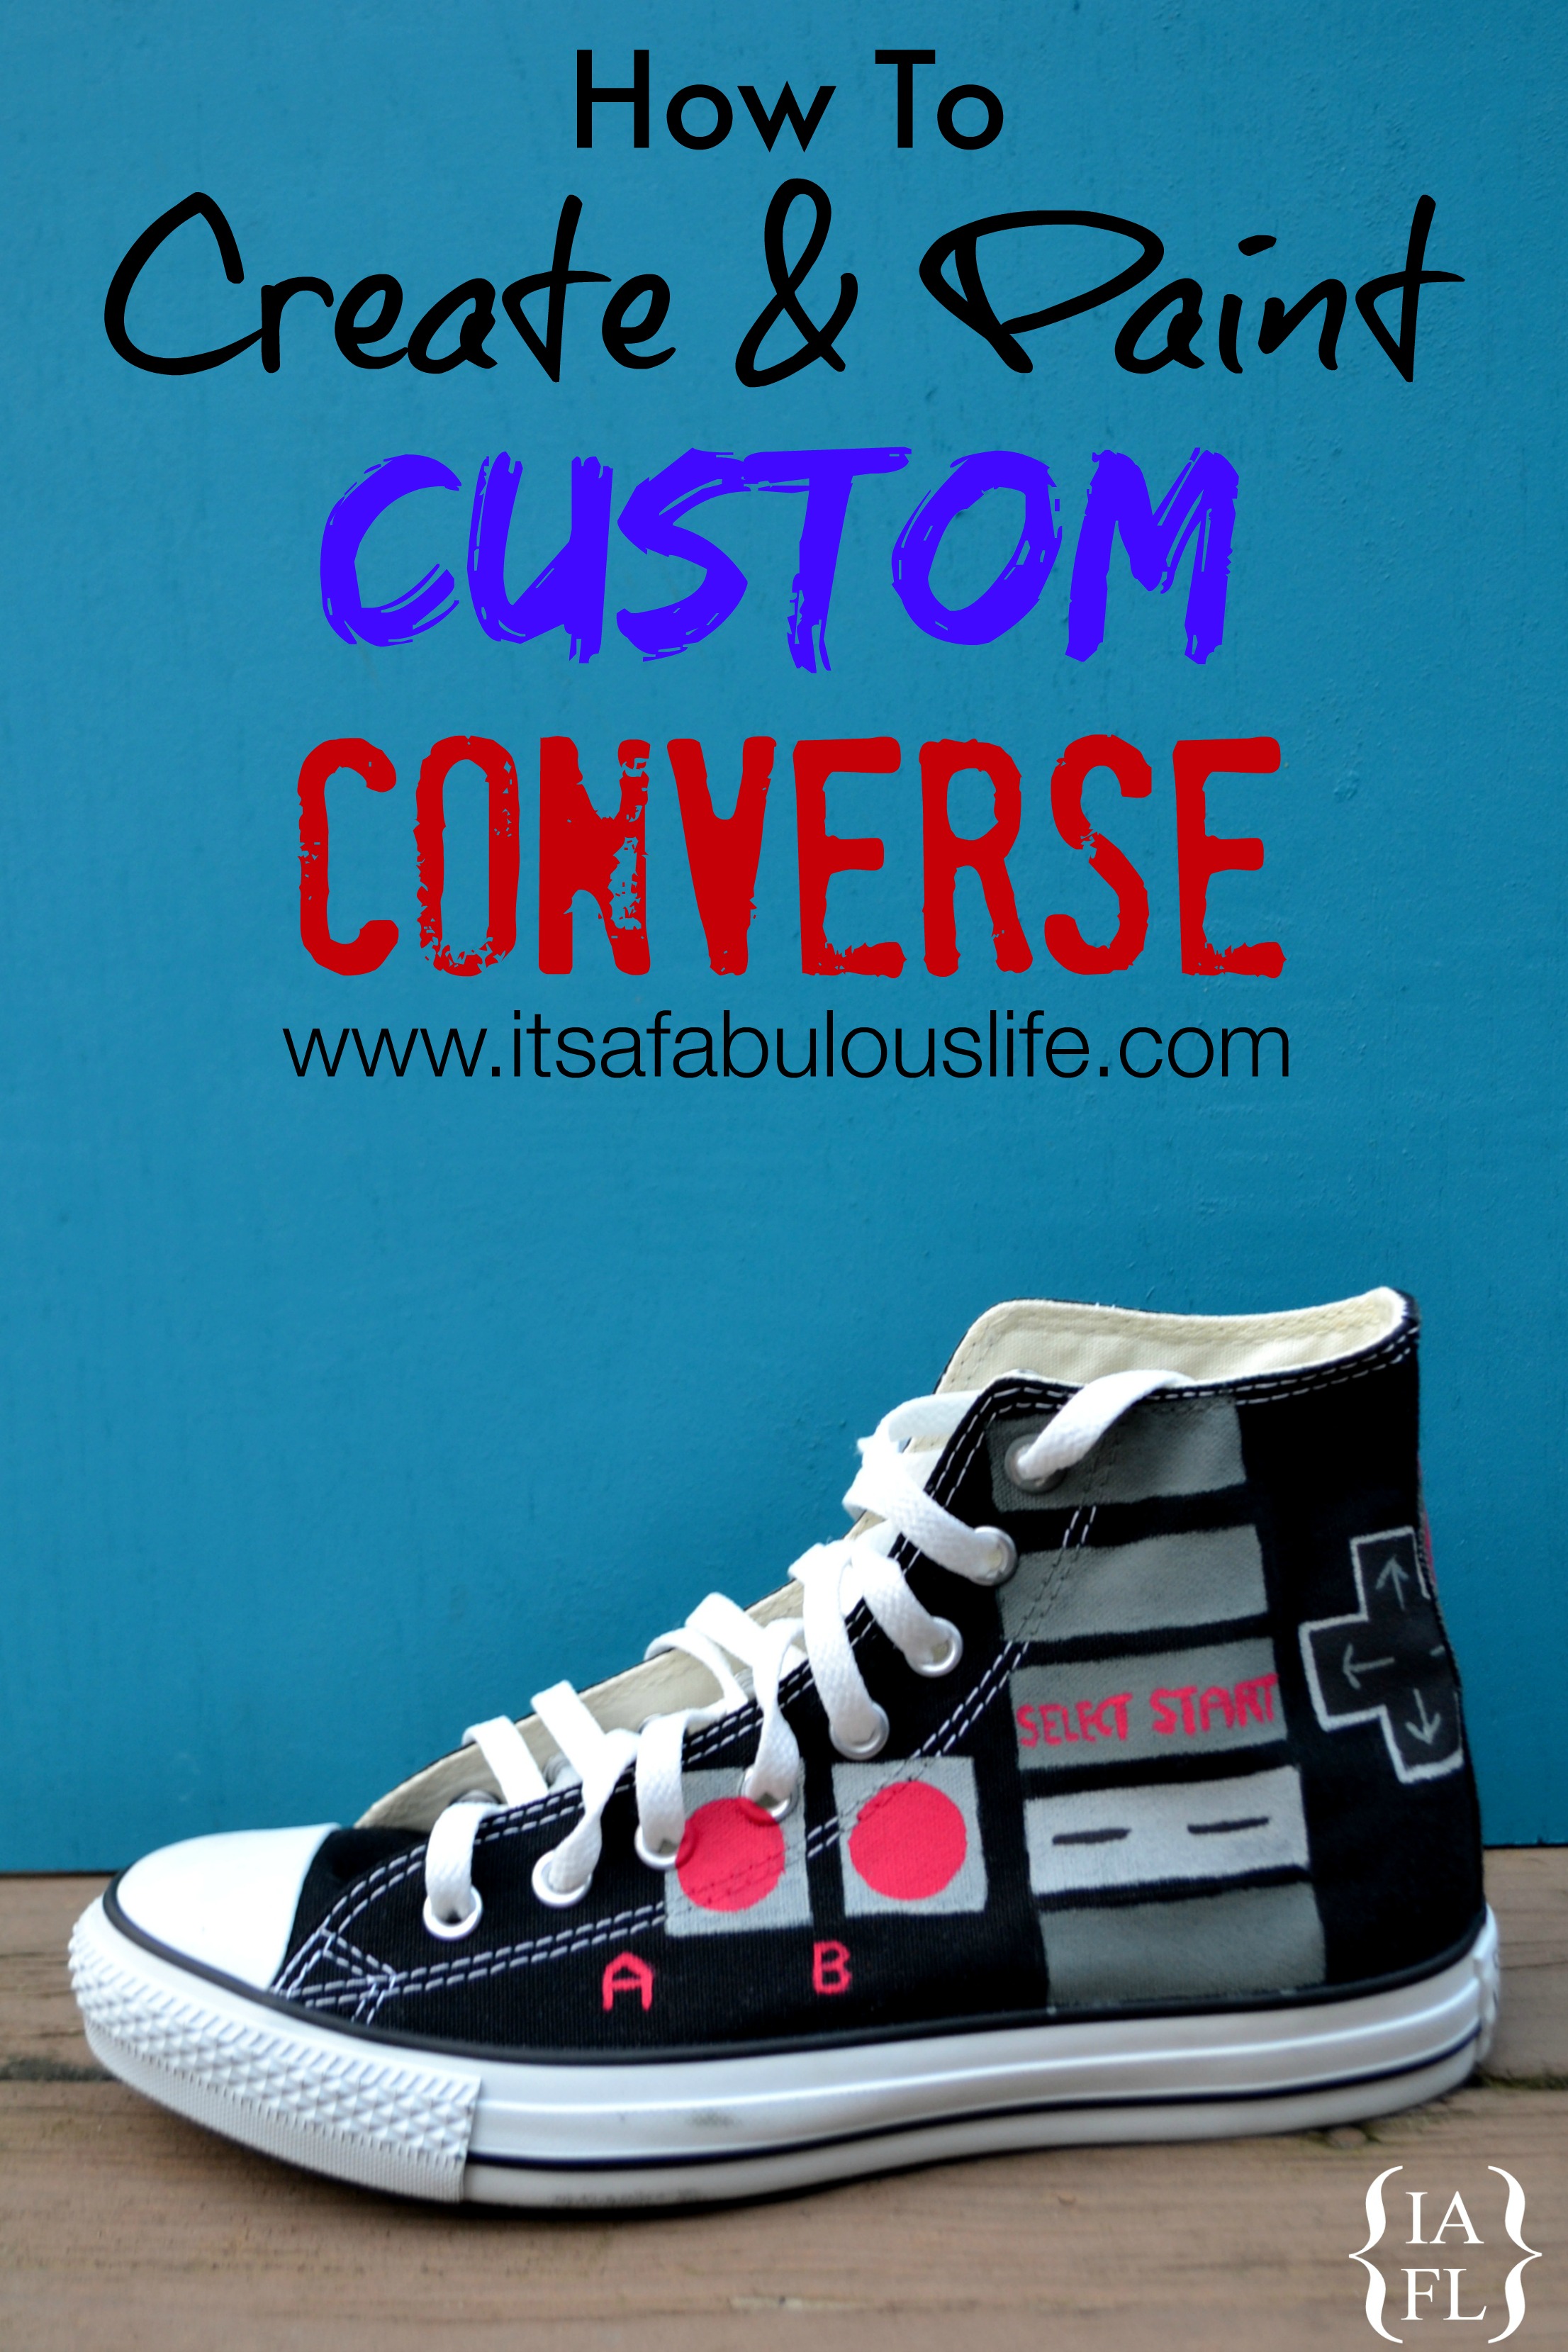
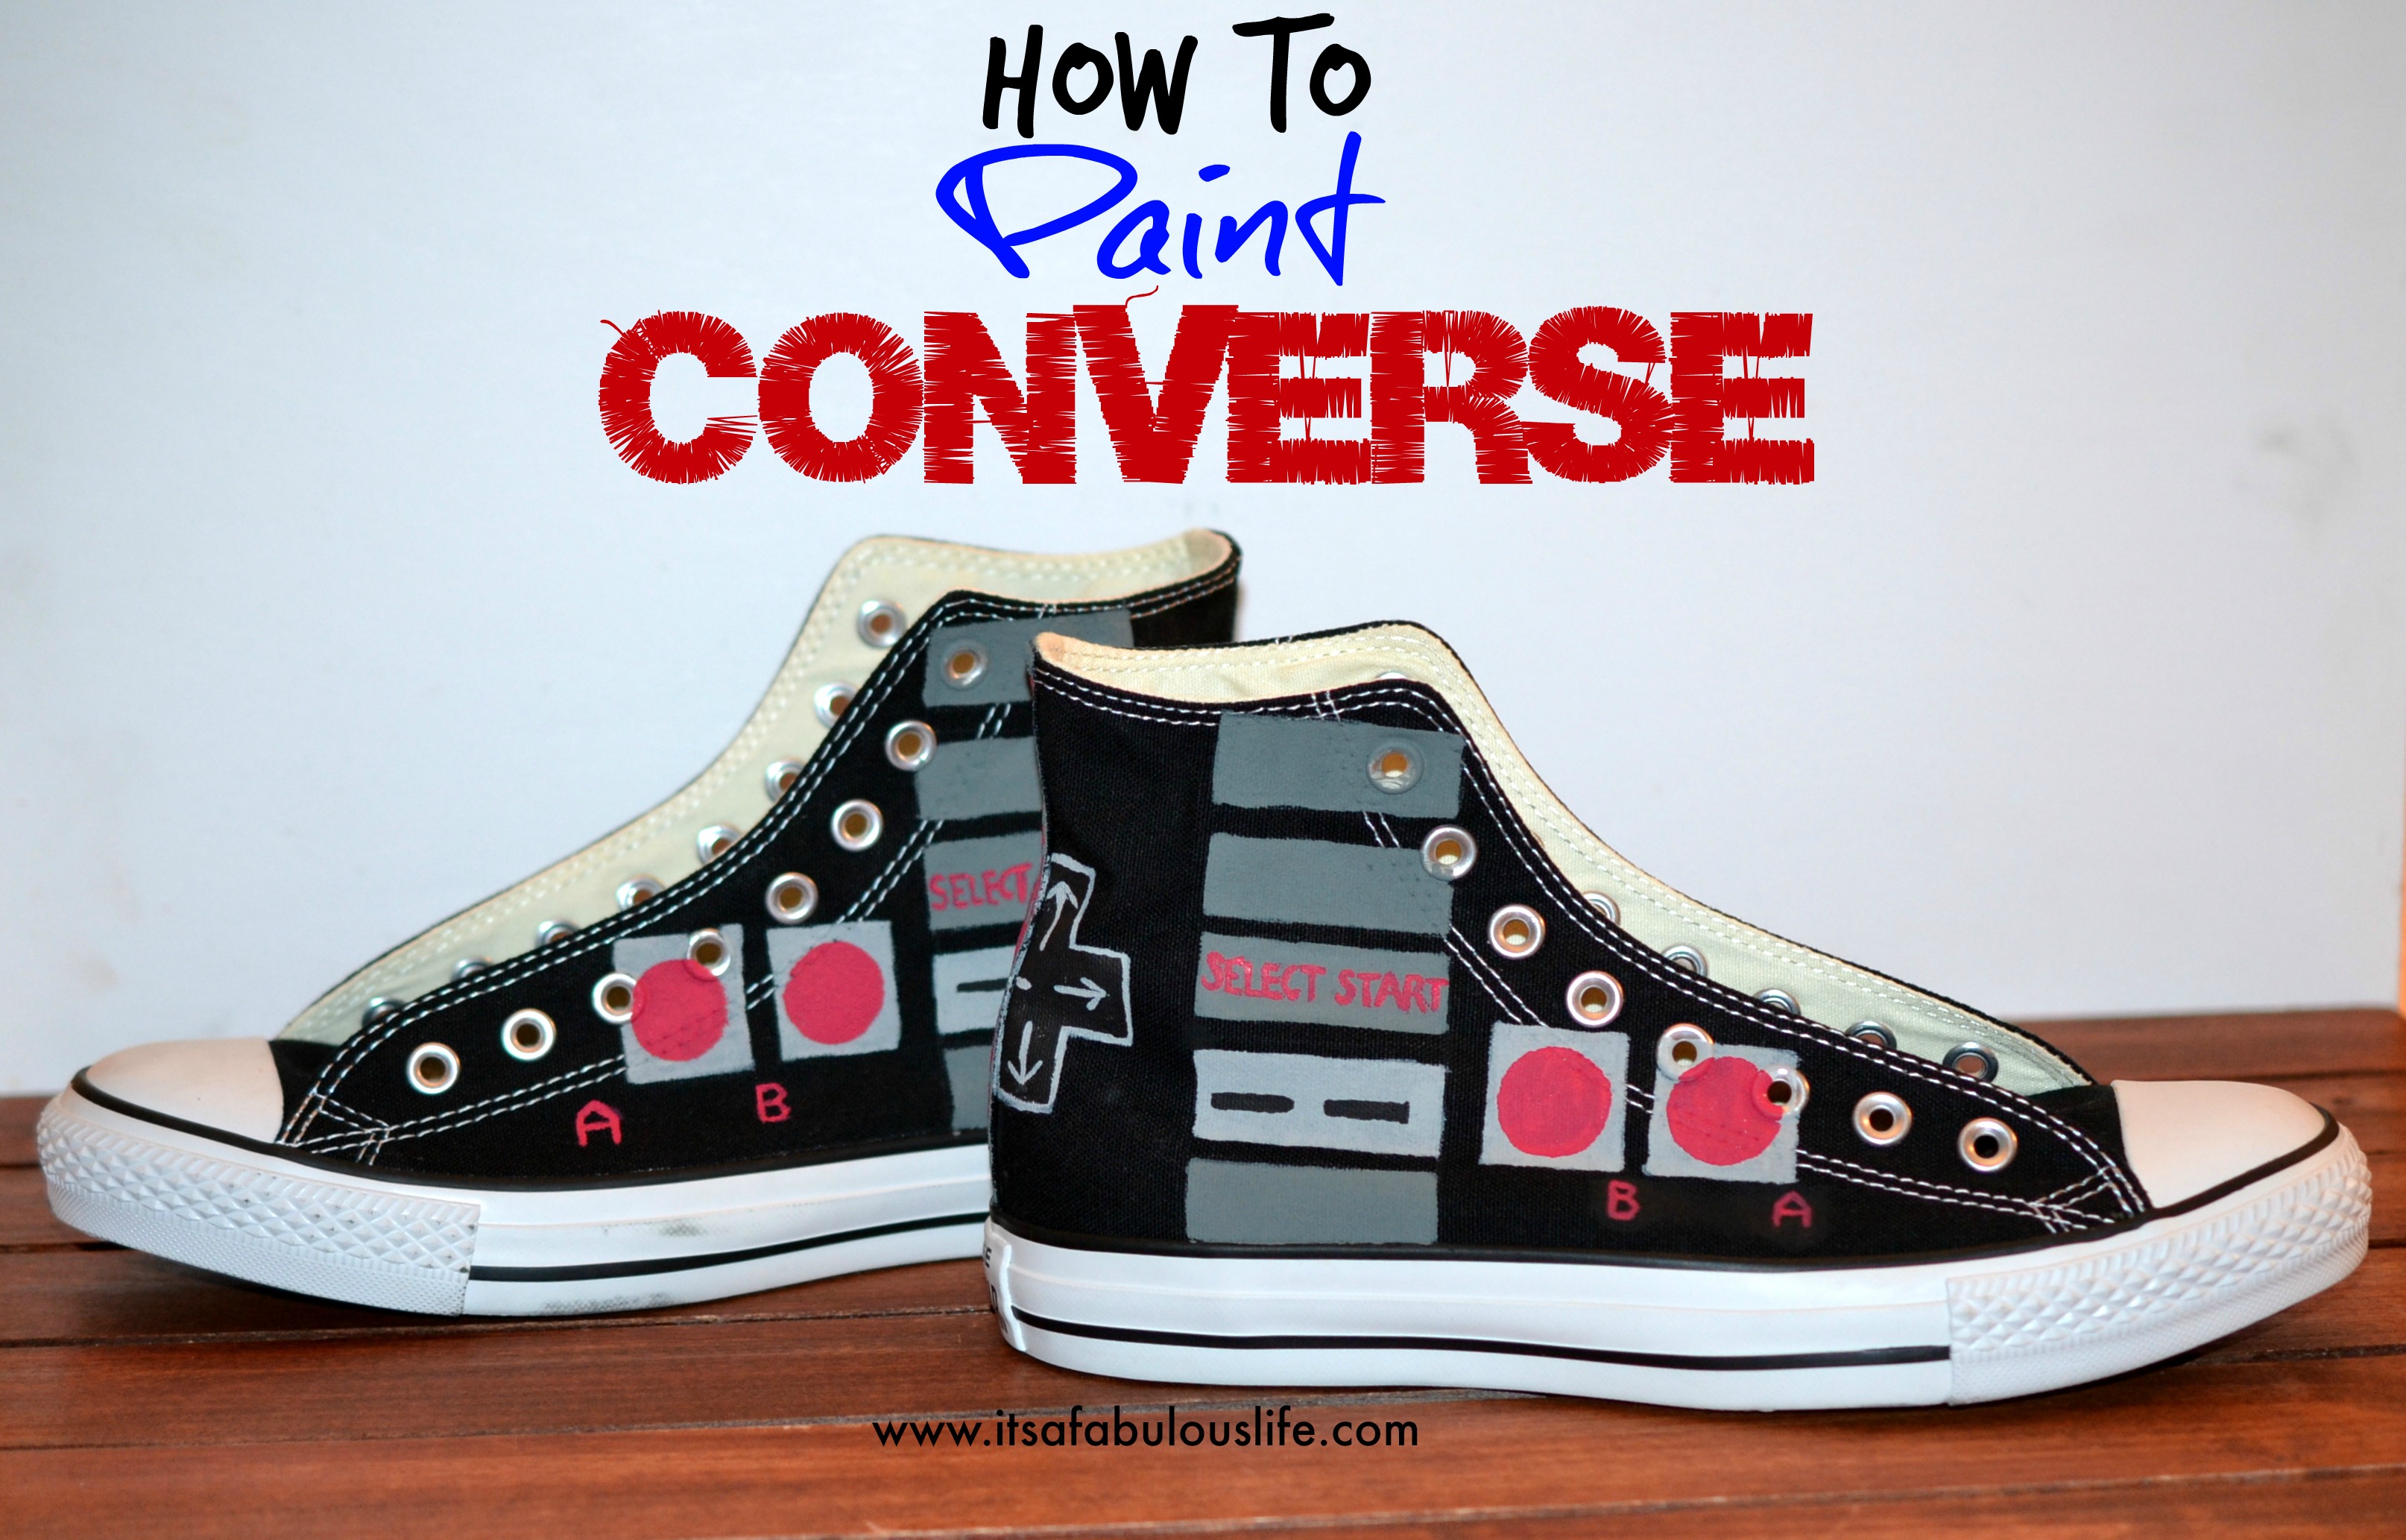
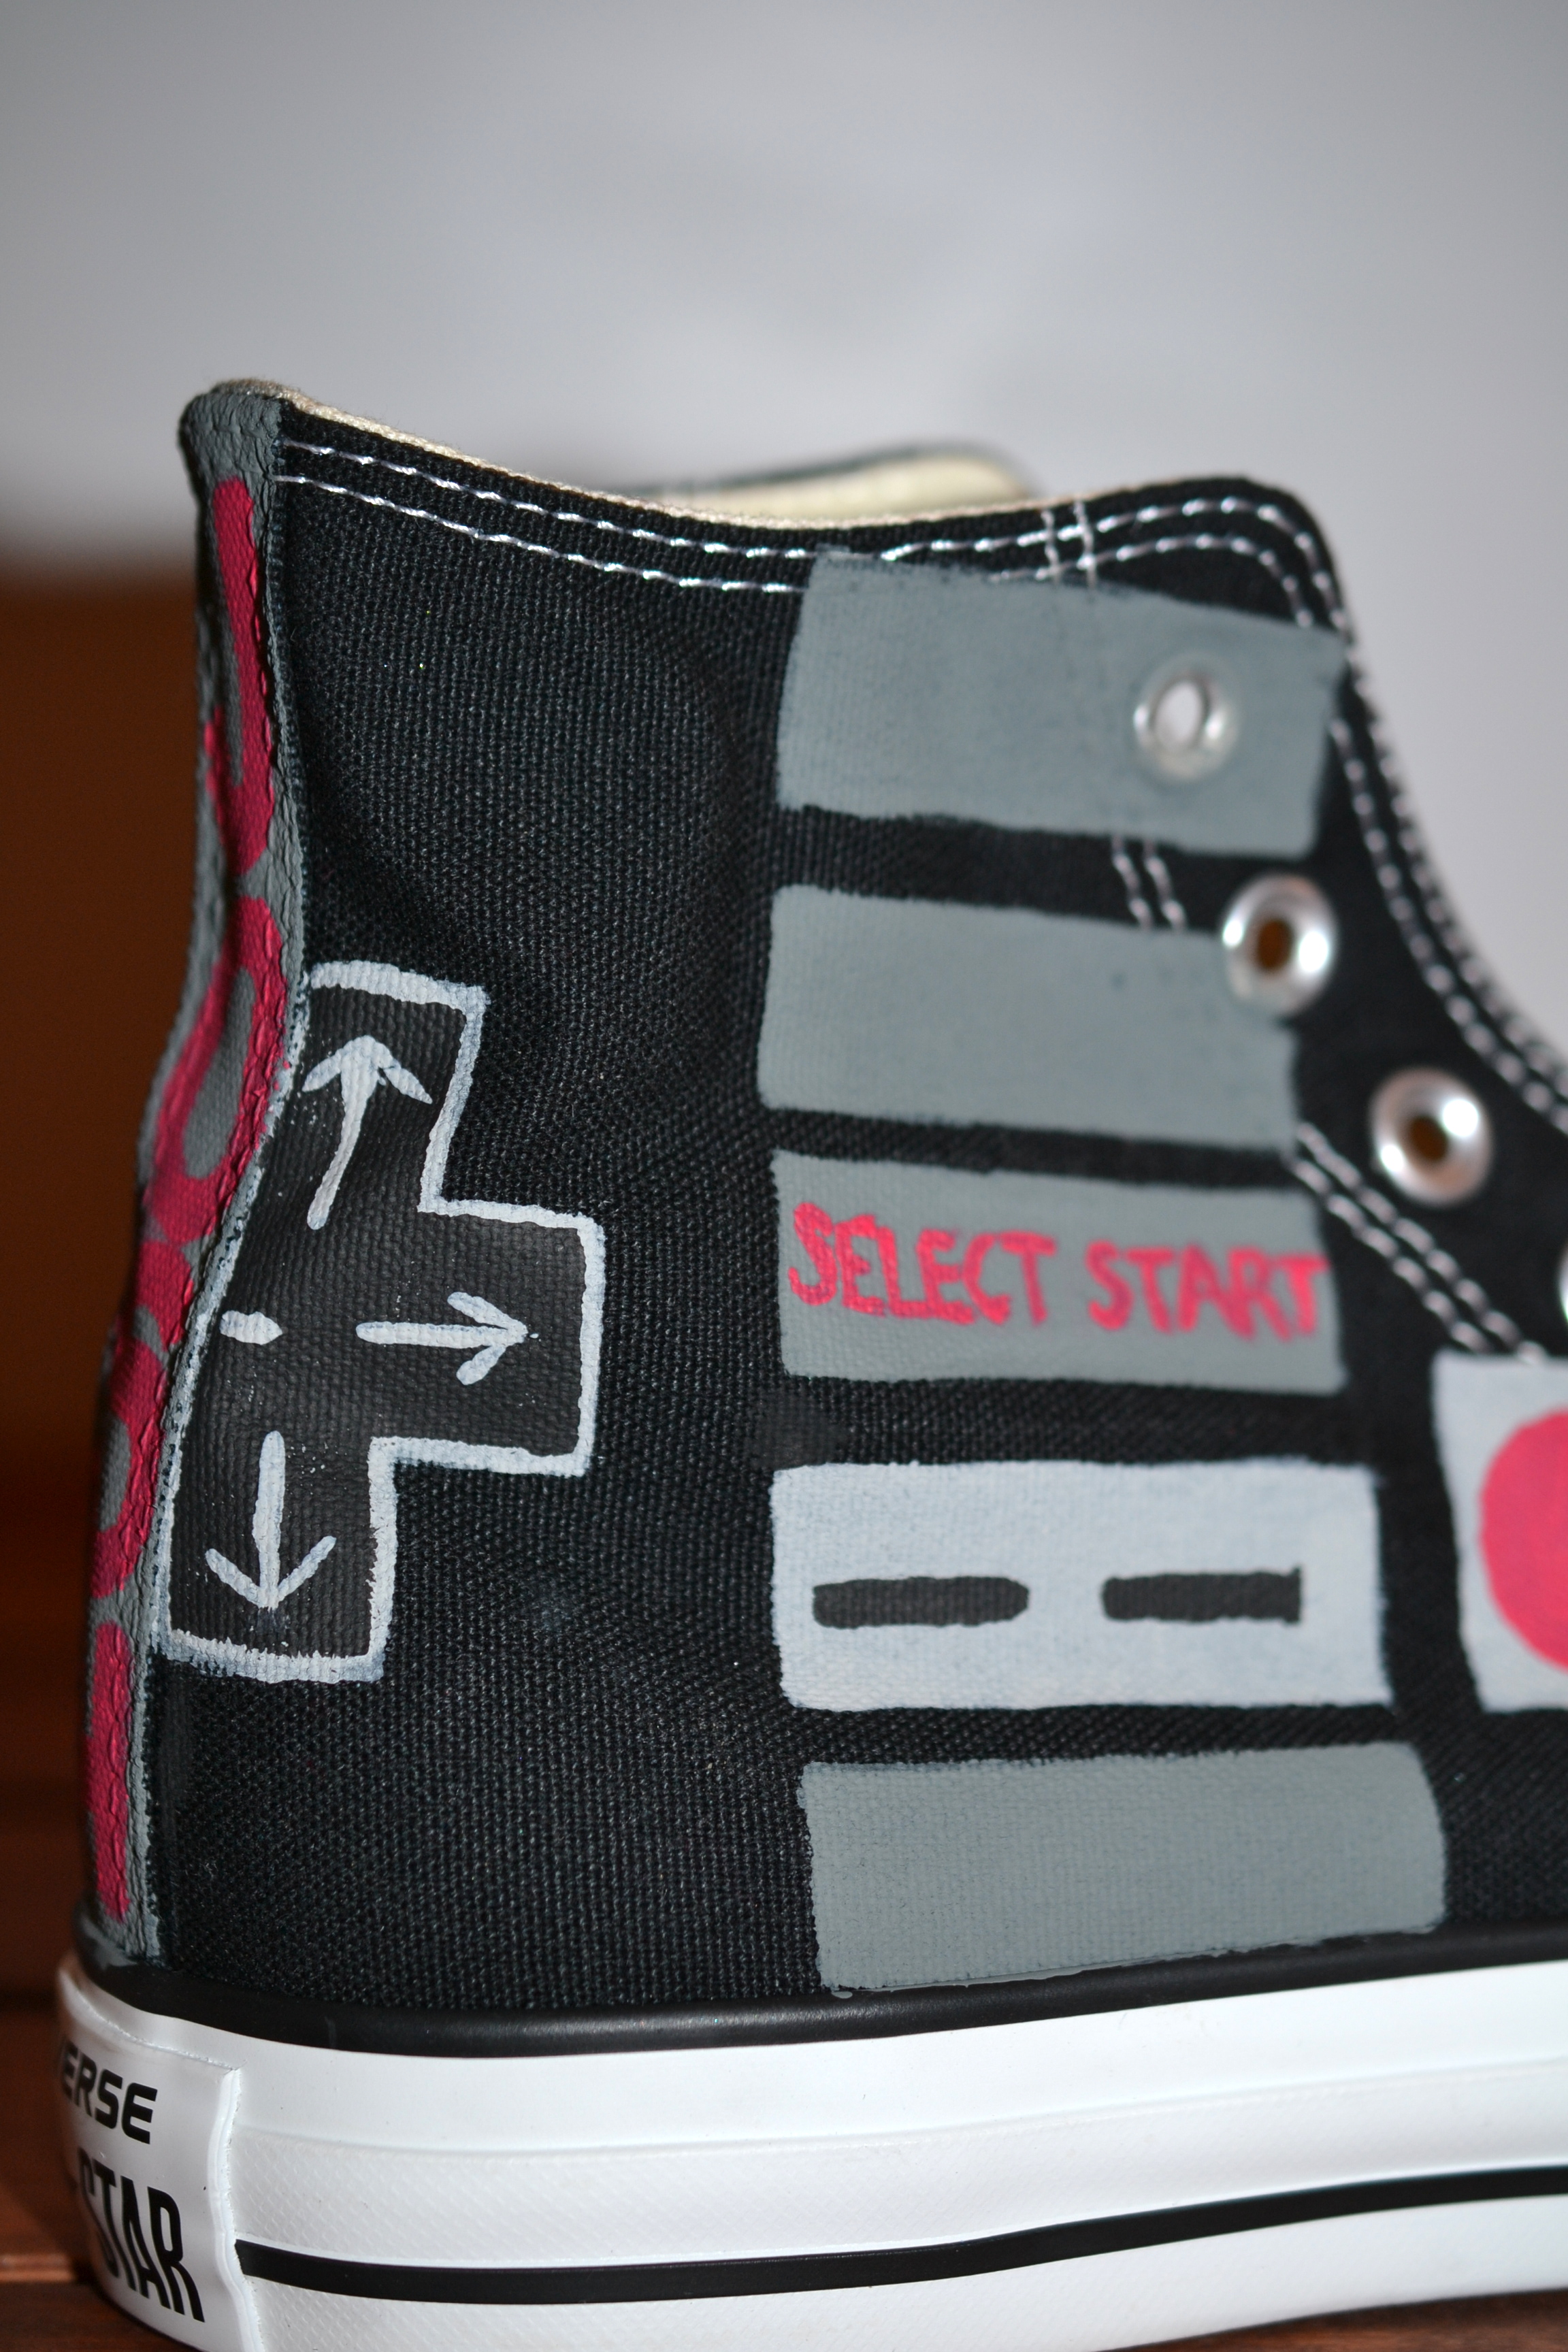
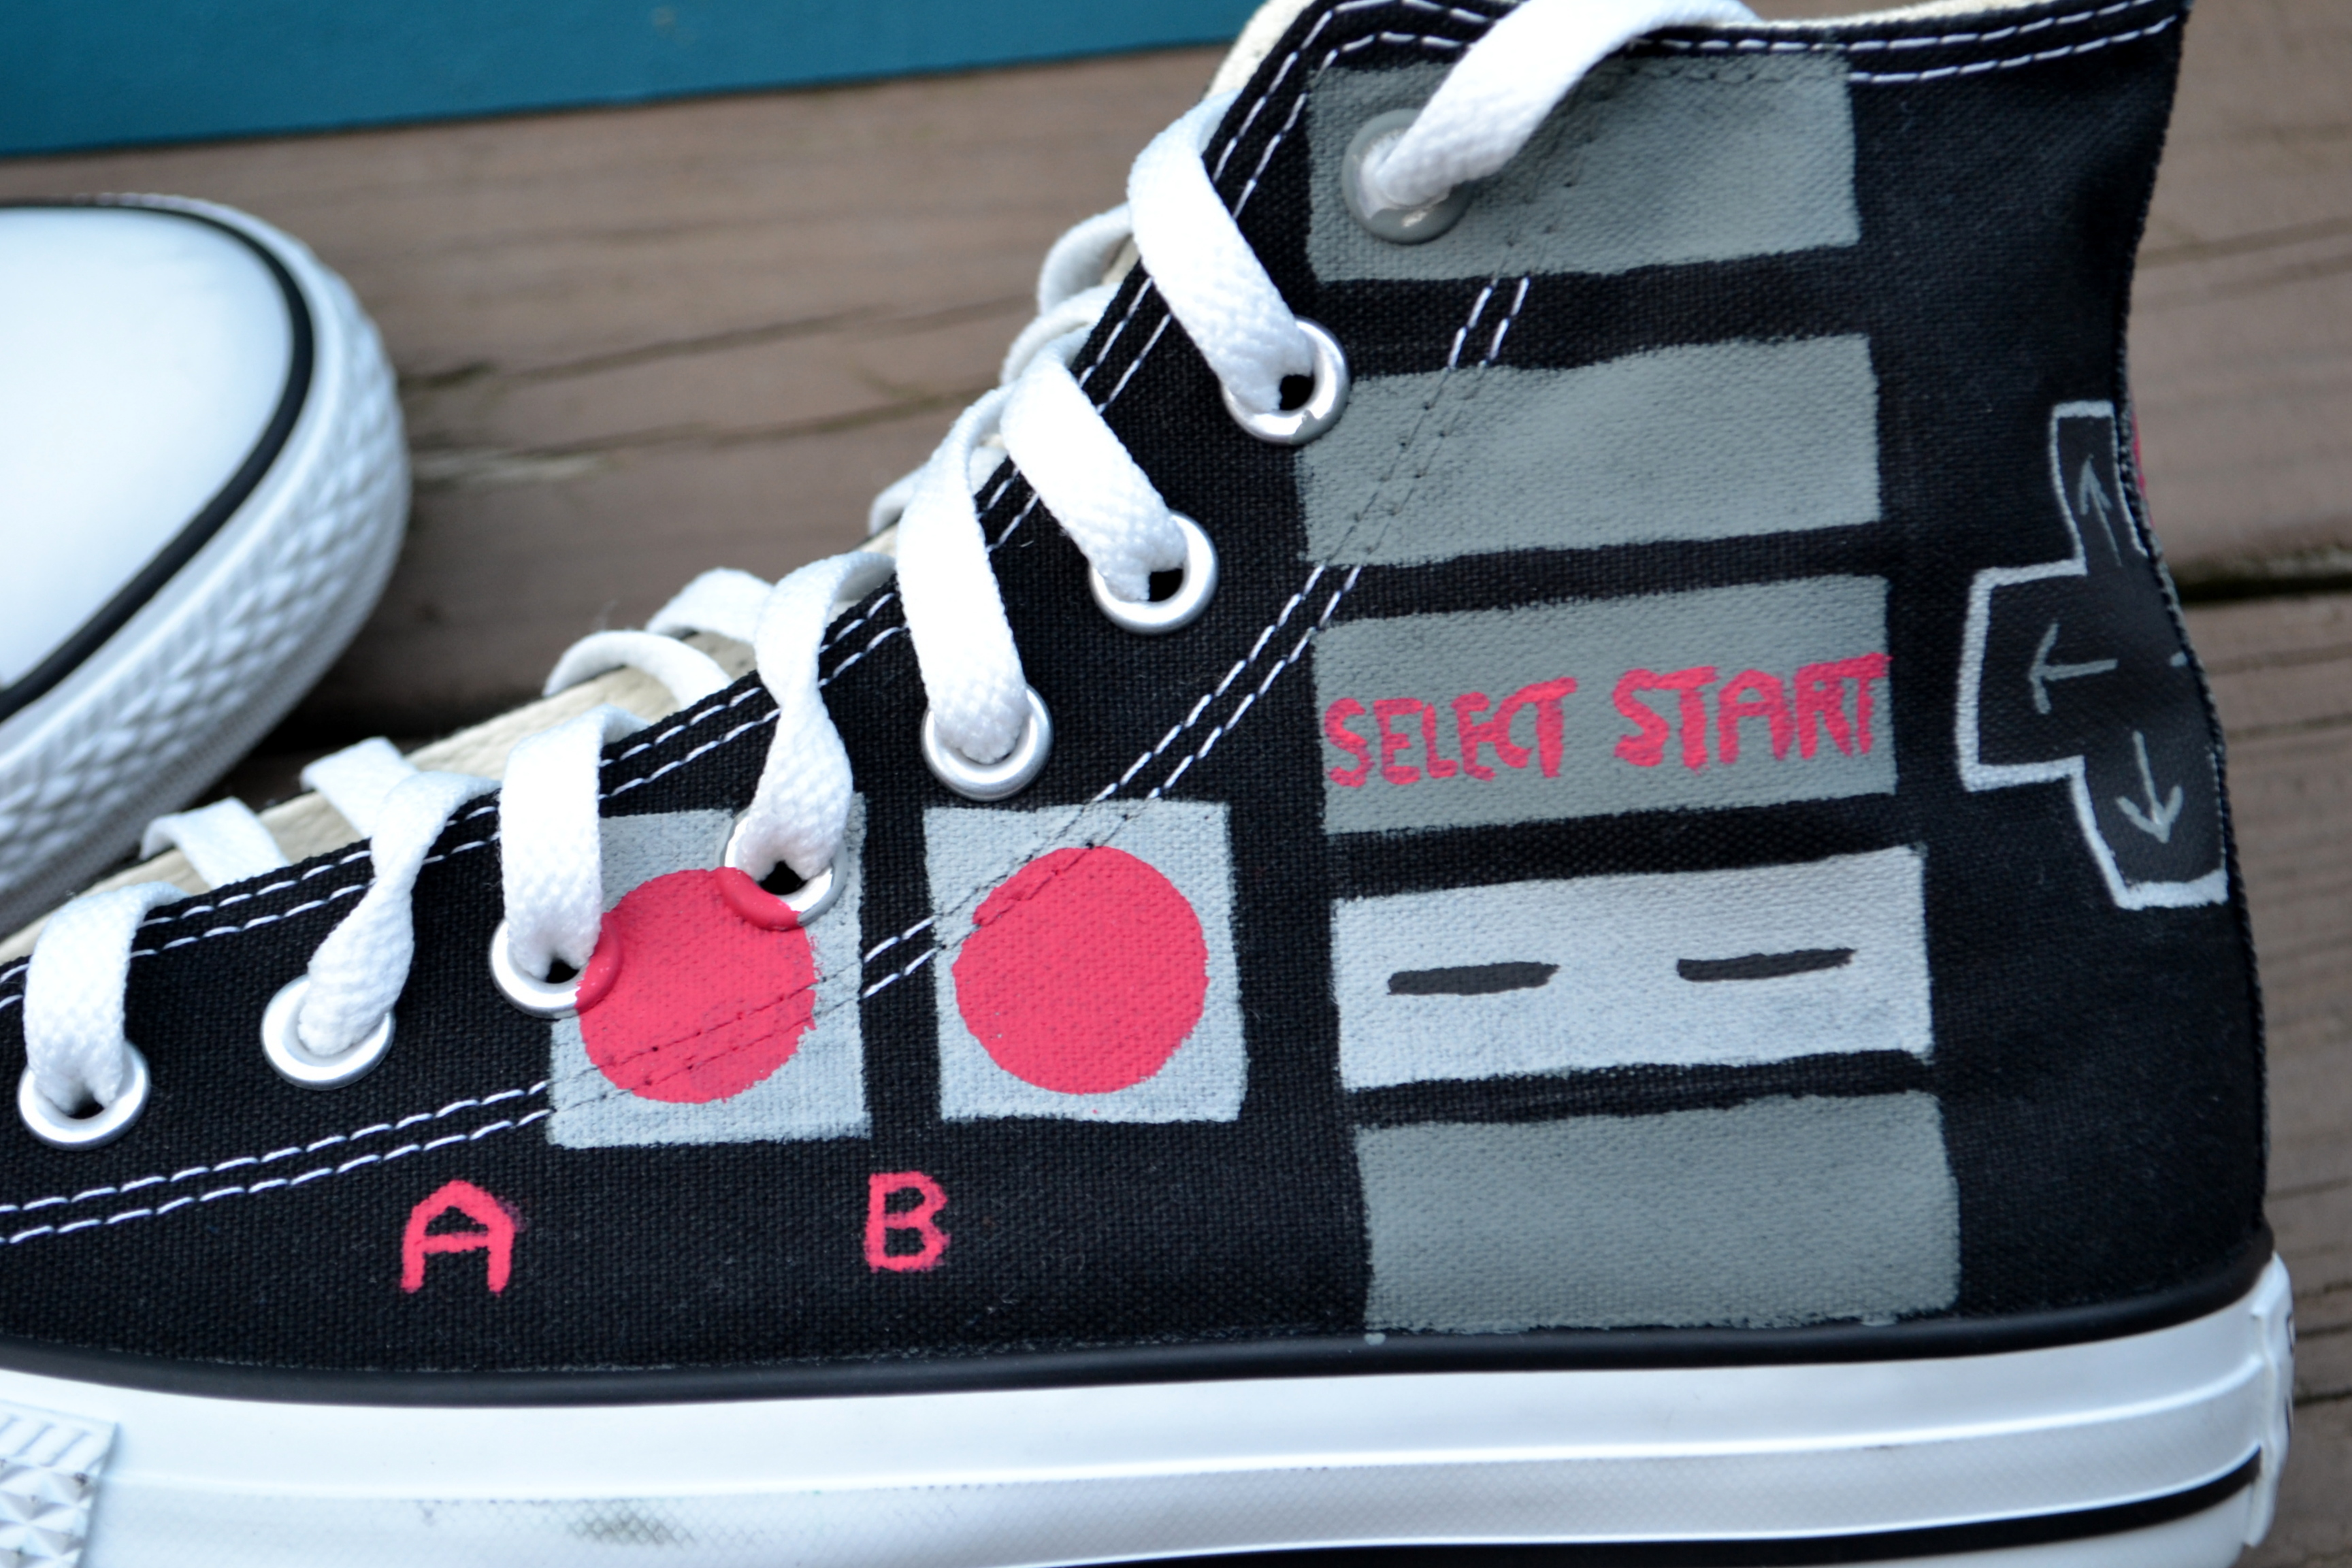
And so I give you our Nintendo Converse shoes:
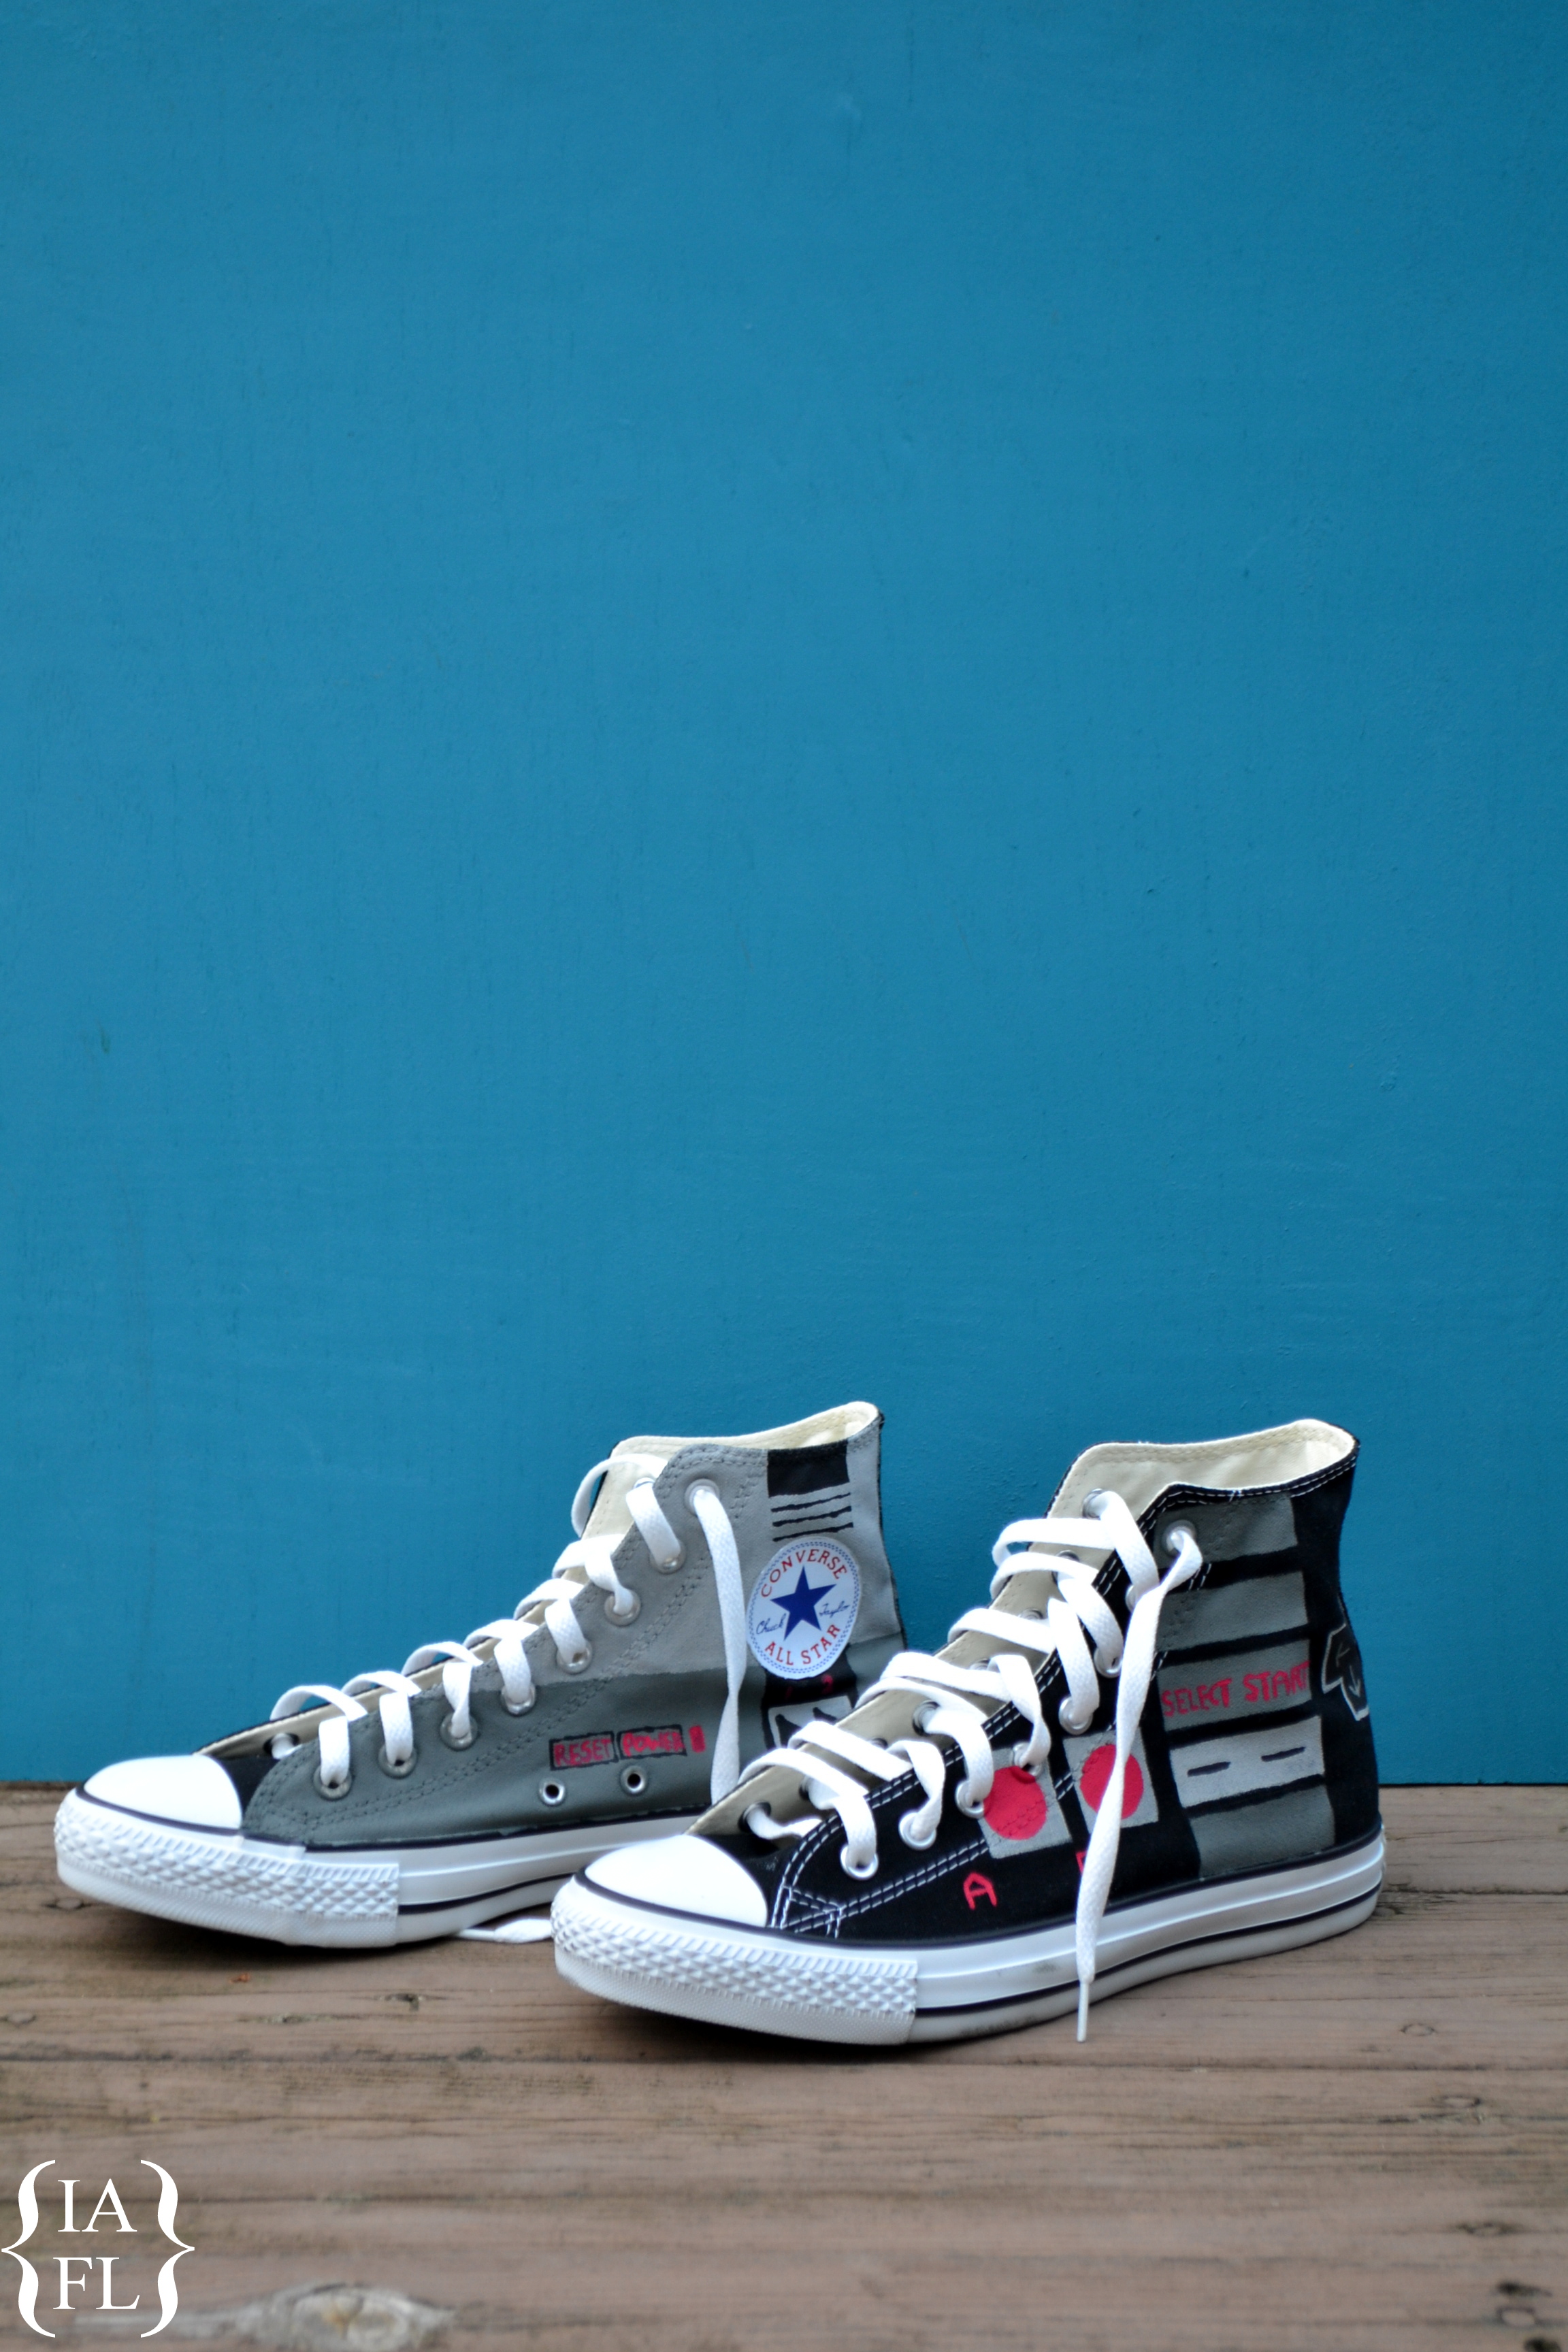
And yes, we did one side the controller side and one side the console side. Yep. We are kind of Old School.
If you make a pair please let me know!! I would love to see them!!
And don’t forget to pin! 🙂