Drawing cakes can be a fun and creative activity for people of all ages and skill levels. The art of drawing cakes combines basic artistic techniques with an understanding of cake structure.
The concept of cake has evolved over time, from simple, flat, sweet breads to the elaborate, multi-tiered masterpieces we see at birthday celebrations and other special events. With practice, anyone can improve their drawing skills and create beautiful cakes on paper.
This tutorial will guide you through the process, from basic shapes to detailed decorations, enhancing your artistic skills and potentially even your baking abilities.
To create a stunning cake illustration, you’ll need to gather the right supplies and understand the basics of cake structure. This foundation will help you produce a drawing that is both aesthetically pleasing and realistic.
Essential Art Supplies
Choosing the right art supplies is the first step in drawing a cake. The quality of your supplies can significantly impact the outcome of your illustration.
Paper Options
Selecting the appropriate paper is crucial. Standard drawing paper is a good starting point for most cake drawings. However, if you’re planning to use mixed media or watercolor techniques, consider using watercolor paper for its durability and texture.
For sketching cakes, you’ll need a variety of pencils, ranging from HB to softer pencils like 2B. Softer pencils create darker, more expressive lines but are harder to erase. Pair these with kneaded and vinyl erasers to correct mistakes and refine your drawing.
Coloring Tools
Once you’ve sketched your cake, you can add color using colored pencils, watercolors, markers, or pastels. For beginners, colored pencils are a good starting point as they offer control and a range of colors.
Understanding Cake Structure
A cake can be broken down into basic geometric shapes. Understanding the layers, cream filling, and frosting is key to creating a realistic cake drawing. Visualize the cake as a combination of these elements to get the proportions and details right.
Planning Your Cake Design
Before you start drawing, take some time to plan your cake design. Research different cake recipes and styles for inspiration. Sketching thumbnail drawings can help you explore various design options. Consider the role of ingredients like chocolate and cream in your design, as they can significantly influence the visual elements of your cake.
Supply
Description
Paper
Standard drawing paper or watercolor paper
Pencils
HB, 2B, etc.
Erasers
Kneaded, vinyl
Coloring Tools
Colored pencils, watercolors, markers, pastels
How to Draw a Cake: Step-by-Step Guide
Creating a cake drawing involves several key steps that can help you achieve a beautiful and appetizing artwork. Whether you’re a beginner or an experienced artist, following these steps can guide you through the process of drawing a cake that looks realistic and delicious.
Creating the Basic Shape
The foundation of your cake drawing starts with the basic shape. Begin by sketching a simple geometric form that represents the overall shape of your cake.
Drawing the Foundation
Use light pencil strokes to draw the initial shape of your cake. This could be a cylinder for a layered cake or a simple rectangle for a sheet cake. The key is to keep your lines light so they can be easily adjusted as you refine your drawing.
Adding Perspective
To give your cake drawing depth, you need to add perspective. This involves creating a sense of three-dimensionality by adjusting the shape and proportions of your cake. For a more realistic look, consider the angle from which you’re viewing the cake and adjust your drawing accordingly.
Sketching Cake Layers
Cakes often consist of multiple layers, and drawing these layers correctly is crucial for a realistic appearance.
Single-Layer Cake
For a single-layer cake, focus on the simplicity of the shape and the texture of the frosting or toppings. A single layer allows you to concentrate on the details such as the texture and decorations.
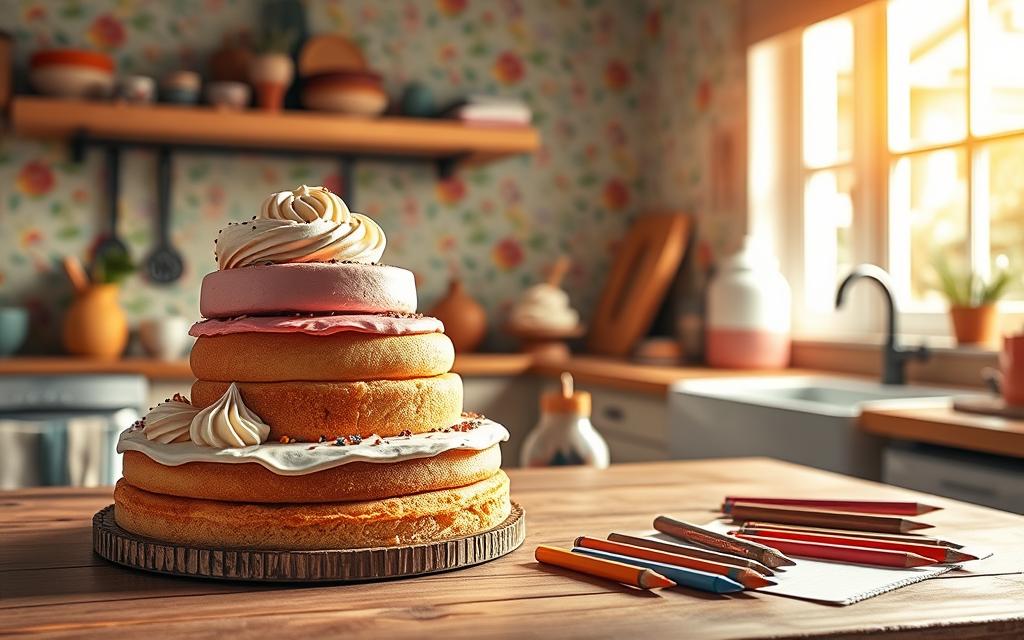
Multi-Layer Cake
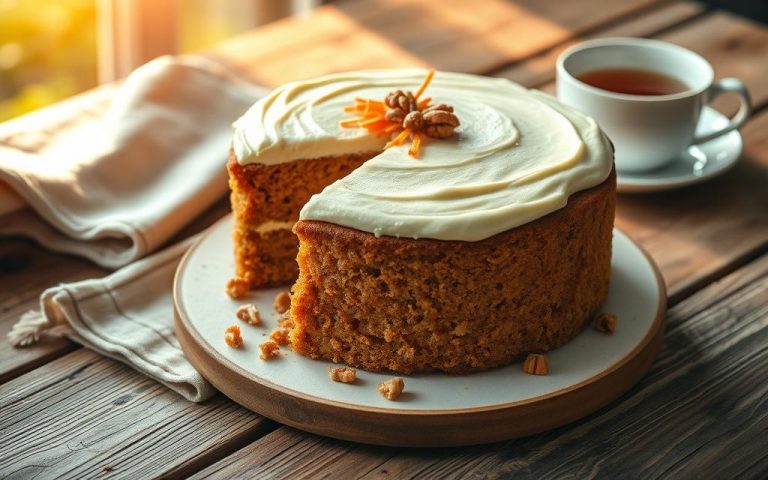
When drawing a multi-layer cake, pay attention to the proportions between the layers. Each layer should be stacked on top of the other, with frosting or other fillings in between. Varying the size of the layers can add visual interest to your drawing.
Cake Type
Key Features
Drawing Tips
Single-Layer
Simple shape, focus on texture and toppings
Emphasize frosting details and decorations
Multi-Layer
Multiple stacked layers, varying sizes
Pay attention to layer proportions and frosting between layers
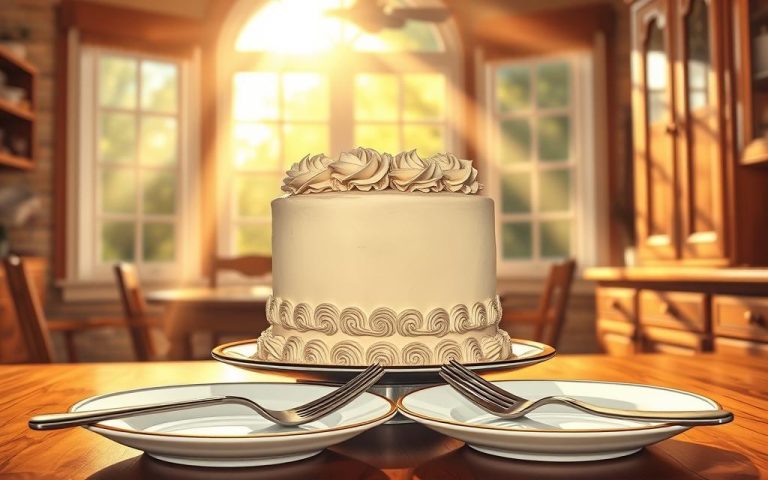
Drawing Frosting and Decorations
The frosting and decorations on a cake can greatly enhance its appearance. Different frosting styles, such as smooth buttercream or textured whipped cream, can be achieved with various techniques.
To draw frosting, consider the texture and how it interacts with the cake layers. For decorations, you can add elements like piping, sprinkles, or fruit toppings, making sure they are proportionate to the size of the cake.
Refining Your Sketch
Once you have the basic elements of your cake drawing in place, it’s time to refine your sketch. Soften harsh lines and add natural variations to the edges and layers. With an eraser, soften the borders between the layers to create a more natural look. Adding texture details, such as the porous look of the cake, can also enhance realism. Vary the size of the texture elements to avoid uniformity.
By following these steps and refining your drawing, you can create a cake artwork that is both visually appealing and realistic. Take your time to adjust and refine your sketch, ensuring that the proportions and details are accurate.
Adding Color, Texture, and Details
The foundation of your cake drawing is complete; now, let’s focus on enhancing it with vibrant colors, realistic textures, and intricate details. This step is crucial in transforming your simple sketch into a stunning piece of artwork that captures the essence of the cake.
Basic Coloring Techniques
To add color to your cake drawing, you can use various techniques. Two popular methods are the watercolor approach and the colored pencil method.
Watercolor Approach
The watercolor approach involves creating soft, blended washes that bring out the base colors of your cake. Start by mixing a light wash for the cake’s top surface, gradually adding more pigment to deepen the color for the sides. This technique allows for a smooth transition between colors, creating a natural look.
Colored Pencil Method
For those preferring more control and precision, the colored pencil method is ideal. Layering colored pencils allows you to build up colors gradually, achieving a rich and detailed finish. Techniques such as burnishing and blending can enhance the realism of your cake drawing.
Creating Realistic Textures
Textures play a significant role in making your cake drawing look realistic. Varying pencil pressure and stroke direction can help achieve the desired texture.
Cake Texture
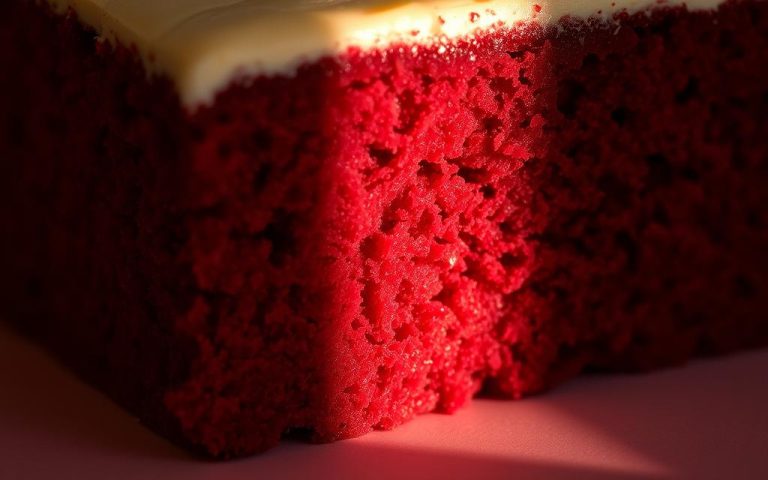
For the cake itself, you can create a rough texture by applying gentle, uneven strokes with your pencil. This mimics the crumb structure of a real cake.
Frosting Texture
Frosting can range from smooth fondant to fluffy buttercream. For smooth frosting, use gentle, even strokes, while fluffy frosting can be achieved with softer, more irregular strokes.
Decorative Elements
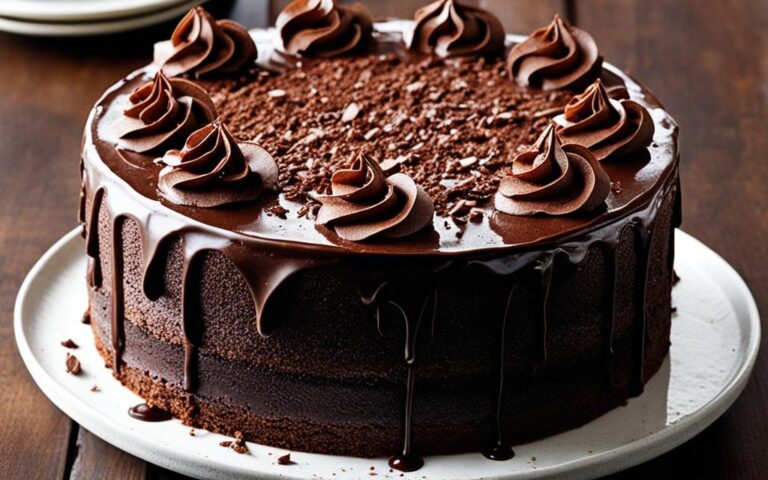
Decorative elements like chocolate shavings, sprinkles, and fruit toppings require specific textures. For instance, chocolate shavings can be depicted with smooth, curved strokes, while sprinkles are represented by small, colorful dots.
Adding Highlights and Shadows
Understanding light and its impact on your cake drawing is crucial. Establishing a consistent light source helps in creating realistic highlights and shadows.
Light Source Positioning
Decide on the light source’s location and how it affects your cake. Generally, the top surface of the cake is well-lit, while the vertical sides are darker.
Creating Depth
Shadows add depth to your drawing. By varying the intensity of shadows, you can create a 3D effect, making your cake drawing more engaging.
Final Touches
Finally, review your drawing and add any subtle details that enhance realism. This could include the shine on a tangerine topping or the smoothness of the frosting on the top cake layer.
By following these steps and paying attention to color, texture, and lighting, you can create a cake drawing that is not only visually appealing but also realistic and engaging. It’s a process that requires time and patience, but the end result is well worth the effort.
Conclusion
Now that you’ve mastered the basics of drawing cakes, it’s time to experiment with different styles and techniques. With practice, you’ll be able to create beautiful cake artwork that will impress anyone. To further develop your skills, try studying real cake recipes and ingredients for inspiration. This will not only enhance your drawing abilities but also give you a deeper appreciation for the art of baking.
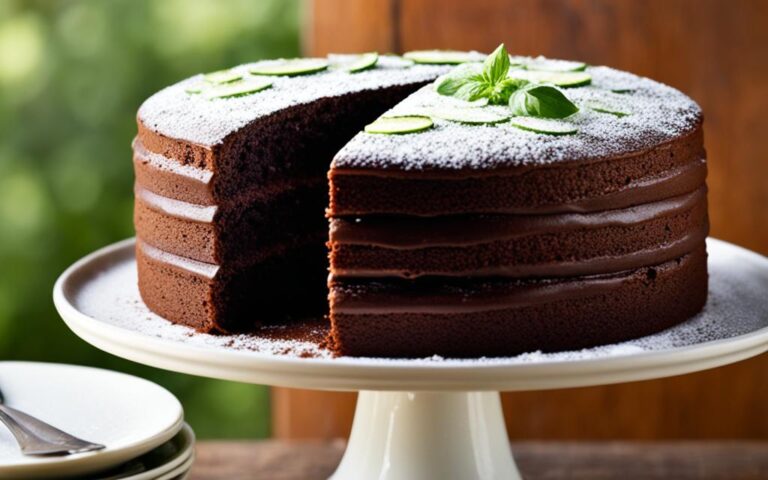
As you continue to hone your craft, consider applying your skills to various creative projects, such as designing greeting cards or illustrating recipes for birthday celebrations. Remember, the key to improving is consistent practice. Don’t be afraid to try new options and explore different ones, like drawing chocolate cakes or other delectable treats. With time and patience, you’ll become proficient in creating stunning artwork.
FAQ
What are the essential art supplies needed to draw a realistic cake?
To draw a realistic cake, you’ll need a range of art supplies, including pencils, markers, or colored pencils, as well as paper with a suitable texture. The right tools will help you achieve the desired texture and color.
How do I create a realistic cake layer effect in my drawing?
To create a realistic layer effect, focus on capturing the subtle texture and shading between each layer. Use gentle, soft strokes to suggest the cream or frosting between the layers.
What are some common mistakes to avoid when drawing a cake?
Common mistakes to avoid include using too much color or shading, which can make the cake look unnatural. Also, be careful not to overwork the texture or details, as this can make the drawing look cluttered.
Can I use reference images to help me draw a cake?
Yes, using reference images can be incredibly helpful when drawing a cake. Look for images of different cakes, including various flavors and decorations, to inspire your drawing and help you capture the details.
What are some tips for adding realistic highlights and shadows to my cake drawing?
To add realistic highlights and shadows, pay attention to the way light falls on the cake. Use soft, gentle strokes to suggest the highlights on the frosting or decorations, and deeper shading to create shadows.
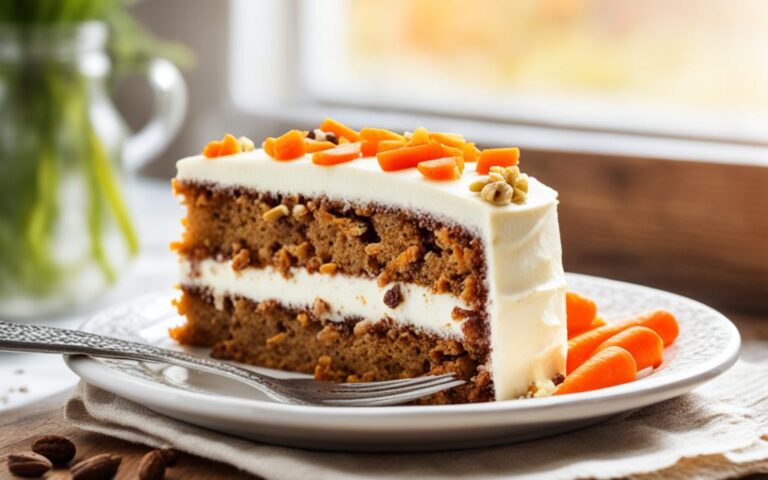
Are there any specific cake recipes that can inspire my drawing?
While recipes aren’t directly related to drawing, exploring different cake recipes can inspire your creativity and help you think about the ingredients and texture of the cake. Consider drawing a cake with unique flavors or decorations.