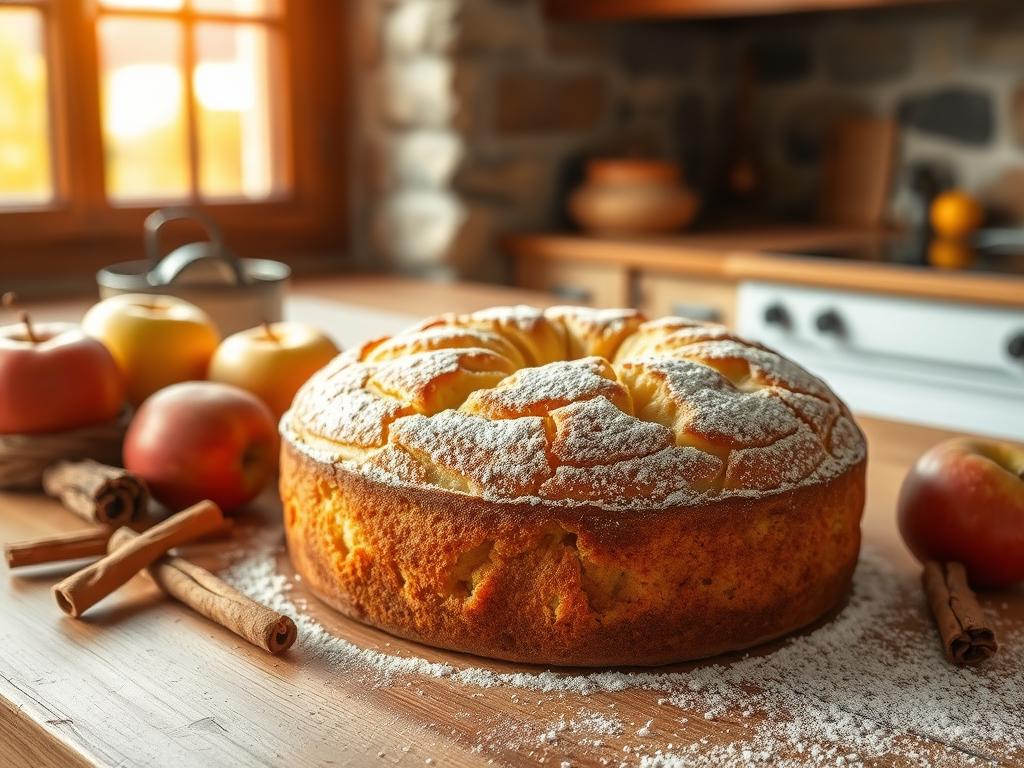
Originating from Italy’s picturesque Alto Adige region, this dessert has been cherished for generations. Its custardy texture and golden crust make it a favourite in both Italian and American kitchens. The recipe has been refined over time, with chefs like Scott Carsberg adding their unique touch.
This dish combines simplicity with elegance, using ingredients like real vanilla bean and fresh Granny Smith apples. The one-bowl method ensures it’s accessible for bakers of all skill levels. Whether served warm or cold, it’s perfect for breakfast, dessert, or any special occasion.
In the following sections, we’ll guide you through each step, offering expert tips to achieve the best results. From preparation to baking, this recipe promises a delightful experience.
Getting Started with the Bolzano Apple Cake Recipe
This beloved dessert traces its roots back to the scenic landscapes of northern Italy. The Bolzano Apple Cake, a cherished treat, has been perfected over decades by skilled chefs, including Scott Carsberg, who brought his expertise from Michelin-starred kitchens to modern homes.
The cake’s origins lie in the Alto Adige region, where it was traditionally made with simple, locally sourced ingredients. Chefs at renowned restaurants refined the recipe, ensuring its authenticity and timeless appeal. Today, it remains a symbol of Italian culinary heritage.
Essential Ingredients and Preparations
To achieve the perfect texture and flavour, precise measurements are crucial. Key ingredients include:
1 stick of unsalted butter (114 grams)
1 cup of sugar (200 grams)
2 large eggs
½ cup of all-purpose flour (64 grams)
½ cup of milk (140 grams)
Preparation begins with greasing the pan with butter and lining it with parchment paper. This ensures the cake releases easily after baking. The one-bowl method simplifies the process, making it accessible for bakers of all levels.
Ingredient
Quantity
Butter
1 stick (114g)
Sugar
1 cup (200g)
Flour
½ cup (64g)
Milk
½ cup (140g)
Time management is essential. Preheat the oven to 350°F and allow the cake to cool for at least 30 minutes before serving. For more detailed steps, check out this authentic recipe guide.
Step-by-Step Preparation and Baking Process
The preparation of this classic dessert is a delightful journey, blending simplicity with precision. Each step is designed to ensure a perfect balance of texture and flavour, making it a rewarding experience for bakers of all levels.
Mixing the Batter with Butter, Eggs, and Sugar
Begin by beating the eggs and sugar together until the mixture forms a thick, ribbon-like consistency. This step is crucial as it creates the foundation for the dessert’s light and airy texture. Gradually add melted butter, ensuring the batter remains smooth and well-combined.
Next, scrape the seeds from a vanilla bean and incorporate them into the mixture. This adds a rich, aromatic flavour that enhances the overall taste. Sift in the dry ingredients, including teaspoon baking powder, and alternate with milk to maintain the batter’s consistency.
Incorporating Apples and Achieving a Crumbly Texture
Using a sharp knife, thinly slice the apples to ensure they blend seamlessly into the batter. Gently fold them in, making sure each slice is evenly coated. This technique helps achieve a custardy interior with a slightly crumbly top.
Once the batter is ready, pour it into the prepared pan and smooth the surface with a spatula. Bake at 350°F until a knife inserted into the centre comes out clean. Allow it to cool for at least 30 minutes before serving to let the flavours fully develop.
Tips, Variations and Troubleshooting for a Perfect Outcome
Achieving perfection in this dish involves understanding its nuances and potential challenges. Whether you’re a seasoned baker or a beginner, these tips will help you navigate common issues and elevate your results.
Adjusting Oven Calibration and Managing Baking Times
Oven temperatures can vary, so using an oven thermometer ensures accuracy. If your bake seems undercooked or overdone, adjust the baking time in five-minute increments. Avoid over-baking to preserve the dessert’s delicate texture.
For even baking, rotate the pan halfway through. This ensures a consistent golden crust and prevents uneven cooking. Remember, precise bake minutes are key to achieving the perfect outcome.
Enhancing Flavour with Vanilla and Alternative Ingredients
To intensify the flavour, scrape seeds from a vanilla pod and incorporate them into the batter. Alternatively, experiment with almond or citrus extracts for a unique twist. Adding a pinch of salt can also balance the sweetness.
For a richer texture, consider using pod melted butter instead of regular butter. This adds depth and enhances the overall taste. If you’re feeling adventurous, try incorporating spices like cinnamon or nutmeg.
Presentation Ideas and Serving Suggestions
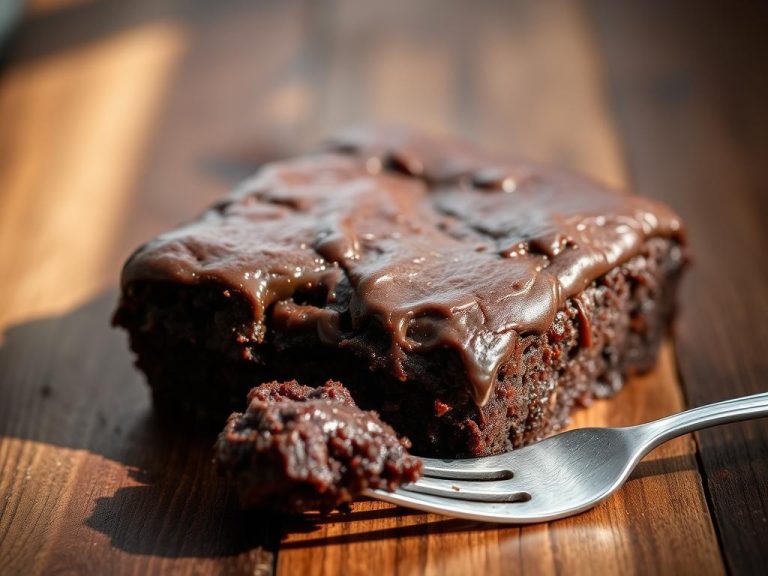
Presentation is just as important as taste. Dust the finished dessert with powdered sugar for a classic, elegant look. Pair it with caramel ice cream or a dollop of whipped cream for added indulgence.
For a rustic touch, serve slices on a wooden board with fresh berries. Ensure each piece is evenly coated in batter for a uniform structure. These small details can make a big difference in your final presentation.
For more inspiration, check out this sourdough dessert guide, which offers creative variations and tips.
Conclusion
This timeless Italian dessert, rooted in the Alto Adige region, combines simplicity with elegance. Its custardy texture and golden crust make it a standout treat, perfected over generations. By following the detailed steps, from mixing together egg and sugar to achieving a pan brown top, you can recreate this classic with ease.
Using quality ingredients like stick butter and Granny Smith apples ensures an authentic flavour. Letting it cool properly allows the flavours to meld beautifully. Whether served warm or cold, it’s a versatile dessert for any occasion.
Feel free to experiment with slight variations while staying true to its heritage. Share your experiences and feedback to inspire others. With clear instructions and expert tips, this guide ensures every baker can master this timeless dish.
FAQ
What makes this dessert authentic to Bolzano?
This dessert is rooted in the culinary traditions of Bolzano, a region in Italy known for its simple yet flavourful recipes. The use of fresh ingredients like Granny Smith apples and a vanilla bean pod ensures an authentic taste.
Can I use a different type of apple for this recipe?
While Granny Smith apples are recommended for their tartness and firm texture, you can substitute them with other varieties like Braeburn or Honeycrisp. Just ensure they hold their shape during baking.
How do I achieve the perfect crumbly texture?
The key is to mix the batter thoroughly, ensuring the butter, sugar, and eggs form a ribbon-like consistency. Adding the apples gently and coating every piece with the batter also helps achieve the desired texture.
What’s the best way to incorporate vanilla into the recipe?
Using a vanilla bean pod adds a rich, aromatic flavour. Simply split the pod, scrape out the seeds, and add them to the melted butter. Alternatively, you can use high-quality vanilla extract.
How do I know when the cake is fully baked?
The cake is ready when the top turns golden brown and a skewer inserted into the centre comes out clean. Baking times may vary, so keep an eye on it after the 45-minute mark.
Can I make this recipe ahead of time?
Yes, you can prepare the batter and slice the apples in advance. However, for the best results, bake the cake just before serving to maintain its freshness and texture.
What are some serving suggestions for this dessert?
Dust the cake with powdered sugar for a classic presentation. Pair it with a dollop of whipped cream or a scoop of vanilla ice cream for an indulgent treat.
How should I store leftovers?
Store any remaining cake in an airtight container at room temperature for up to two days. For longer storage, refrigerate it and bring it to room temperature before serving.