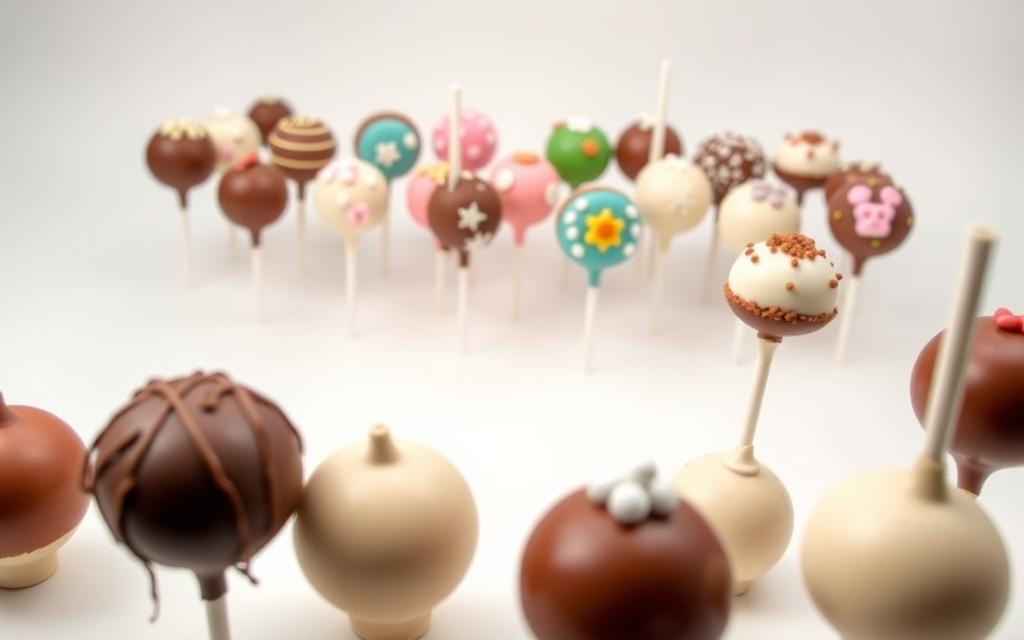
Cake pops are delightful bite-sized treats that combine moist cake and rich frosting rolled into balls, dipped in chocolate, and served on sticks. They are perfect for any occasion or celebration.
While they may seem intimidating at first, cake pops are actually quite simple to create once you understand the basic techniques. This comprehensive tutorial will break down the entire process into manageable steps, from baking the cake to decorating the finished pops. With the right ingredients and a bit of practice, you can create beautiful and delicious cake pops that are sure to impress.
The key to successful cake pops lies in achieving the right cake texture, using the proper frosting ratio, and mastering the correct chilling times and dipping techniques.
The charm of cake pops lies in their versatility and the joy they bring to various celebrations. These delightful treats have become a staple at parties and events due to their unique characteristics.
What Are Cake Pops?
Cake pops are individual servings of cake on a stick, typically decorated with colorful coatings and toppings. They are made by crumbling cake, mixing it with frosting, shaping it into balls, and then dipping these balls into melted chocolate or candy melts. This process creates a delicious and visually appealing treat that is hard to resist.
Why Cake Pops Are Perfect for Any Occasion
Cake pops are ideal for various occasions due to their customizable nature. They can be tailored to match any theme or celebration through different flavors, colors, and decorations. Here are some reasons why cake pops are perfect for any occasion:
They are perfectly portioned individual servings, making them ideal for parties and events.
They are highly customizable in terms of flavors, colors, and decorations.
They appeal to both children and adults, making them suitable for various gatherings.
Cake pops also offer the convenience of being made in advance and stored, making them a great option for busy hosts. They create an impressive visual display that can elevate any dessert table. Additionally, their portable nature makes them perfect for on-the-go treats.
Occasion
Cake Pop Customization
Benefits
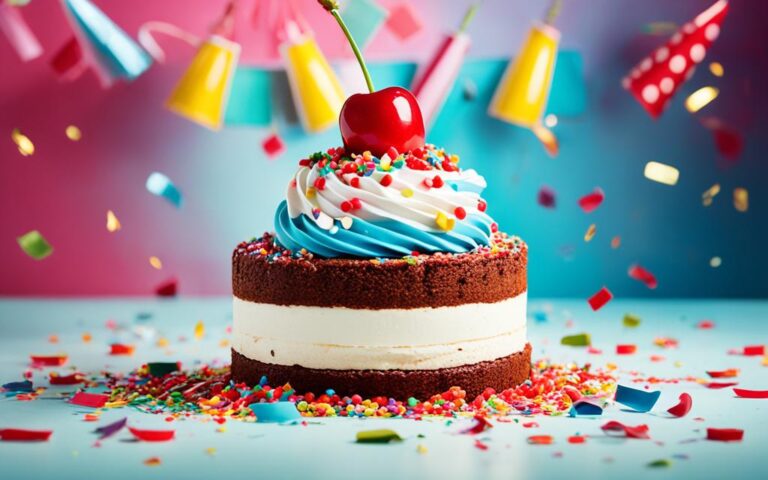
Birthday Party
Colorful coatings, sprinkles
Fun, festive, and easy to eat
Wedding
Elegant designs, white chocolate
Sophisticated, customizable
Corporate Event
Company colors, logo designs
Professional, unique
Essential Ingredients and Tools
To get started with making cake pops, you’ll need to gather a few necessary ingredients and tools. Having the right equipment will make the process smoother and more enjoyable.
Cake Pop Ingredients
The ingredients for cake pops are relatively simple. You’ll need a cake, which can be either homemade or store-bought, and some frosting to bind the cake crumbs together. The type of cake and frosting you choose can vary based on your preferences and the occasion. For the coating, you’ll need candy melts, chocolate, or other coating materials. You can also add sprinkles, edible glitter, or other decorations to make your cake pops more appealing.
Required Tools and Equipment
Besides the ingredients, you’ll need some essential tools to make cake pops. These include mixing bowls, an electric mixer, baking pans, measuring cups and spoons, and a cooling rack. Lollipop sticks or cake pop sticks are crucial for creating the signature cake pop look. A deep, narrow vessel like a glass measuring cup or tall drinking glass is ideal for dipping the cake pops. For drying, you can use a styrofoam block, floral foam, or even a cardboard box with holes. Optional tools like a cookie scoop, food processor, and piping bags can also be helpful.
Preparing the Cake Base
Crafting the perfect cake base is the first step in making cake pops. The cake base serves as the foundation for your cake pops, and its quality can significantly impact the final result. You can either use a box cake mix or make a cake from scratch, depending on your preference and the time you have available.
Using a Box Cake Mix
Using a box cake mix is a convenient and time-saving option. It provides a consistent result and is available in various flavors. To use a box cake mix, simply follow the instructions on the box, typically involving mixing the contents with eggs, oil, and sometimes water, then baking in a preheated oven. While box mixes are easy to use, they may lack the depth of flavor that homemade cakes offer.
Making Cake from Scratch
Making a cake from scratch allows for more control over the ingredients and flavor. For a homemade vanilla cake, you’ll need 1 and 2/3 cups of all-purpose flour, 1/2 teaspoon of baking powder, 1/4 teaspoon of baking soda, and 1/2 teaspoon of salt. You’ll also need 1/2 cup of unsalted butter softened to room temperature, 1 cup of granulated sugar, 1 large egg at room temperature, 2 teaspoons of pure vanilla extract, and 1 cup of whole milk. Preheat your oven to 350°F (177°C).
To mix, whisk the dry ingredients together, then cream the butter and sugar until light and fluffy. Add the egg and vanilla extract, mixing well. Alternate adding the dry ingredients and milk, beginning and ending with the dry ingredients. This creaming method helps to incorporate air and ensures a light, fluffy texture that’s ideal for cake pops. It’s crucial to use room temperature ingredients, especially butter and eggs, for proper incorporation and texture. Also, measure your flour correctly using the spoon and level method to avoid a dense cake.
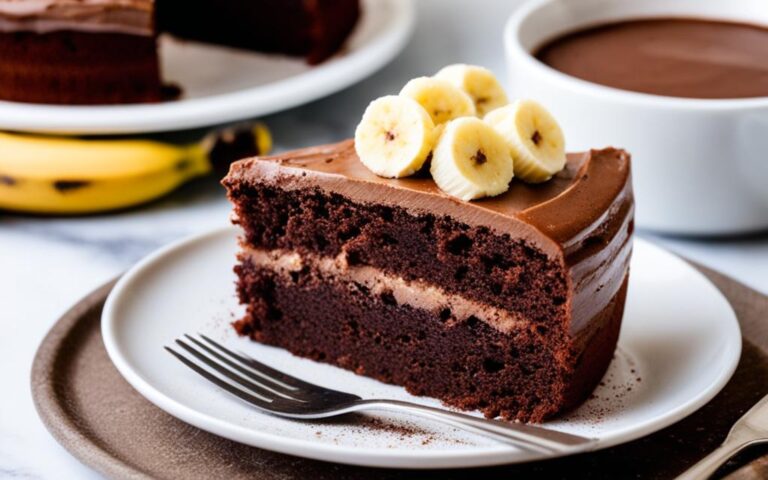
While making cake from scratch requires more time and effort, it generally provides a better flavor than box mixes. You can also experiment with different flavors like chocolate, red velvet, or lemon cake to create unique cake pop flavors. Regardless of the method you choose, ensure that the cake is completely cooled before crumbling it to avoid excess moisture in the cake pop mixture.
Creating the Perfect Frosting
The frosting is a crucial element in making cake pops, as it binds the cake together and adds flavor. Whether you’re using a homemade recipe or a store-bought option, the quality of the frosting can significantly impact the overall taste and texture of your cake pops.
Homemade Vanilla Buttercream Recipe
Making frosting from scratch allows you to control the ingredients and the flavor, ensuring that your cake pops are as delicious as possible. A classic vanilla buttercream is a versatile choice that complements a variety of cake flavors. To make it, you’ll need:
Ingredient
Quantity
Unsalted butter, softened
1 cup
Powdered sugar
2 cups
Vanilla extract
1 teaspoon
Milk or heavy cream
2-4 tablespoons
Beat the butter until creamy, then gradually add the powdered sugar, beating until smooth. Add the vanilla extract and enough milk or heavy cream to achieve the desired consistency. This homemade frosting is not only delicious but also allows you to adjust the flavor to suit your cake pops.
Store-Bought Frosting Options
For those short on time, store-bought frosting can be a convenient alternative. When selecting a store-bought frosting, opt for premium brands over generic ones for better quality and taste. You can enhance store-bought frosting by whipping it with a mixer to incorporate air or adding a bit of vanilla extract to improve the flavor. Keep in mind that commercial frostings often contain more moisture, so you may need less than the recipe calls for.
Even when using a cake mix, it’s worth making homemade frosting for the best flavor. However, if you’re using store-bought frosting, make sure to check the consistency of the cake and frosting mixture to ensure it holds together when rolled. For different cake varieties, consider complementary frosting flavors—such as cream cheese frosting for red velvet cake or chocolate frosting for vanilla cake.
How to Make the Cake Pops Mixture
To make cake pops, you need to start with a well-balanced cake and frosting mixture. This mixture is the foundation of your cake pops, determining their texture and flavor.
Crumbling the Cake
The first step in making the cake pops mixture is to crumble the cooled cake into a large bowl. Use your hands or a fork to break the cake into fine crumbs. This process ensures that the cake mixes evenly with the frosting.
Combining Cake with Frosting
Once the cake is crumbled, add frosting gradually, starting with about three-quarters of the prepared amount. Use a hand or stand mixer to mix until just combined. Check the consistency of the mixture; it should hold together when pressed but not be too wet or sticky. If necessary, add more frosting, but be cautious not to add too much, as this can make the cake pops mushy. The right consistency is crucial for achieving perfectly formed cake pops.
Shaping and Preparing Cake Balls
The art of creating perfect cake balls requires patience and precision. To achieve uniformity in your cake pops, it’s crucial to shape the cake mixture into perfectly rounded balls.
Rolling Perfect Cake Balls
To roll the perfect cake balls, start by taking small portions of the cake mixture and gently shaping them into balls. It’s essential to apply even pressure to avoid any irregularities. Once you have shaped the mixture into balls, roll them again for a smoother finish.
Chilling for Best Results
After shaping, place the cake balls in the fridge or freezer to chill. According to the guidelines, once rolled for the second time, place the cake balls back into the freezer for a further 30 minutes, or into the fridge for 1 hour and 30 minutes. Chilling is critical as it helps the cake balls hold their shape when attaching the cake pop sticks and aids in setting the chocolate coating quicker. Properly chilled cake balls are firm to the touch but not frozen solid, making them easier to handle and resulting in a smoother finish.
As “The Cake Pop Handbook” suggests, chilling is a step that cannot be skipped or shortened. It’s vital to maintain the right temperature to prevent the chocolate coating from cracking. By ensuring your cake balls are adequately chilled, you’ll achieve a professional-looking cake pop every time.
Adding Sticks and Dipping Techniques
Once you have your cake balls prepared, the next step is to add lollipop sticks and dip them in melted chocolate or candy coating. This process requires some finesse to achieve a smooth, even coat.
Inserting Lollipop Sticks Properly
To insert lollipop sticks properly, gently push the stick into the cake ball about halfway through. Make sure it’s straight and even to avoid any lopsided cake pops. A firm but gentle touch is necessary to prevent the cake ball from breaking apart.
Mastering the Dipping Process
Dipping cake pops in chocolate is an art that requires practice. Start by melting your chocolate or candy coating to the right consistency. Then, grab a cake ball by the stick and dip it into the melted chocolate, swirling it around to coat evenly. Tap the stick gently on the edge of the cup to remove excess chocolate, and twirl it to coat the remaining surface. A 2-cup glass liquid measuring cup is ideal for dipping, as it provides the perfect depth.
Dipping Technique
Tips
Swirling
Ensure the cake pop is fully coated
Tapping
Remove excess chocolate by gently tapping the stick on the cup’s edge
Twirling
Wrap the remaining chocolate around the cake pop
To achieve a smooth coating, work quickly but carefully. If the chocolate begins to thicken, gently reheat it to maintain the right consistency. With practice, you’ll master the dipping process and create beautifully coated cake pops.
Decorating Your Cake Pops
With the right techniques and materials, you can turn cake pops into stunning treats. Decorating cake pops is a fun and creative process that allows you to add a personal touch to your baked goods.
Sprinkles and Toppings
To add a decorative touch to your cake pops, you can use a variety of sprinkles and toppings. Colored candy melts or tinted white chocolate can be used to create a range of colors and effects. You can also experiment with different types of sprinkles, such as nonpareils, sprinkles, or edible glitter.
For a premium look, consider using white chocolate as a coating, which can be tinted with gel food coloring to achieve the desired color. While candy melts are a convenient option, white chocolate offers a richer flavor and more versatility in decorating.
Creative Design Ideas
To take your cake pop decorating to the next level, try experimenting with different techniques, such as double-dipping, drizzling, or marbling. You can also create character cake pops by adding fondant features or using edible markers to draw on details.
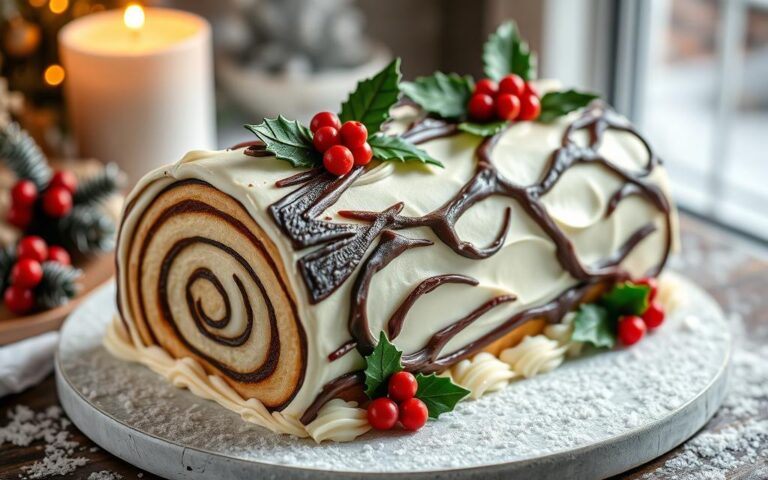
Using different colored coatings, you can create themed cake pops for various occasions, such as Halloween, Christmas, or Easter. Additionally, you can achieve ombré or gradient effects by mixing colors or using multiple coatings. Displaying your cake pops creatively, such as in decorative stands or arranged in a bouquet, can also add to their visual appeal.
Conclusion: Storage Tips and Serving Suggestions
Now that you’ve mastered the art of making cake pops, let’s discuss how to store and serve them with flair. Proper storage is crucial to maintaining the freshness and quality of your cake pops.
For uncoated cake balls, you can store them in an airtight container in the fridge for up to 2 days or freeze them for up to 6 weeks. To prevent damage, place parchment paper between layers. Once coated, it’s best to store cake pops in a single layer in a styrofoam block or a box to keep them upright and prevent chipping.
When it comes to serving, the possibilities are endless. You can arrange cake pops in decorative stands for parties or package them as favors for guests to take home. For a stunning centerpiece, consider creating a cake pop display on a decorative sheet or platter. If you’re looking for inspiration, you can check out other creative dessert ideas, such as chocolate butterfly cakes.
To transport cake pops, use styrofoam blocks or specialized carriers to prevent damage. Alternatively, you can create your own DIY solution using egg cartons or box lids with holes to keep the cake pops secure.
In summary, with practice, anyone can create beautiful and delicious cake pops at home. Experiment with different flavors, coatings, and decorations to develop your own signature style. Whether it’s for birthdays, holidays, or other special celebrations, homemade cake pops are sure to impress. By following these storage and serving tips, you’ll be able to enjoy your cake pops for days to come, and they can be refrigerated for up to one week or frozen for up to six weeks.
FAQ
What is the best type of cake to use for cake pops?
A dense and moist cake, such as a vanilla or chocolate cake made with a box mix or from scratch, works best for cake pops.
Can I use store-bought frosting for cake pops?
Yes, store-bought frosting can be used, but homemade frosting, like vanilla buttercream, is recommended for better taste and texture.
How do I prevent cake pops from falling off the stick?
To prevent cake pops from falling off, make sure the cake ball is securely attached to the lollipop stick, and the chocolate coating is set properly in the fridge.
What is the ideal temperature for melting chocolate?
The ideal temperature for melting chocolate is between 105°F to 115°F, using a double boiler or a microwave-safe bowl in 30-second increments, stirring between each interval.
Can I decorate cake pops with sprinkles before the chocolate is set?
Yes, sprinkles can be added immediately after dipping the cake pop in chocolate, while the coating is still wet, to ensure they stick properly.
How long do cake pops stay fresh?
Cake pops can stay fresh for up to 3 days when stored in an airtight container in the fridge, at room temperature they typically last for a day.
Can I freeze cake pops?
Yes, cake pops can be frozen for up to 2 months, placed on a baking sheet lined with parchment paper, and then transferred to a freezer-safe container or bag.
What are some creative design ideas for cake pops?
Some creative design ideas include using different flavors, colors, and toppings, such as edible glitter, chopped nuts, or shredded coconut, to create unique cake pop designs.