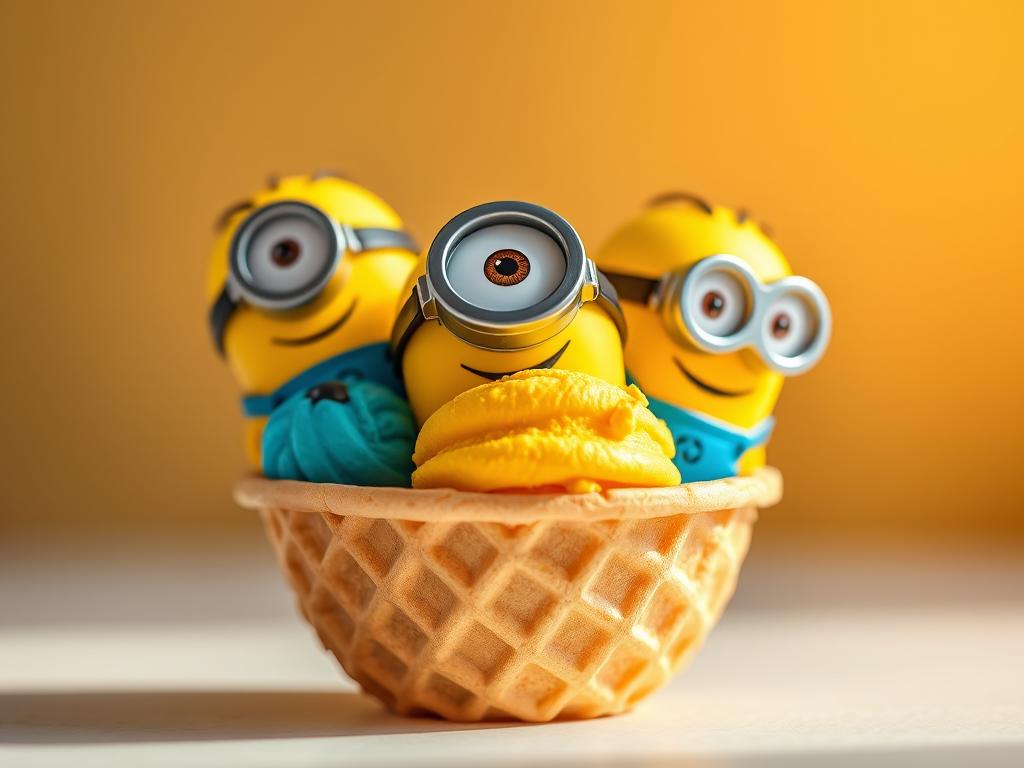
Looking for a delightful dessert that brings smiles to everyone’s faces? This minion ice cream recipe is perfect for all ages. Inspired by the cheerful personalities of the beloved Minions, this treat combines vibrant colours and a playful design with a delicious no-churn method. It’s a fantastic way to add a touch of whimsy to any occasion.
Whether it’s for a birthday party, a family movie night, or just a casual treat, this recipe is incredibly versatile. The best part? You don’t need an ice cream maker. With simple ingredients and easy-to-follow steps, anyone can create this fun dessert. The bright blue and yellow layers mimic the iconic Minion look, making it as visually appealing as it is tasty.
In this article, we’ll guide you through the process, from selecting the right ingredients to creative decoration ideas. Get ready to impress your guests with a dessert that’s as fun to make as it is to eat!
To craft a dessert that’s both fun and delicious, focus on quality ingredients and simple steps. The right components and a methodical approach ensure a flawless result every time. Let’s dive into what you’ll need and how to get started.
Key Ingredients for a Wholesome Dessert
The base of this treat relies on a few essential ingredients. Heavy cream provides richness and a smooth texture, while sweetened condensed milk adds sweetness and helps achieve the perfect consistency. For the vibrant layers, you’ll need food colouring in blue and yellow.
Here’s a quick list of what you’ll need:
2 cups heavy cream
1 can sweetened condensed milk
Blue and yellow food colouring
1 teaspoon vanilla extract (optional for added flavour)
Initial Preparation Steps for a Flawless Base
Start by whipping the heavy cream until it forms stiff peaks. This step is crucial for creating a light and airy texture. Next, gently fold in the sweetened condensed milk to maintain the mixture’s fluffiness.
Divide the mixture into two bowls. Add blue food colouring to one and yellow to the other. Stir each until the colours are evenly distributed. This sets the stage for the iconic look of the dessert.
Pro tip: If you prefer a less sweet treat, reduce the amount of condensed milk slightly. For added texture, consider mixing in crushed biscuits or sprinkles before freezing.
How to Create the Perfect minion ice cream recipe
Mastering the art of layering and colouring can transform a simple treat into a showstopper. This section will guide you through assembling the creamy base, perfecting the colouring techniques, and leveraging the no-churn method for a hassle-free dessert.
Assembling the Creamy Base
Start by whipping 2 cups of heavy cream until it forms stiff peaks. This ensures a light and airy texture. Gently fold in 1 can of sweetened condensed milk to maintain the fluffiness. For added flavour, consider mixing in 1 teaspoon of vanilla extract.
Divide the mixture into two bowls. Add blue food colouring to one and yellow food colouring to the other. Stir each until the colours are evenly distributed. This sets the stage for the iconic look of the dessert.
Colouring and Layering Techniques
To achieve distinct layers, pour the blue mixture into your container first. Freeze it for 20 minutes to set slightly. Then, carefully add the yellow mixture on top. For a marbled effect, gently swirl the two layers with a spoon before freezing.
If you’re feeling creative, consider adding optional ingredients like crushed banana chips for the yellow layer or blueberry candies for the blue layer. These add texture and enhance the flavour.
No-Churn Method: Advantages and Tips
The no-churn method is perfect for those without specialised equipment. It relies on the combination of whipped cream and sweetened condensed milk to create a creamy texture. Freeze the dessert for 4 to 6 hours to ensure it sets properly.
Here are some tips for success:
Use a freezer-safe container to prevent ice crystals from forming.
Allow the dessert to rest at room temperature for 5 minutes before scooping.
Experiment with different flavours and colours to make the treat your own.
Step
Time
Tip
Freeze first layer
20 minutes
Ensure it sets before adding the next layer.
Freeze entire dessert
4-6 hours
Use a tightly sealed container.
Rest before serving
5 minutes
Makes scooping easier.
For a budget-friendly alternative, check out this Milnot ice cream recipe, which uses simple ingredients to create a creamy, tangy dessert.
Creative Decoration and Presentation Ideas
Transform your dessert into a masterpiece with creative decorations and presentation ideas. The key to making your treat stand out lies in the details. From replicating iconic facial features to serving it in style, these tips will help you create a dessert that’s as visually stunning as it is delicious.
Designing Authentic Minion Facial Features
Bring your dessert to life by adding authentic Minion features. Use edible candy eyes to mimic their iconic look. For the goggles, consider using black licorice strips or chocolate melts shaped into circles. These small touches can make a big difference.
If you’re feeling adventurous, use cookie cutter shapes to create detailed designs. For example, cut out banana shapes from yellow fondant to add a playful touch. These decorations not only enhance the look but also add a fun element that kids will love.
Serving Suggestions for Special Occasions
Presentation is key when serving your dessert at special events. For a party, consider using themed plates and cups to match the Minion theme. Blue paper cups can mimic the Minion’s overalls, adding an extra layer of creativity.
For family gatherings, involve everyone in the decorating process. Kids can help place the candy eyes or sprinkle cookie crumbs for texture. This makes the activity enjoyable and memorable for the whole family.
Finally, remember to time your decorations. Add them just before serving to maintain their shape and freshness. A quick pre-freeze for a few minutes can help keep everything in place.
Conclusion
Creating this delightful treat is a simple and enjoyable way to bring a touch of fun to any gathering. From selecting quality ingredients like milk and vanilla extract to layering vibrant colours, the process is straightforward and rewarding. The no-churn method makes it perfect for busy families looking to share a creative dessert.
Serve it in a decorative bowl during movie nights or party occasions. The balance of flavours, enhanced by extract and creamy textures, ensures a crowd-pleasing result. Encourage your family to stir in their own creative touches for a personalised twist.
This treat is more than just a dessert—it’s a way to spark joy and creativity. For more themed inspiration, explore The Unofficial Universal Theme Parks Cookbook. Try it today and share your results with others!
FAQ
What are the essential ingredients needed for this dessert?
You’ll need double cream, condensed milk, vanilla extract, and yellow food colouring to create the base. For decoration, consider using chocolate chips or edible eyes for an authentic touch.
Can I make this treat without an ice cream maker?
Absolutely! This no-churn method is simple and effective. Just mix the ingredients, freeze the mixture in a container, and stir occasionally to achieve a smooth texture.
How long does it take to prepare and freeze?
Preparation takes about 15 minutes, while freezing requires at least 4-6 hours. For best results, leave it overnight in the freezer.
Are there any tips for achieving the perfect yellow colour?
Use high-quality yellow food colouring and add it gradually to the mixture. Stir thoroughly to ensure an even hue without overdoing it.
How can I make this dessert suitable for a party?
Serve it in small bowls or cones, and add edible decorations like chocolate chips or fondant to mimic minion features. It’s a fun and creative way to delight guests.
Can I customise this recipe for dietary restrictions?
Yes, you can substitute ingredients like dairy-free cream or plant-based condensed milk to cater to dietary needs while maintaining the same delightful flavour.