The Golden Oreo Cookie Recipe is a yummy treat. It mixes vanilla, funfetti, and Golden Oreos’ crunch. These cookies are great for special events or when you’re craving something sweet.
Making these cookies is quick and easy. They have a buttery, chewy texture that many people love. These treats are full of sprinkles and have a Golden Oreo on top, making them stand out.
You can bake and enjoy these cookies in just an hour. Plus, they stay fresh for up to three days in a closed container. So, get ready to bake and enjoy the deliciousness of Golden Oreo cookies.
Get ready for a real treat with our Golden Oreo Birthday Cookies. These funfetti cookies are full of sweet surprises and crunchy Oreo bits. Below is an easy recipe to make a batch of golden goodness that everyone will love.
In a medium bowl, mix flour, cornstarch, baking soda, and salt. Set it aside.
In another bowl, beat the butter, granulated sugar, and brown sugar until fluffy.
Add the egg and vanilla extract into the mix and combine well.
Slowly mix in the dry ingredients until well combined.
By hand, fold in the rainbow sprinkles evenly in the dough.
Use a scoop to place dough portions on a lined baking sheet, 2 inches apart.
Bake in a 350°F (180°C) oven for 11-13 minutes, until edges are light golden.
As they come out of the oven, press Oreo pieces on top of each cookie.
Cool cookies fully on the sheet before moving to a wire rack.
Keep the cookies in an airtight container, enjoying them within 3 days.
These Golden Oreo Birthday Cookies are great for parties or just because. They have a golden look, fun sprinkles, and Oreo bits hidden inside. Serve with milk or give as a gift. So, start baking and enjoy these special cookies!
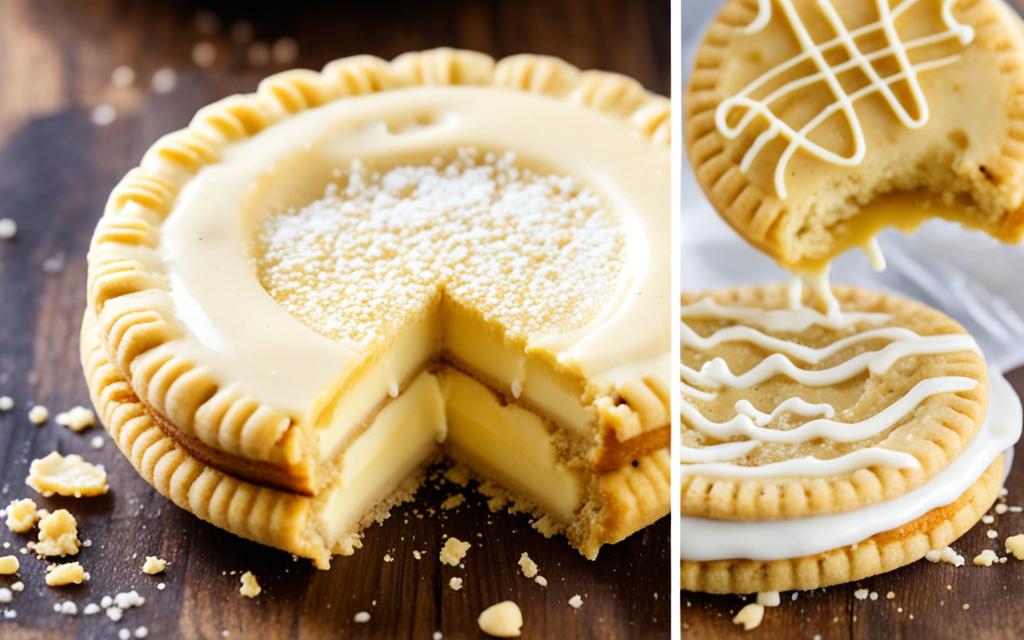
Variations and Storage Tips for Golden Oreo Blondies
Enjoy the brilliant mix of rich brown sugar and buttery blondies. Add the crunchy Golden Oreos for a heavenly taste. Our recipe includes melted butter, sugar, eggs, and Vanilla extract. Mix with flour, salt, and Golden Oreos. They are easy to make and will satisfy your sweet tooth. Just bake them at 350F for 25-30 minutes until golden brown.
Want more fun with your blondies? Try out different flavours to take your treat to the next level. Choose from double chocolate, salted caramel pecan, cookies and cream, citrus burst, or pumpkin spice, and more. This adds a twist to the classic Golden Oreo Blondie, making them even better.
Storing these treats right is key to keeping them fresh. Keep them at room temperature in an airtight container for a week. For a longer life, put them in the fridge. Craving a blondie later? Freeze them by wrapping squares in plastic and then in a freezer bag. Thaw or microwave for warm and gooey goodness.
FAQ
Can I use regular Oreos instead of Golden Oreos for the cookie recipe?
Yes, you can swap Golden Oreos for regular ones to change the taste.
How long does it take to make the Golden Oreo Birthday Cookies?
Making Golden Oreo Birthday Cookies takes about an hour.
Can I store the Golden Oreo Birthday Cookies for later?
After making them, yes, you can keep these cookies in an airtight box for up to 3 days.
Can I add different toppings to the Golden Oreo Blondies?
Sure thing! You’re free to try new toppings like chocolate chips or nuts on the Golden Oreo Blondies.
How long do the Golden Oreo Blondies last?
The Golden Oreo Blondies stay fresh for about a week when kept in an airtight container.
Can I freeze the Golden Oreo Blondies?
Definitely! To freeze them, wrap each square with plastic wrap. Then, place them in a freezer-safe bag or container.
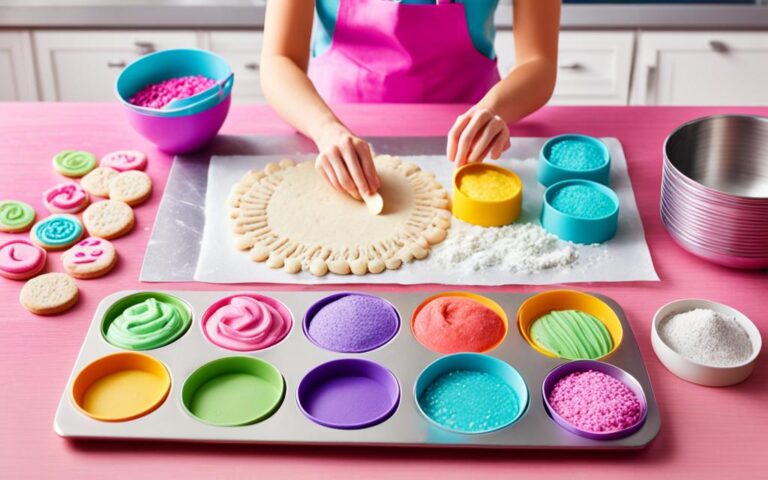
Views: 0Want to make your tea party or birthday extra special? Try our Barbie Cookies. They’re tasty, lovely to look at, and bring Barbie’s fun world into your home. Both kids and adults will love them! Barbie Cookies stand out because they’re inspired by Barbie. They add joy and creativity to any occasion. Imagine your…
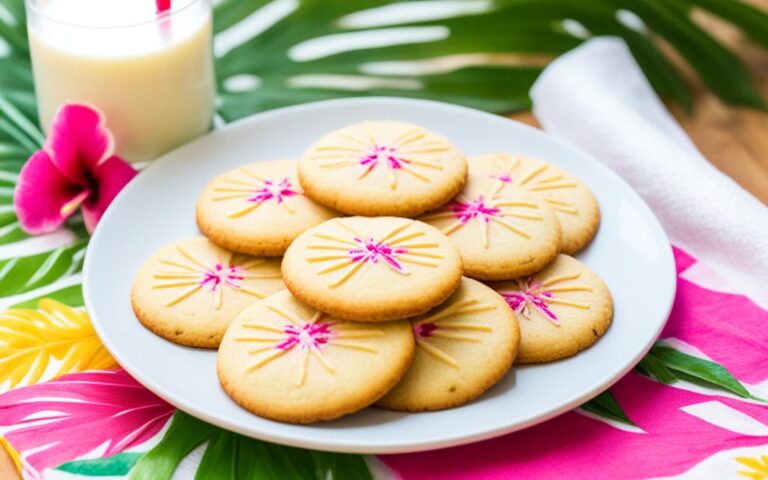
Views: 0Enjoy the taste of coconut and macadamia nut in our cookies. They offer a piece of heaven with every bite. The mix of these flavours sends you straight to paradise. Ingredients and Preparation To bake these cookies, gather these items: 1 2/3 cup flour, 3/4 tsp baking powder, 1/2 tsp baking soda, 1/2 tsp…
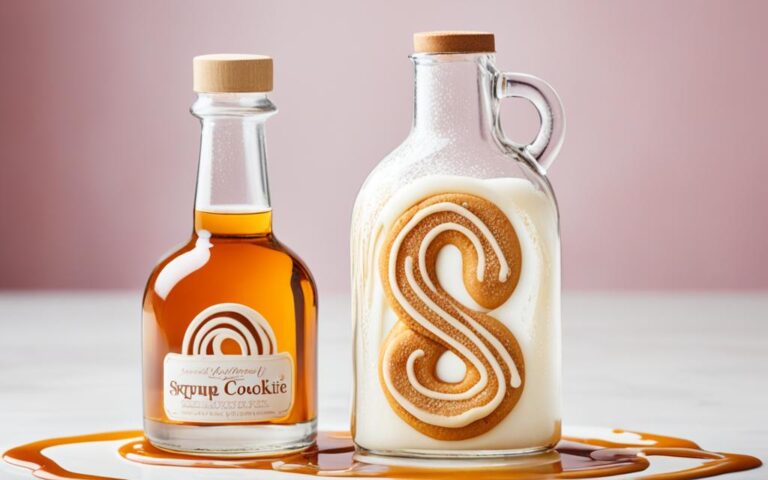
Views: 0Starbucks is a master at crafting holiday drinks. Their sugar cookie latte has won hearts two years running. You can make this festive treat at home without spending much. Try the sugar cookie syrup Starbucks recipe for a budget-friendly delight. Making the syrup is easy, with common ingredients. You need brown and white sugar,…
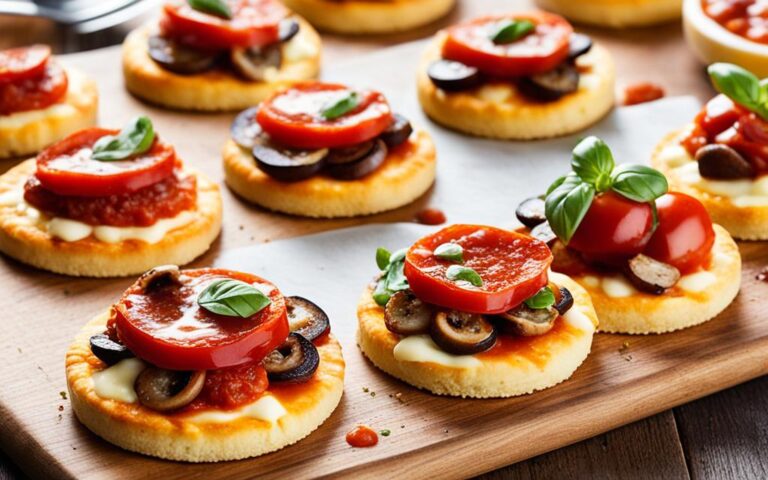
Views: 0These savory shortbread cookie recipes offer a unique twist. They mix pizza flavors, herbs, and cheese. This combination brings a bold flavor to every bite. The mix of sweet and savory creates a tasty treat. Suitable for appetizers or snacks, these recipes stand out. Imagine pizza-inspired bites or herb-infused crackers. Savory ingredients like sun-dried…
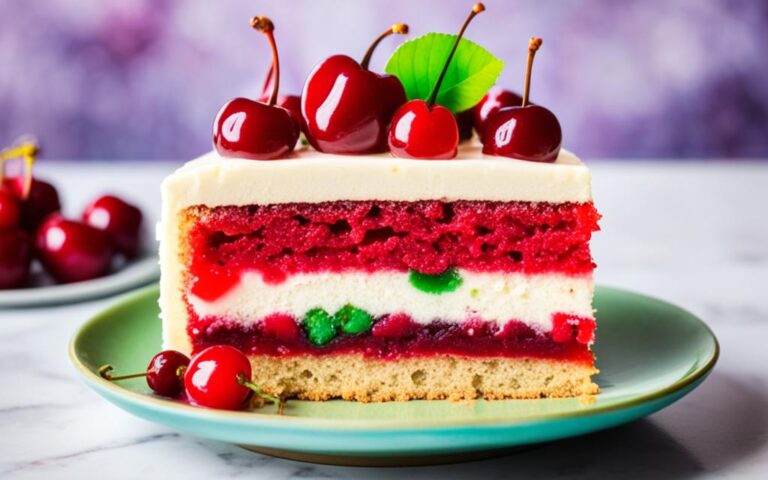
Views: 0Welcome to our tasty journey with Glace Cherry Cake! It’s a dessert full of color, sweetness, and flavor. Perfect for any event, from birthdays to tea times. Get ready to enjoy every bite! The Glace Cherry Cake looks amazing. Its vanilla sponge is filled with bright red cherries. This dessert tastes great and looks…
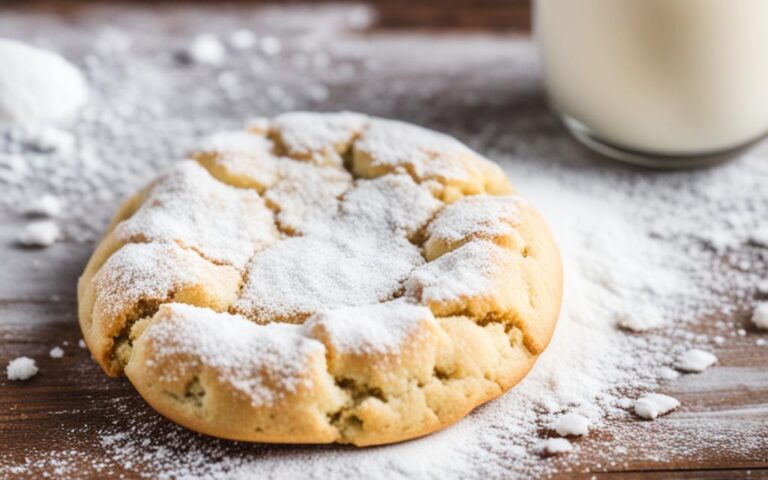
Views: 0Today, we invite you to explore the wonderful world of soft delights. We are thrilled to share a delicious recipe for pillow cookies. These treats will carry your taste to a dreamy place of sweetness. Each cookie combines two honey-infused shortbread pieces with a rich jam inside. They are lightly dusted with powdered sugar….