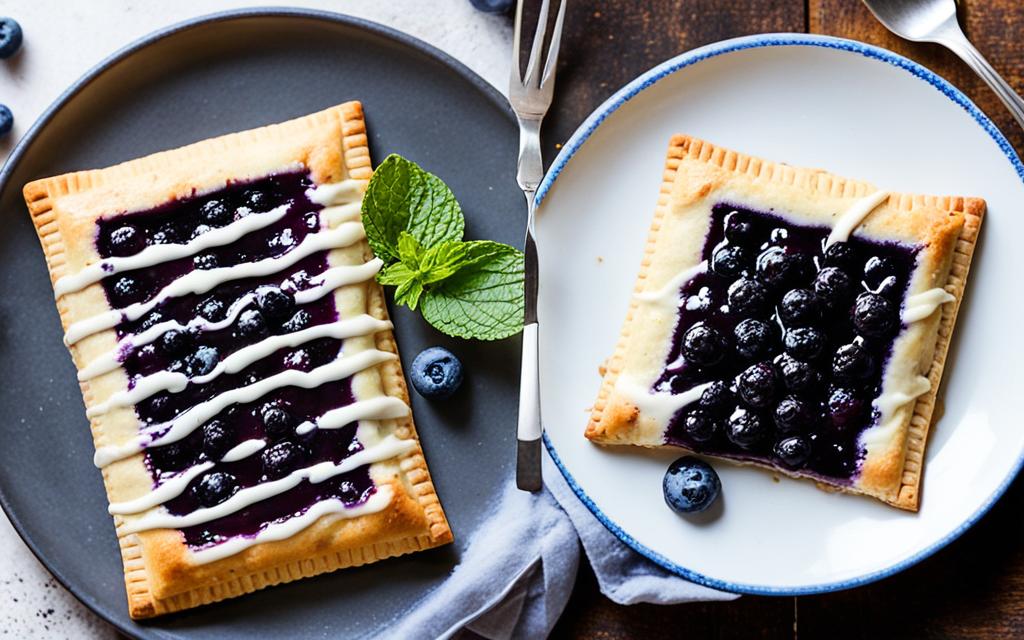
This homemade blueberry pop tart recipe is inspired by Claire Saffitz from “Gourmet Makes.” It’s an easy take on the beloved breakfast snack. You’ll learn to make the dough, the blueberry filling, and the icing.
To make the dough, mix all-purpose flour, sugar, salt, butter, and ice water. Then, roll it out and cut it into rectangles. The filling uses frozen blueberries, sugar, salt, and water, cooked until it’s thick. For the icing, you need powdered sugar, oat milk, and you can add sprinkles if you like.
Once you put the pop tarts together, bake them until they’re golden. Then, add the icing on top. With this homemade blueberry pop tart recipe, you’ll enjoy making your own tasty pastries. It’s a great way to avoid store-bought ones and make something special at home.
Pop Tarts are a tasty food from America that many love for breakfast. They were made by Kellogg’s in 1964. People like them because they are quick and tasty for the morning. These pastries have a flaky crust and are filled with sweet stuff like jams or chocolate. They often have icing on top and sometimes colourful sprinkles too. Making your own Pop Tarts lets you pick the best ingredients and tailor them to your taste.
Pop Tarts are known for being easy to take with you. They are perfect for those who are busy and need a fast breakfast. You can eat them after popping them in the toaster or take them on the go. When you make them yourself, you can try out different fun flavours.
Whether you love Frosted Strawberry or want to try different flavours, making your own Pop Tarts is great. You can follow easy recipes like the Blueberry Pop Tart recipe. This way, your breakfast can be more exciting and bring back happy memories.
Why Make Your Own Pop Tarts?
By making Pop Tarts yourself, you get to pick what goes in them. You can use the best flour, butter, and real fruit to make them tastier and healthier. You can also decide how sweet you want them to be when you make them yourself.
Creating homemade Pop Tarts is rewarding and lets you be creative with your breakfast.
Every step, from kneading the dough to making the edges, is a chance to be creative. You can use different fillings and icings to make breakfast fun. Enjoying them with family or by yourself, homemade Pop Tarts are more joyful than the ones you buy.
So, don’t just stick with the usual. Get creative and make your own extraordinary breakfast Pop Tarts. It’s a fun baking journey where your imagination can shine.
How to Make Homemade Blueberry Pop Tarts
Love breakfast pastries? Want to make pop tarts at home? This blueberry pop tart recipe is ideal. It combines a flaky crust, sweet blueberry filling, and tasty icing. These pop tarts will improve your breakfast.
Begin with the dough. Mix flour, sugar, and salt in a bowl. Blend in cold butter and add ice water until dough forms. Split the dough into three parts, wrap in plastic, and chill for an hour.
Next, make the blueberry filling. In a pan, mix blueberries, sugar, salt, and water. Heat until it’s jam-like. Then cool it down.
After chilling the dough, roll it on a floured surface. Cut it into rectangles for your pop tarts. Put blueberry filling on half the pieces, leaving a border. Cover these with the other rectangles. Press the edges to seal.
Crimp the edges with a fork for a classic look. It seals them and looks good. Put them on a baking sheet with parchment paper.
Bake until golden brown, about 15-20 minutes. Let them cool on a wire rack after baking.
For the icing, mix powdered sugar with oat milk until smooth. Add sprinkles if you like. Drizzle over cooled pop tarts.
You’ve made homemade blueberry pop tarts! They’re great for a quick snack or a lazy brunch. Enjoy with coffee or milk for a tasty breakfast.
Making pop tarts yourself means you can pick the flavors and ingredients. Whether you love blueberry or other fillings, creating them is fun. So, wear your apron and enjoy making and eating homemade pop tarts.
Conclusion
Creating homemade breakfast pastries is a fun and rewarding activity. By following simple instructions and choosing quality ingredients, you can improve your breakfast bakes. A standout recipe is the classic blueberry pop tart.
This homemade recipe is a mix of flaky pastry and rich filling. With a few easy steps, you can create a tasty breakfast treat that beats the store-bought kind. It’s also great for meal prep, saving time on busy mornings.
The blueberry pop tarts are both filling and light, perfect for starting your day. They bake to a golden, crispy crust in 25-30 minutes. They’re high in fiber and good for vegetarians and pescatarians too, appealing to many diets.
If you enjoy baking and love blueberries, this recipe is for you. The smell of fresh pastries makes mornings or brunches extra special. Give this recipe a try for a satisfying breakfast treat!
FAQ
Can I use fresh blueberries instead of frozen for the filling?
Yes, fresh blueberries work for the filling. But remember, frozen blueberries release more juice. This extra juice helps thicken the filling. With fresh blueberries, you might need to cook it a bit longer to get it thick.
Can I make the dough ahead of time?
Indeed, you can prepare the dough in advance. Just wrap it in cling film and keep it cool in the fridge for up to 2 days. When you’re ready, take the dough out, roll it, and cut as needed.
How long do homemade blueberry pop tarts stay fresh?
They’re yummiest eaten on the day they’re made. Yet, you can keep them in a sealed container at room temp for 2 days. Want to save them for later? Freeze them. They last a month frozen. Just thaw or toast before eating.
Can I use a different icing for the pop tarts?
Absolutely, feel free to try other icing types. Maybe try a simple mix of powdered sugar and milk. You can adjust the icing to suit your taste, or not use any if you prefer them less sweet.
How can I prevent the pop tarts from becoming soggy?
Ensure they’re cool before icing. Add icing just before you eat or serve them. Bake them till they’re gold and crisp. This keeps them from getting soggy.
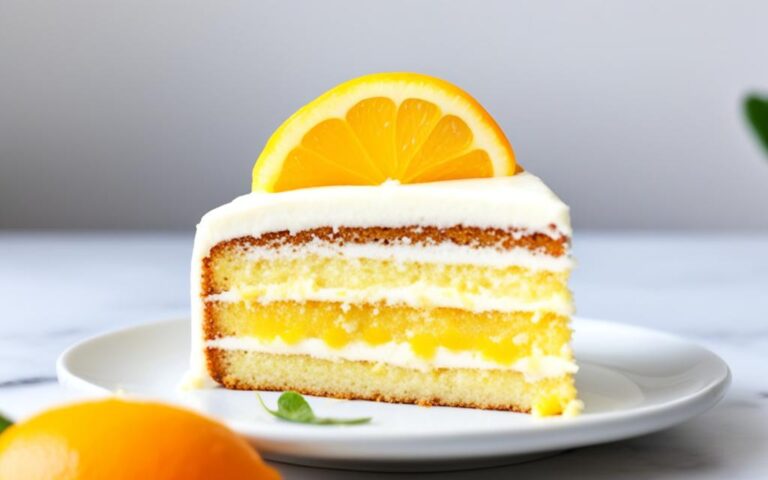
Views: 2Brighten your day with a homemade citrus cake. It’s filled with the zesty goodness of lemon and orange flavors. This cake is sure to be a hit, making your dessert table more refreshing. Its texture is moist and full of flavor. The mix of lemon and orange juices adds a lively touch. They wake…
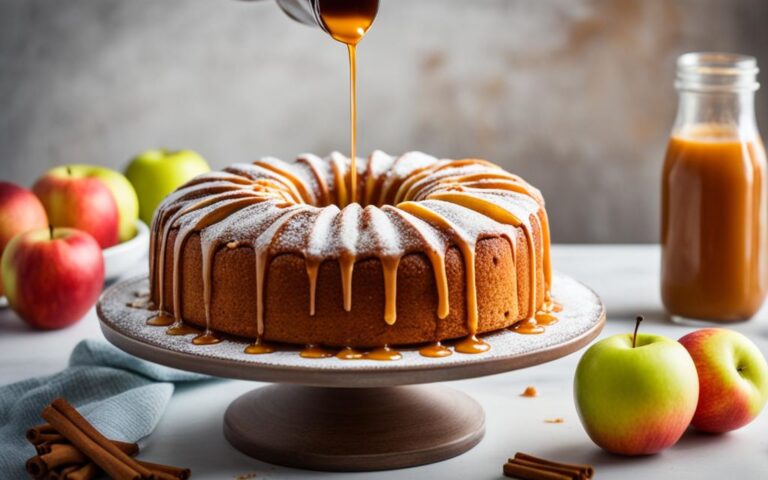
Views: 10Enjoy the cozy flavors of fall with this cinnamon apple cake. It’s a sweet, fragrant dessert that brings the season into your home. The cake is light and fluffy, tasting like a warm hug next to the fireplace. This cake is full of fresh apples and has a crispy, sugary top. Your kitchen will…
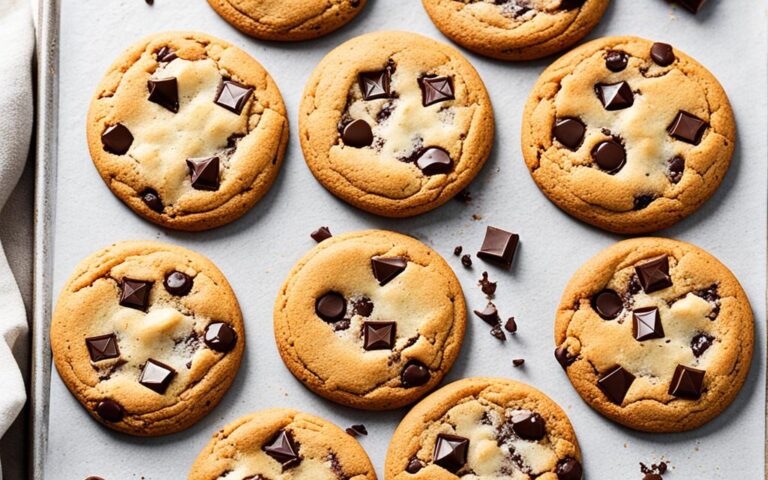
Views: 26Welcome to the ultimate chocolate chip cookies guide! Want to improve your baking? Add cream of tartar to your dough. This simple ingredient turns regular cookies into a delicious treat with crunchy edges and a crinkly texture. Cream of tartar is an acidic salt. It helps in baking by adding a tangy taste and…
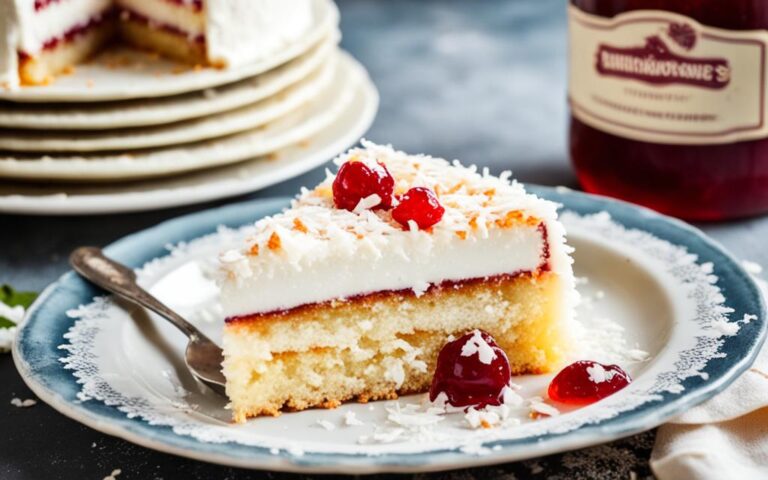
Views: 3Welcome to our sweet journey down memory lane with this Jammy Coconut Cake recipe. It’s the perfect coconut cake recipe to bring back those cherished childhood memories. The mix of jam and coconut takes you to days when life was simpler. This recipe uses common ingredients like unsalted butter, caster sugar, and eggs. It…
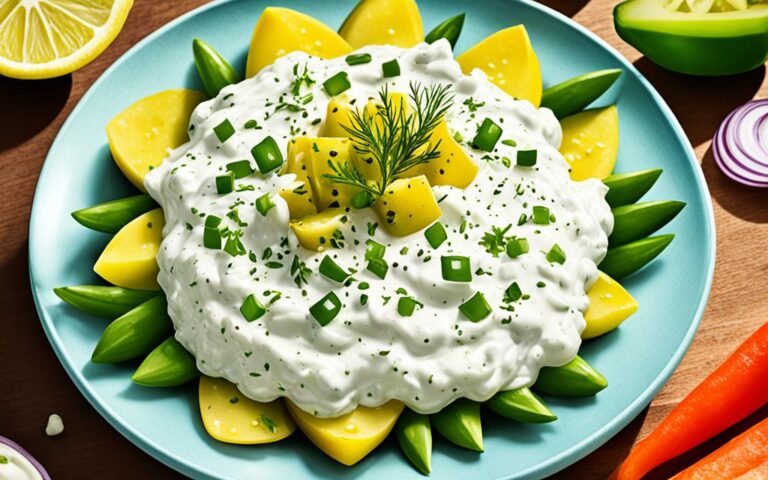
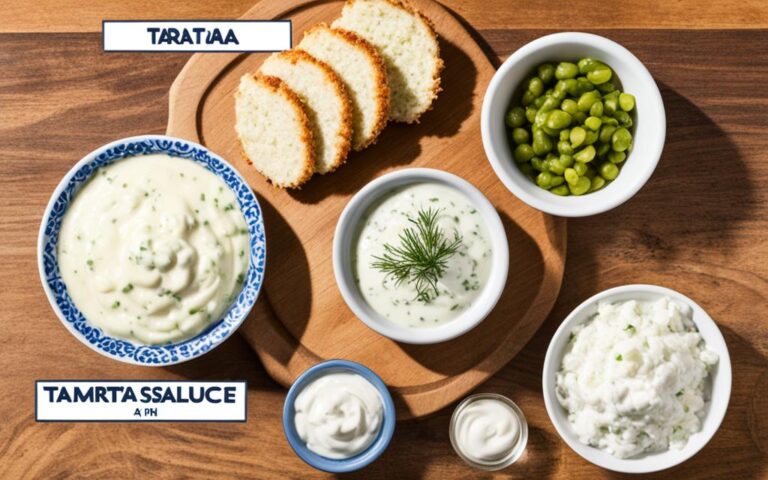
Views: 4Discover the tangy delight of Kings Inn Tartar Sauce Recipe. This homemade sauce is a must-have for seafood lovers. It’s perfect with fresh fish, tasty shrimp, or grilled shellfish. This sauce will make your taste buds dance and leave you wanting more. The Kings Inn Tartar Sauce is a beloved recipe that’s been refined…
Views: 0Need a top-notch condiment for your crab cakes? This tartar sauce recipe is your answer. It’s tangy and full of flavor, perfect for any seafood. The mix of dill pickles, lemon juice, and mayo creates a taste that’s both tart and sweet. Making it takes only about 5 minutes. Plus, you can prepare it…