Welcome to our delightful recipe for an easy carrot cake traybake! It’s a perfect dessert, quick and simple. It offers the taste of carrot cake in an easy-to-make traybake. This is great for parties, bake sales, or any event where you want to enjoy a sweet treat.
The simple steps to make this traybake are easy. First, mix flour, sugar, cinnamon, carrots, and walnuts in a bowl. Then, in another bowl, blend eggs and olive oil. Add the dry and wet mixtures, combine them well. Put this batter in a traybake pan and bake. Soon, your kitchen will smell like freshly baked carrot cake.
You can make your traybake even better with a cream cheese frosting on top. The olive oil makes the cake moist and adds flavor. But you can use sunflower or rapeseed oil instead. The best part is, you can freeze the cake for later. That way, you can have a slice whenever you want.
Stay tuned for a guide on how to make an easy carrot cake traybake. We’ll cover the steps in detail, helping you make a treat that will impress everyone. Get ready to learn and share a delicious dessert with your loved ones!
First, preheat the oven to 350°F (175°C). Grease and line your traybake pan with parchment paper or use baking spray.
In a big bowl, mix flour, sugar, cinnamon, carrots, and walnuts.
In another bowl, beat eggs and oil together well.
Now, pour the wet mix into the dry mix. Stir everything together.
Put this batter into your prepared tray, spreading it evenly.
Bake for 35-40 minutes. Check if it’s done with a clean skewer in the center.
After baking, let the cake cool in the pan for 10 minutes.
Then, carefully move it to a wire rack to cool more.
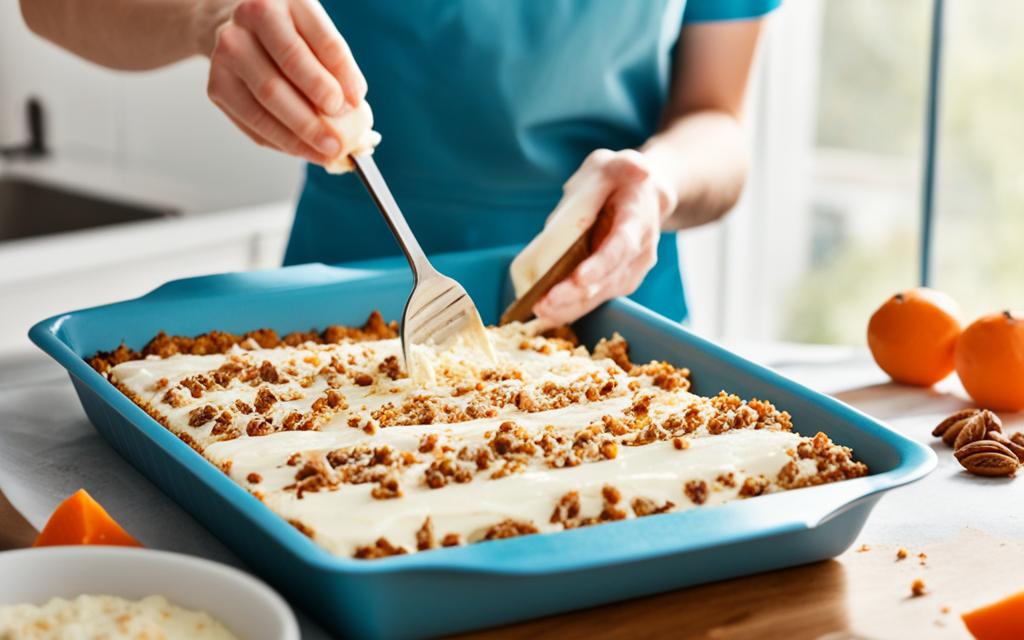
If you like, make a simple cream cheese frosting. Just mix cream cheese and icing sugar until smooth.
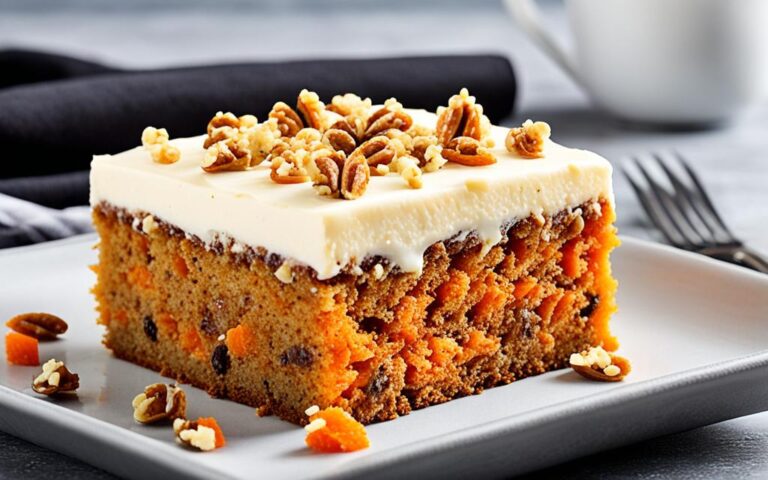
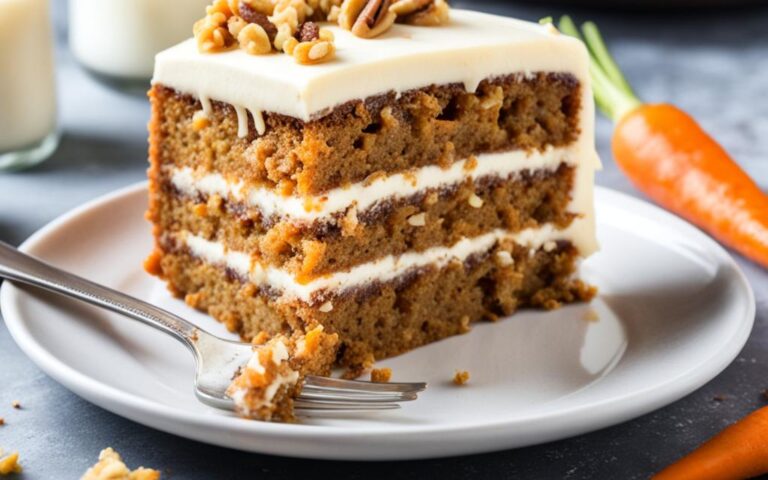
Spread the frosting on the cooled cake. Add some more walnuts for decoration.
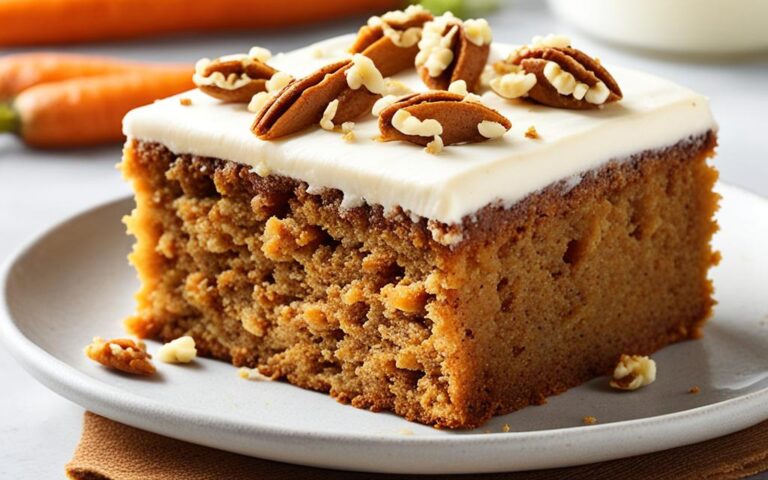
Now, your homemade carrot cake traybake is ready to eat. It’s perfect for any special event or as a sweet surprise. This moist cake is full of flavor, and everyone will love it.
Tips for Lining a Traybake Pan and Storing Carrot Cake Traybake
To make getting the carrot cake out easy, you must line your traybake pan. Here’s how:
Get a piece of baking paper that’s as wide as the traybake and longer.
Use olive oil to grease the pan well on the base and sides.
Lay the first piece of paper in the pan so it covers the bottom and two sides. Let it stick out above the edges.
Then, grease the base one more time. Add the second piece of paper the other way, covering the base and remaining sides, sticking out above too.
Thanks to the paper hanging over, you can pull the cake out easily.
Now your traybake pan is ready. Next, let’s talk about storing your carrot cake traybake:
For a cake without topping, it’s good for one week in a sealed container. This means you can enjoy your cake when you wish.
If the cake has cream cheese frosting, keep it in the fridge. Use an airtight container. Eat within 3 days to keep it fresh.
Want to keep it longer? Freeze it without the topping. Wrap it in paper and then in foil. It will stay good for up to 3 months. Then, have your cake anytime without losing taste or quality.
These tips will make taking the cake out of the pan easy. Plus, you know how to store it for the best taste. Enjoy your baking!
Lining a Traybake Pan
Storing Carrot Cake Traybake
Cut a piece of baking paper to fit the width of the pan and longer than its length.
If undecorated, store in an airtight container for up to a week.
Grease the base and sides of the pan with olive oil.
If decorated with cream cheese frosting, store in the fridge in an airtight container or covered. Consume within 3 days.
Place one piece of baking paper across the base and up two sides, ensuring it sticks up above the sides.
Freezing is possible for undecorated carrot cake traybake. Wrap tightly in baking paper and foil, and store in the freezer for up to 3 months.
Grease the base again and place the second piece of baking paper the opposite way, covering the base and the other two sides and sticking up above the sides.
The overhanging baking paper will act as handles to lift the cake out of the pan.
Conclusion
In conclusion, the easy carrot cake traybake recipe is perfect for simple, amazing carrot cake. It’s ideal for parties, bake sales, or any gathering. Just mix flour, sugar, cinnamon, carrots, and walnuts with eggs and olive oil. Then bake it all in a traybake pan for a perfect cake.
To make it even better, consider adding a lush layer of cream cheese frosting. This frosting makes the cake creamy and rich. Plus, you can store and freeze your cake for later, keeping it handy.
Follow the simple steps and advice in this article. You’ll make a cake that everyone will love. So, get your ingredients ready. Preheat your oven. And enjoy making and eating this easy carrot cake traybake.
FAQ
Can I substitute olive oil with a different type of oil?
Yes, you can use sunflower or rapeseed oil instead of olive oil.
How long can I store the carrot cake traybake?
The carrot cake traybake lasts up to a week in an airtight container.
Can I freeze the carrot cake traybake?
You can freeze it if it’s not decorated. Wrap it in baking paper and foil. It can stay in the freezer for 3 months.
How should I line a traybake pan?
To line a traybake pan, cut a piece of baking paper the right size. Grease the pan with olive oil. Then, place the papers in a crisscross shape with overhangs to lift the cake after.
How should I store the carrot cake traybake with cream cheese frosting?
If it has cream cheese frosting, keep it in the fridge. Use an airtight container or cover. It’s best within 3 days.
Views: 0Want a dessert that wows guests and sweetens your day? Try the carrot cake traybake. It’s filled with taste, moistness, and richness. This guide will show you how to make a carrot cake traybake that everyone will love. The key to a great carrot cake traybake is fresh ingredients. Grated carrots add sweetness. Spices…
Views: 0Many people love carrot cake, but not everyone likes its usual cream cheese frosting. The good news is, there are lots of icing alternatives. They can make your carrot cake taste just as great. Exploring options like buttercream or special twists will make your carrot cake without cream cheese just as enjoyable. For carrot…
Views: 0Are you a carrot cake fan? Looking for a tasty treat? Try Costa Coffee’s carrot cake. It’s a perfect mix of flavors and textures. You’ll love every bite. This carrot cake has a golden sponge with carrot and walnut. It’s moist and tasty. Spices in it give a special touch. The cake stands out…
Views: 0If you love eating carrot cake but wonder if it’s good for your dog, here’s the scoop. Regular carrot cake is not the best for dogs because it has too much sugar and fat. But, you can find recipes for carrot cake that are safe for them. Dogs need different foods than people, and…
Views: 1Looking for a delicious dessert to wow your taste buds? Try Mary Berry’s Carrot Cake Traybake. It’s perfect for carrot cake fans, offering a mix of great tastes. This dessert is simple and fun to make. It starts with a moist, tasty carrot cake base. The carrots bring a sweet twist. Then, brown sugar,…
Views: 0Do you adore carrot cake but worry about the calories? Then you’ll love this low-calorie recipe. It’s a tasty treat that won’t ruin your diet. This cake is moist and packed with cinnamon, carrot, and sultanas tastes. The frosting has low-fat cream cheese, vanilla Greek yogurt, and a touch of icing sugar. You can…