Enjoying a Perfectly Portioned Cheese Cake Slice
Views: 0
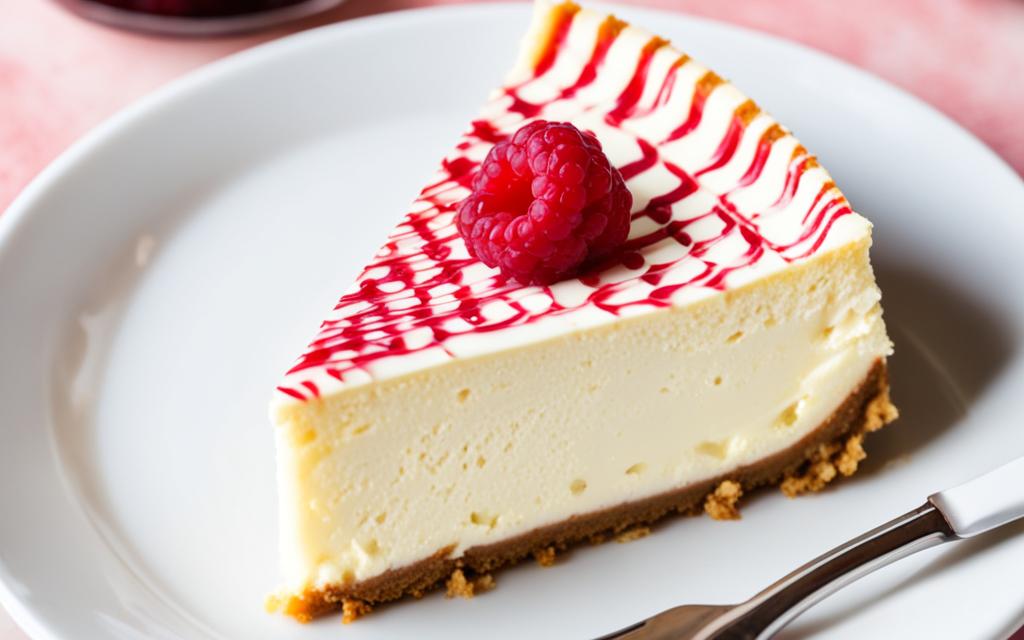
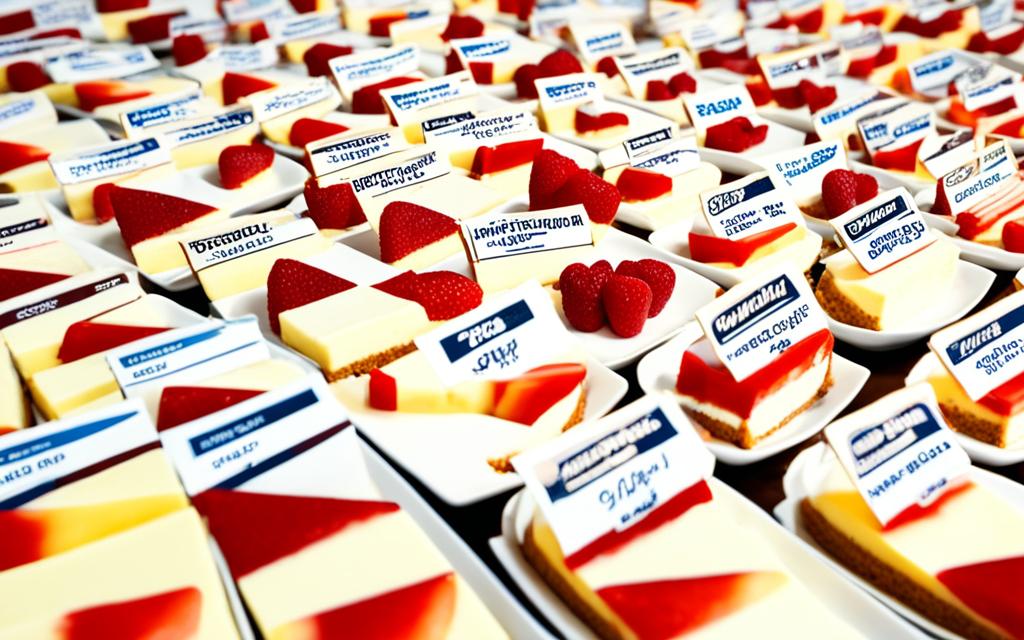
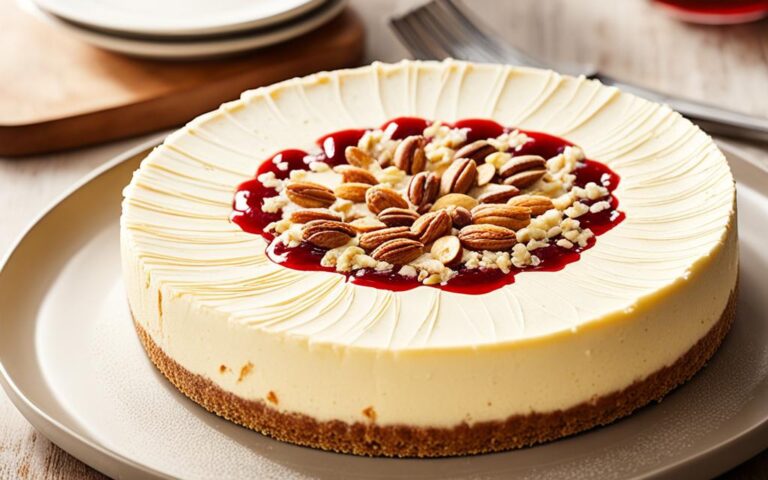
Enjoying a yummy dessert doesn’t have to mean giving up on portion control. Forget about uneven cake slices. Say hi to cheese cake slices that are cut just right.
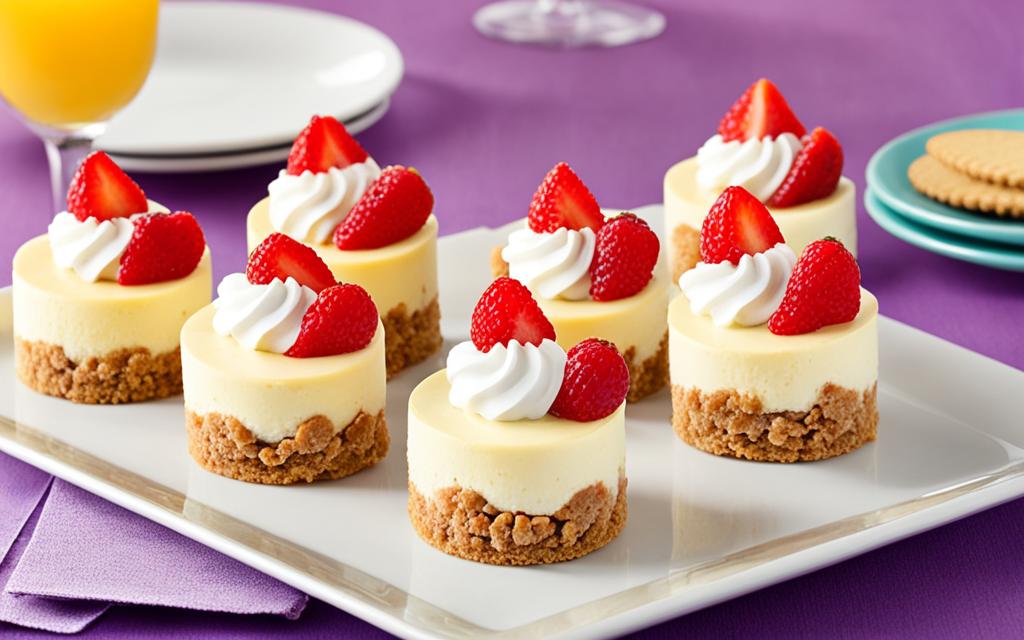
Mini cheesecakes give you a top-notch dessert experience. They come in a simple, yet pretty package. These dishes are creamy and smooth, offering a sweet treat that’s just perfect.
They stand out because they are already the right size. No need to cut them. You can enjoy them feeling guilt-free. Just take a bite and feel the bliss.
Are you having a party or just treating yourself? These mini cheesecakes are a big hit. They taste great and look elegant, fitting any event perfectly.
Why go for an ordinary big slice when you can have these? Try a cheese cake slice that’s made just for you. It’s a wonderful way to enjoy a perfect dessert without overdoing it.
A Simple Recipe for Mini Cheesecakes
Looking for a tasty treat to wow your guests? Try making mini cheesecakes. They’re small, cute, and bursting with flavor. Plus, they’re easy to whip up. All you need are a few ingredients and some baking know-how. Soon, your friends will be asking for more.
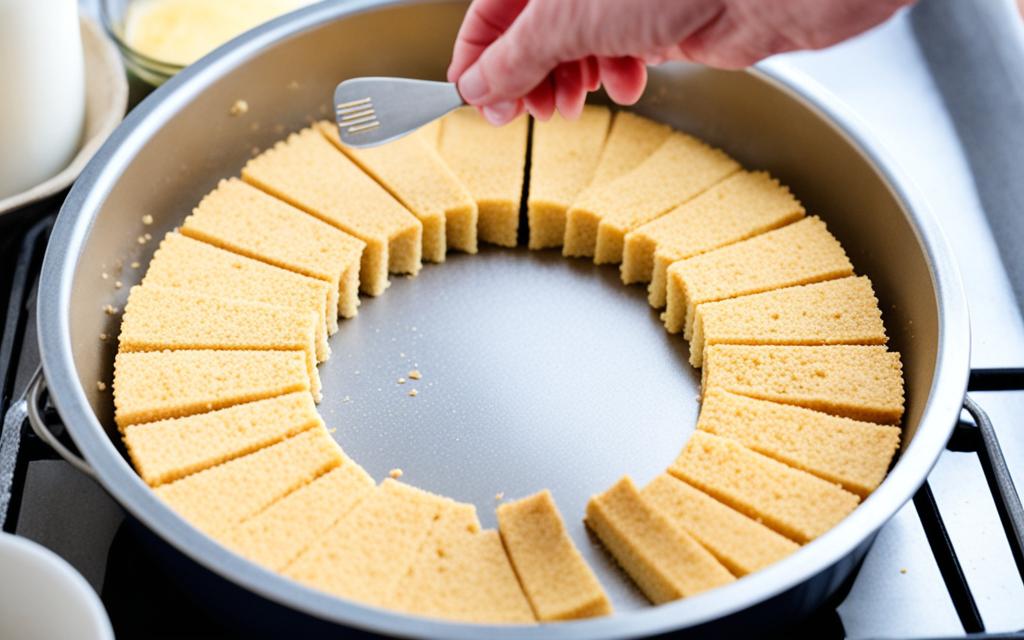
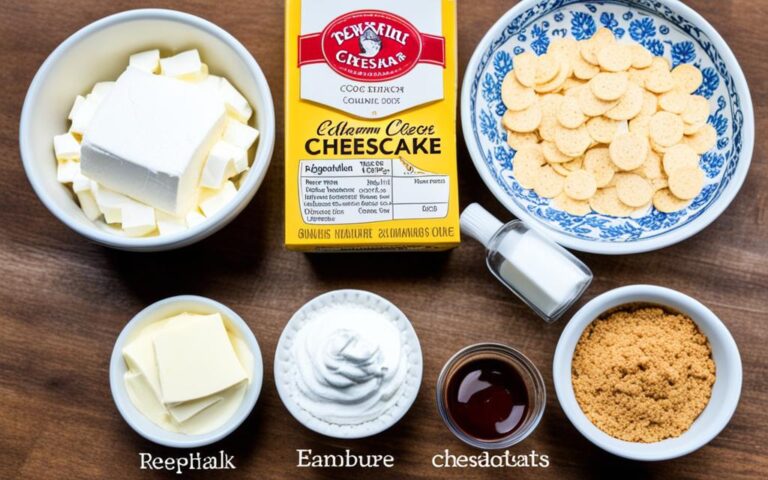
First, make the crust by mixing graham cracker crumbs, sugar, and butter. Press this into cupcake tins to form the base. Then, it’s time to make the creamy filling.
Combine cream cheese, sugar, and sour cream. Mix until smooth. Add vanilla, salt, and eggs, one by one. This makes the filling creamy and perfect for the cheesecakes.
Tip: For a twist, add chocolate chips or crushed Oreos. It adds more flavor and fun.
Now, pour the filling over the crust in the tins. Make sure it’s even. The cheesecakes will expand a bit, so stop filling just before the top.
Bake them at 325°F for 17-20 minutes. They’re ready when the tops look golden and are set. After baking, let them cool.
Chill the cheesecakes for 2-3 hours. This makes them taste even better and get firmer. Then, they’re ready to eat.
Want to see how it’s done? Watch this video guide on mini cheesecakes:
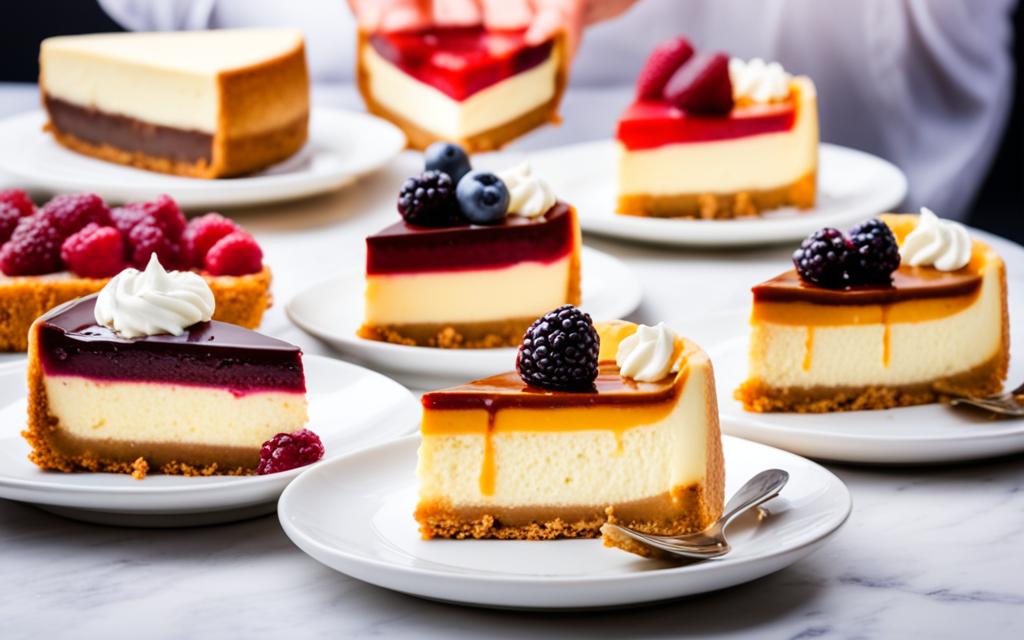
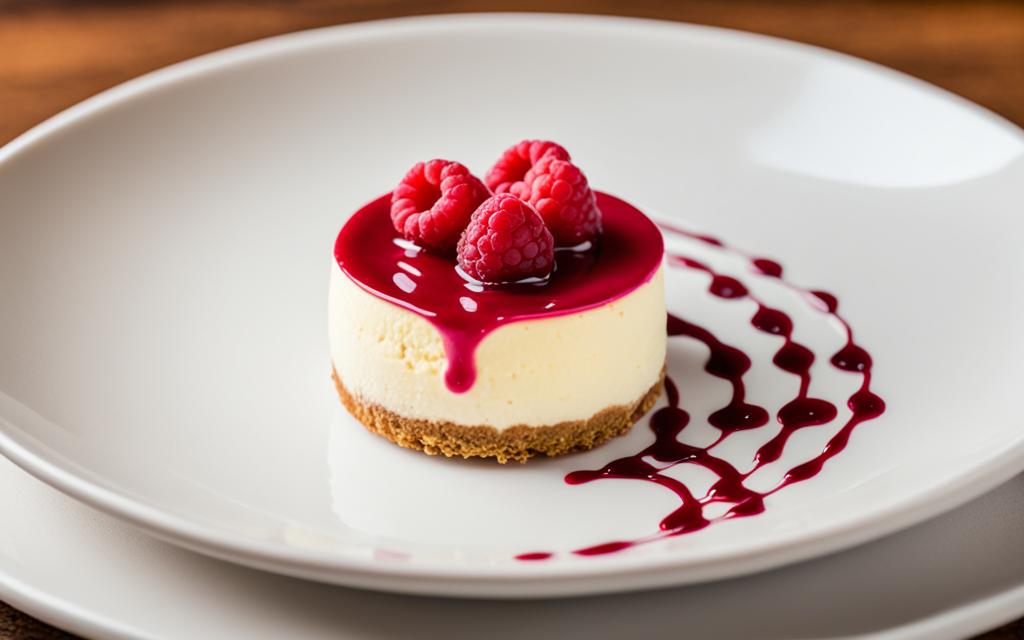
Serve the mini cheesecakes cold. You can top them with whipped cream, fruit, chocolate, or caramel. They make a great dessert for any occasion. Your family and friends will love their rich taste and fancy look.
Tips and Tricks for Perfect Mini Cheesecakes
If you want perfect mini cheesecakes, a few tips can help. Whether you bake a lot or just starting, these hints will make your cheesecakes come out great. They’ll be smooth, tasty, and look good too.
Baking Tips
1. Don’t over-bake: Too much time in the oven makes them dry. Watch them closely and press the center gently to check. If it springs back, they’re done.
2. Use the right temperature: Always start with a hot oven as your recipe says. This stops your cheesecakes from getting too dry or brown.
3. Line your cupcake tins: Lining tins with paper helps you pull them out neatly. Put in the paper before the crust and filling go in.
Cooling Process
Letting mini cheesecakes cool right is crucial for them to keep their shape. Good cooling means they won’t sink in the middle. Here’s how to do it right:
1. Cool slowly: Start by letting them cool at room temp. This step keeps them from getting too sunken or uneven inside.
2. Transfer to the fridge: After they’re cool and room temp, move them to the fridge. Chilling helps them set up perfectly.
Storing and Serving
After your mini cheesecakes are ready, there are many ways to store and serve them:
1. Storage: Keep them fresh by storing in the fridge in a sealed container. They last about a week, staying ready for when you want a treat.
2. Freezing: Freezing mini cheesecakes is easy and makes them ready ahead of time. Wrap them well or put in a container first. They’ll keep for months frozen.
Now you know how to bake the best mini cheesecakes. Give it a try! With some practice and fun, you’ll make cheesecakes that everyone will love.
| Baking Tips | Cooling Process | Storing and Serving |
|---|---|---|
| 1. Don’t over-bake | 1. Cool slowly | 1. Storage |
| 2. Use the right temperature | 2. Transfer to the fridge | 2. Freezing |
| 3. Line your cupcake tins |
Conclusion
Mini cheesecakes are a great dessert for any event. They come in small servings that everyone loves. With their smooth, creamy taste, they’re a joy to eat.
Making them is easy with the simple recipe and advice in this article. Anyone, whether you bake a lot or a little, can make delicious mini cheesecakes. The mix of cream cheese and other ingredients gives a delightful flavor.
Adding fresh fruit, whipped cream, or sweet sauce makes your cheesecakes even better. They’re perfect for a party or just to enjoy yourself. These desserts are easy, delicious, and loved by all.
So, don’t wait to try making these mini cheesecakes. You can pick classic flavors or try new toppings. They’re simple to make and everyone will enjoy them. Treat yourself and your friends to something sweet that they’ll want more of!
FAQ
How long do mini cheesecakes take to bake?
They usually need 17-20 minutes in the oven.
What is the key ingredient for mini cheesecake filling?
Cream cheese, sour cream, and butter are vital for the filling.
Can I add additional ingredients to mini cheesecakes?
You may include extras like chocolate chips or Oreo pieces.
How should I cool mini cheesecakes?
Firstly, cool them to room temperature. Then, chill in the fridge for 2-3 hours.
How should I store mini cheesecakes?
Keep them in an airtight container. They’ll be okay in the fridge for a week or can be frozen for months.
Can I make mini cheesecakes ahead of time?
Making them ahead and storing in the fridge is fine until serving time.
What should I do if my mini cheesecakes are over-baked?
Avoiding over-baking is key to a moist texture. Check if they’re done by seeing if the center bounces back.
How should I serve mini cheesecakes?
Enjoy them plain or with topping choices like whipped cream, fruits, chocolate, or caramel.

