


Top Articles
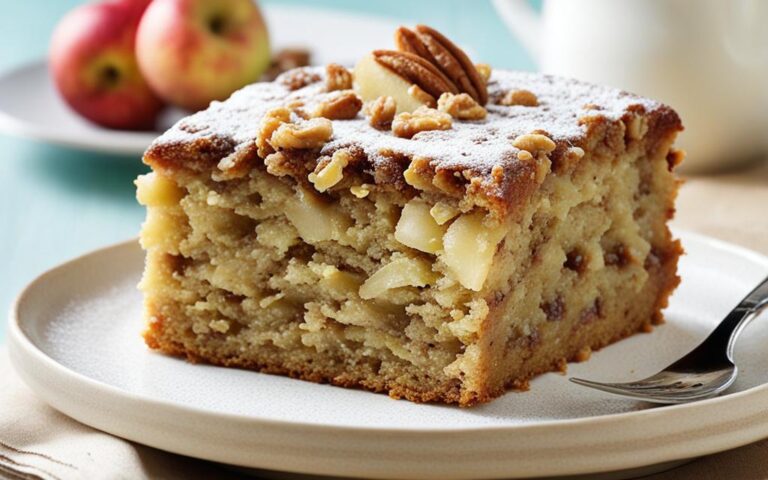
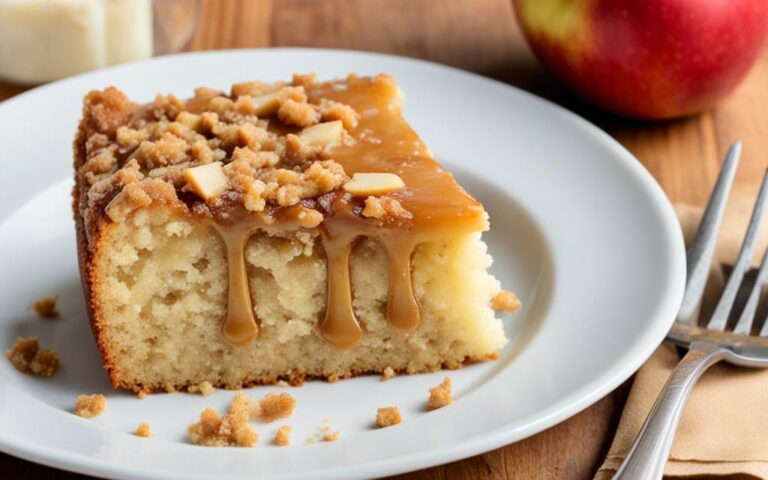


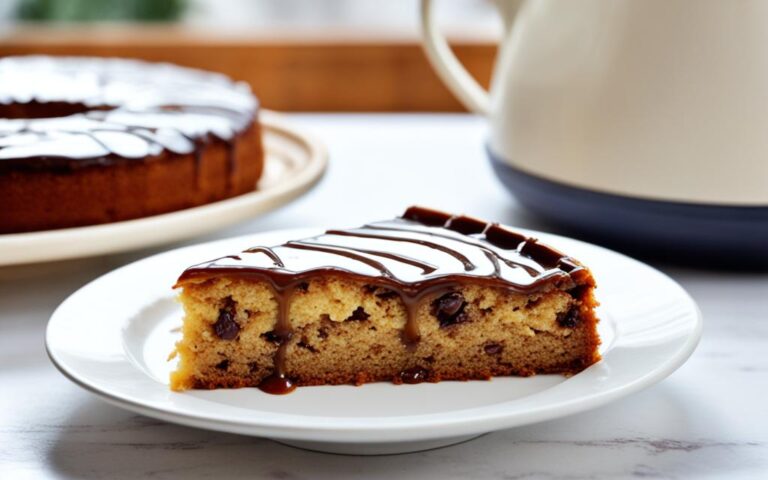


Cakes


Health


Deserts


Phisical Wellness


Salads
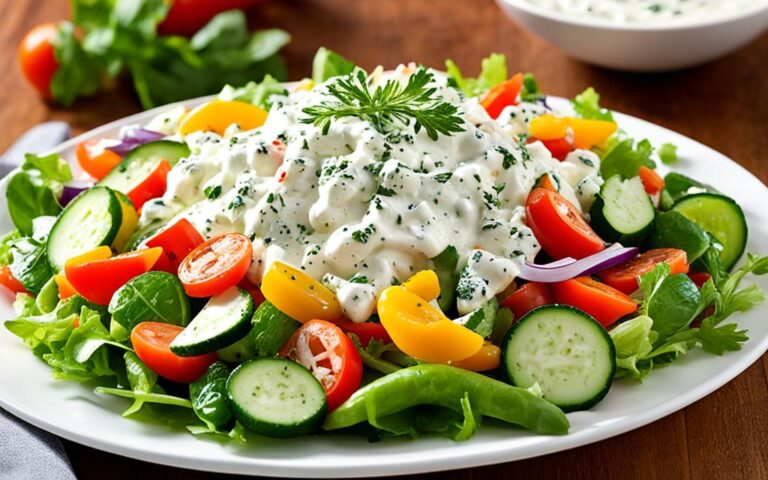
Creamy Vegetable Salad Recipes with Mayonnaise
Searching for the perfect side dish for your next gathering? Creamy vegetable salad recipes with…
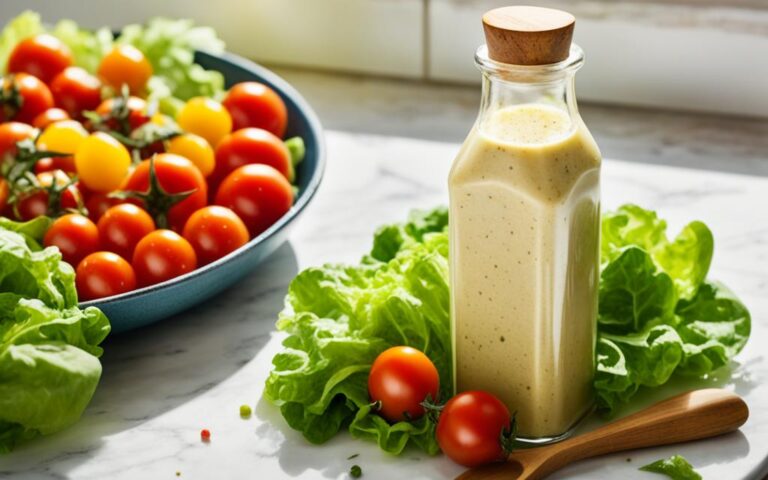
Classic Mayfair Salad Dressing Recipe
Explore the classic taste of the Classic Mayfair Salad Dressing recipe. Inspired by St. Louis’…
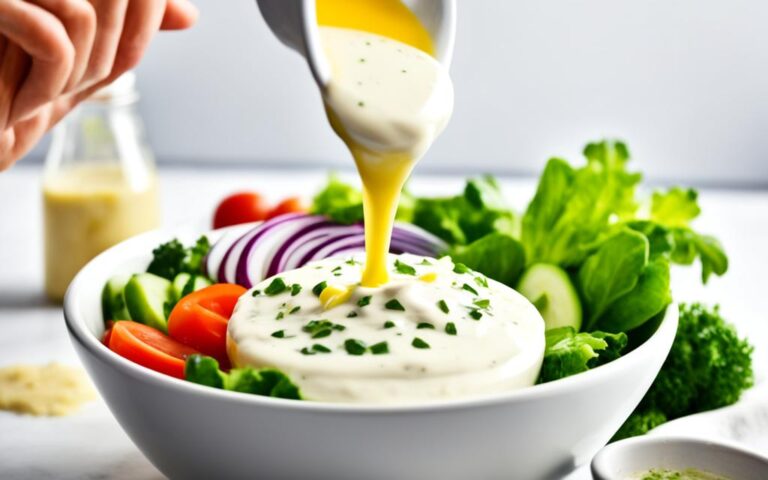
Classic Miracle Whip Salad Dressing Recipe
Looking for a tangy dressing to spice up your salads or sandwiches? The classic Miracle…
Homemade Buddy’s Salad Dressing Recipe
Buddy’s Pizza in Detroit is famous for its tasty salads, especially their Antipasto Salad. It…

Copycat Provino’s Salad Dressing Recipe
Welcome to our blog post about a great copycat recipe. It’s for Provino’s famous salad…

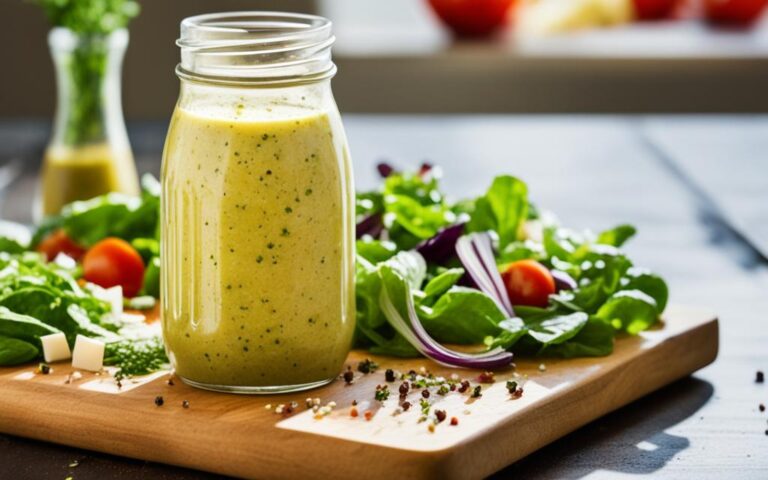
Just Salad’s Spicy Avocado Dressing Recipe
Want to make your salad pop? Try Just Salad’s Spicy Avocado Dressing. This smooth mix…