


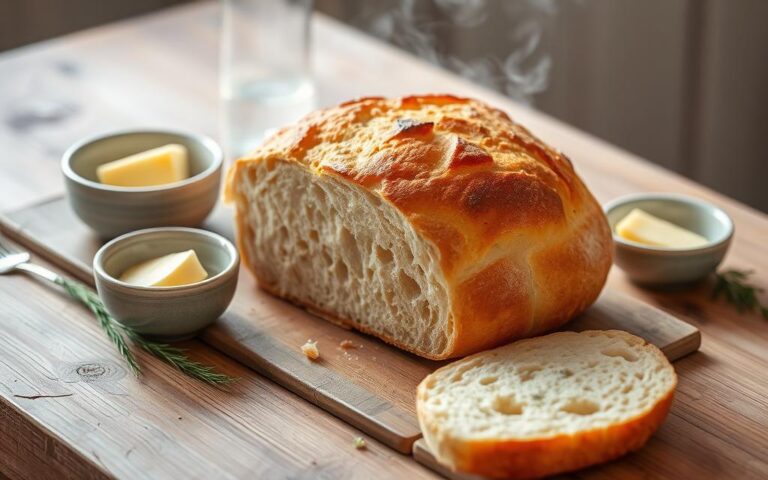
Top Articles


Cakes


Health


Deserts


Phisical Wellness


Salads
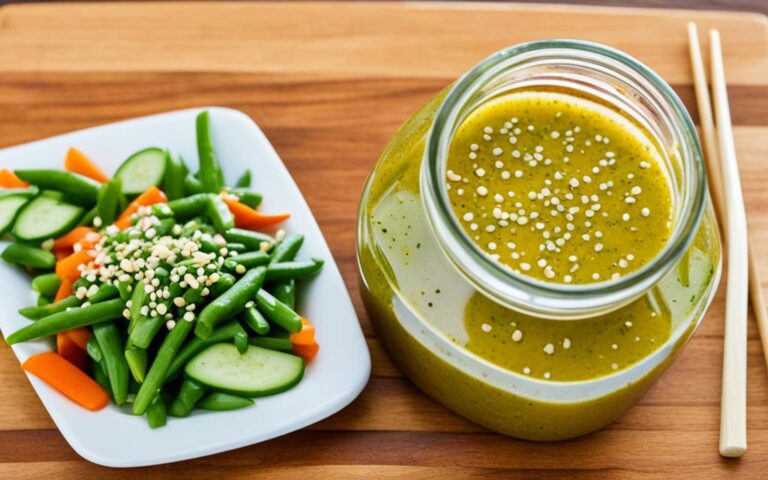
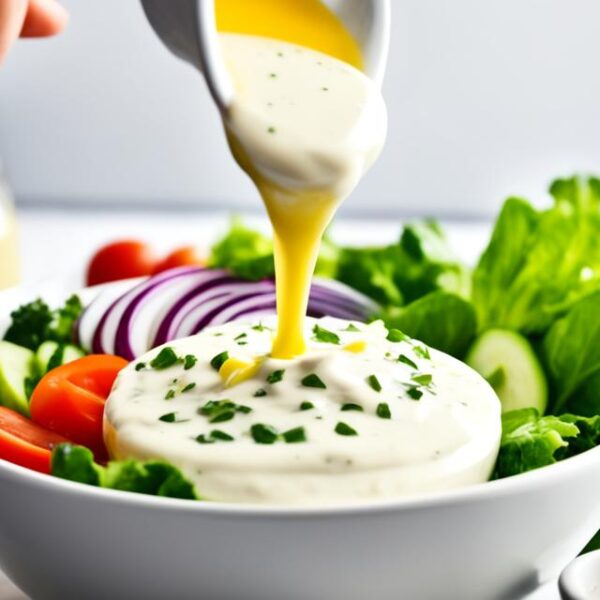
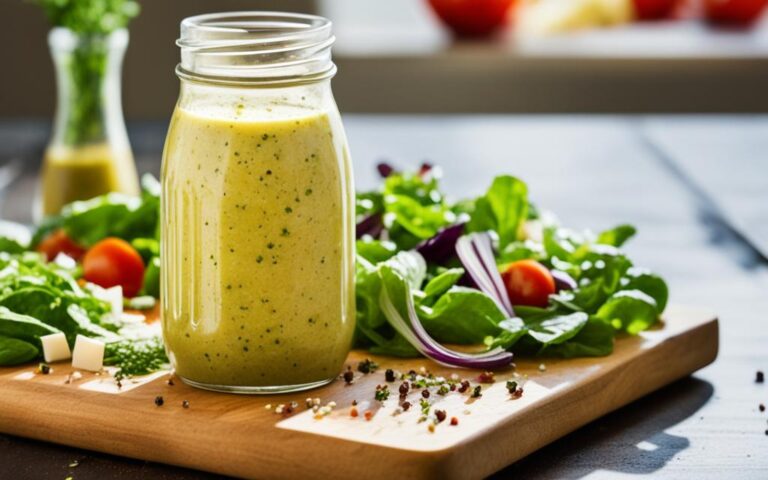
Togo’s Asian Salad Dressing Recipe
Togo’s Asian Salad Dressing mixes savory flavors with exotic aromas. It elevates homemade salads. This…
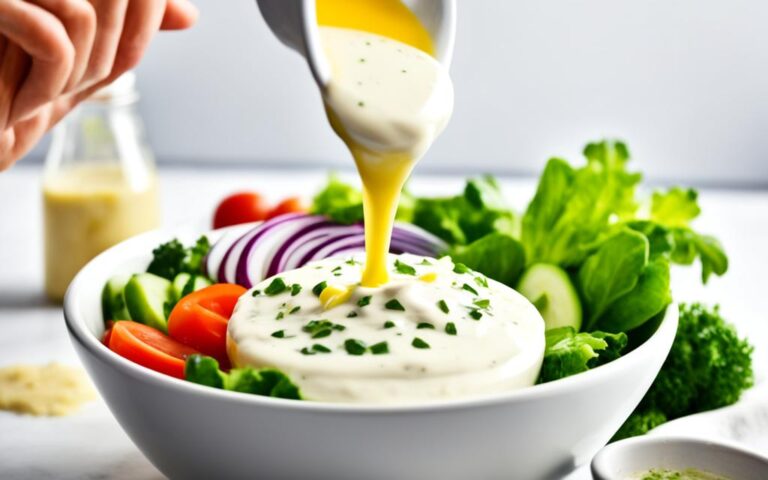
Classic Miracle Whip Salad Dressing Recipe
Looking for a tangy dressing to spice up your salads or sandwiches? The classic Miracle…

Classic Suddenly Salad Recipe
Bring back the joy of picnics with our Suddenly Salad Classic recipe. It’s easy and…
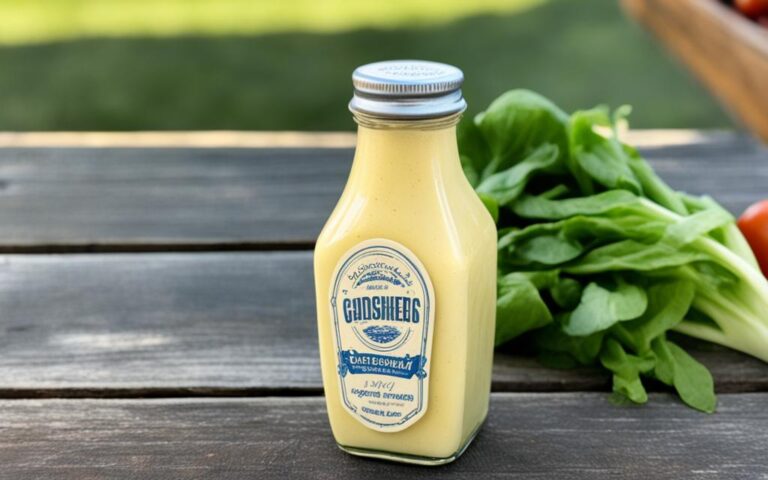
Lawry’s Vintage Salad Dressing Recipe
Lawry’s Vintage Salad Dressing is a classic that brings nostalgia to your meals. It’s a…
Homemade Buddy’s Salad Dressing Recipe
Buddy’s Pizza in Detroit is famous for its tasty salads, especially their Antipasto Salad. It…
Classic Mayfair Salad Dressing Recipe
Explore the classic taste of the Classic Mayfair Salad Dressing recipe. Inspired by St. Louis’…