

Top Articles

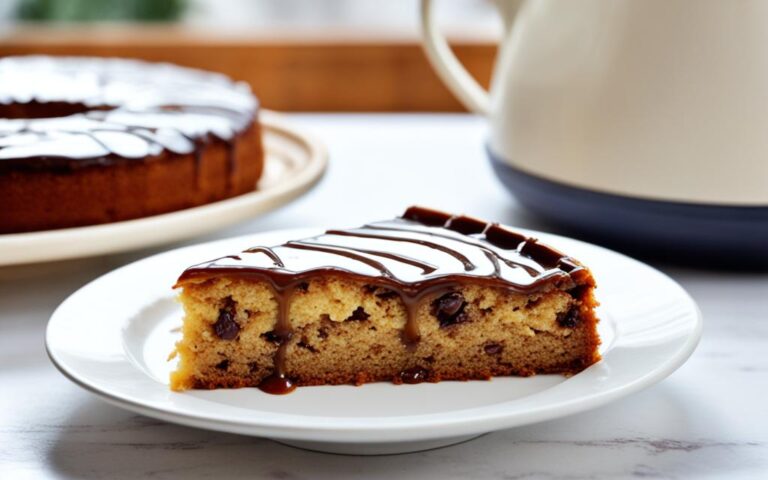


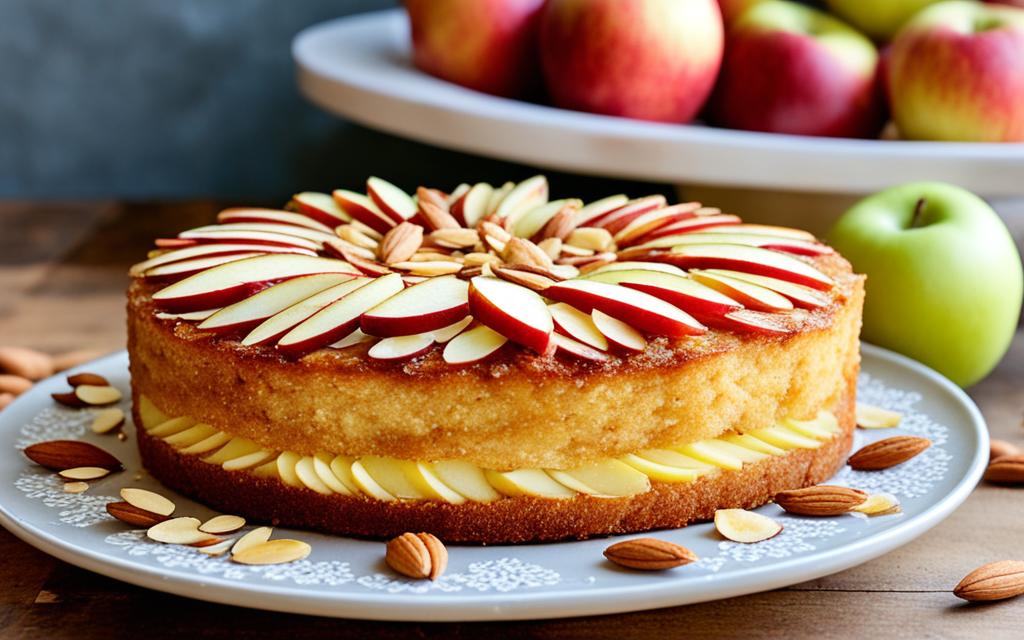
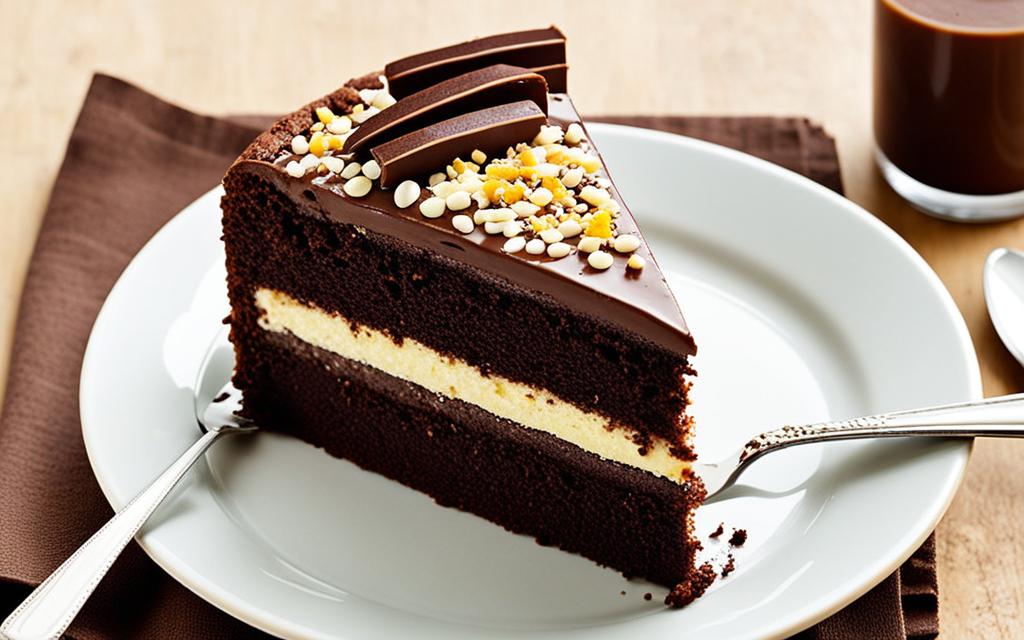
Cakes


Health


Deserts


Phisical Wellness


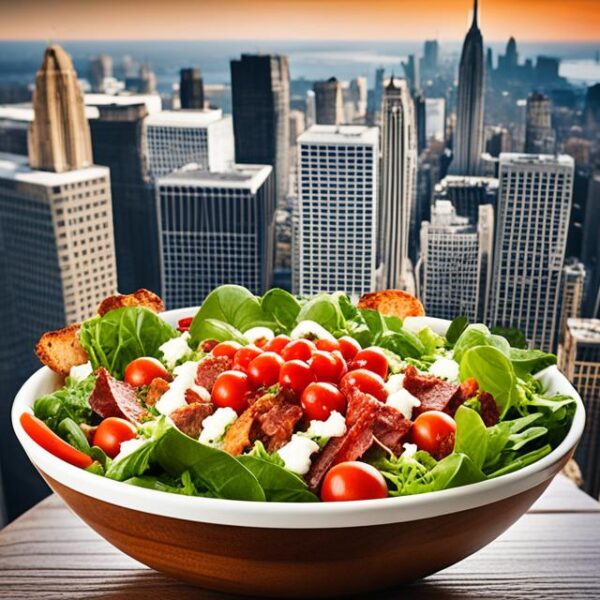
Salads
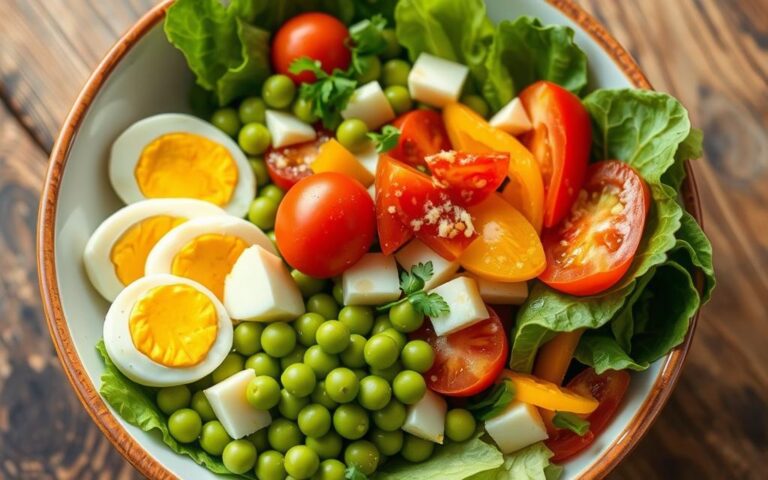
Edamame and Egg Salad Recipes: A Protein-Packed Delight
Explore the tasty blend of Japanese-inspired protein-rich salad recipes. These dishes mix soft edamame beans…
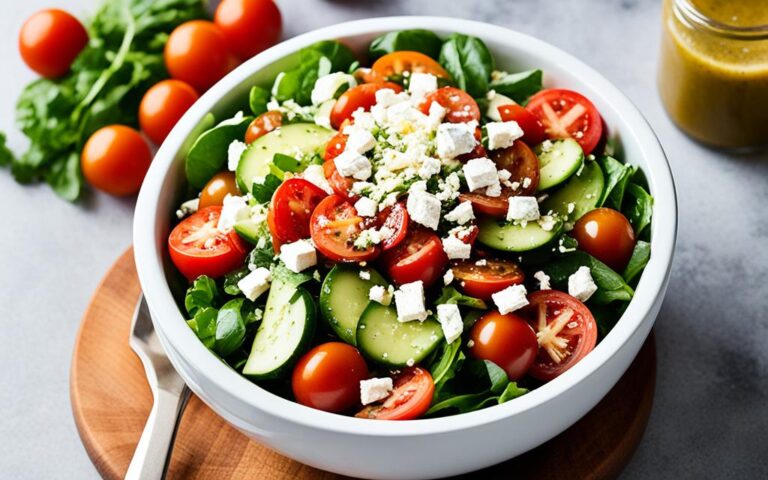
Lou Malnati’s Sweet Vinaigrette Salad Dressing Recipe
This dressing is a celebrated recipe from the famous Chicago venue. It lets you bring…
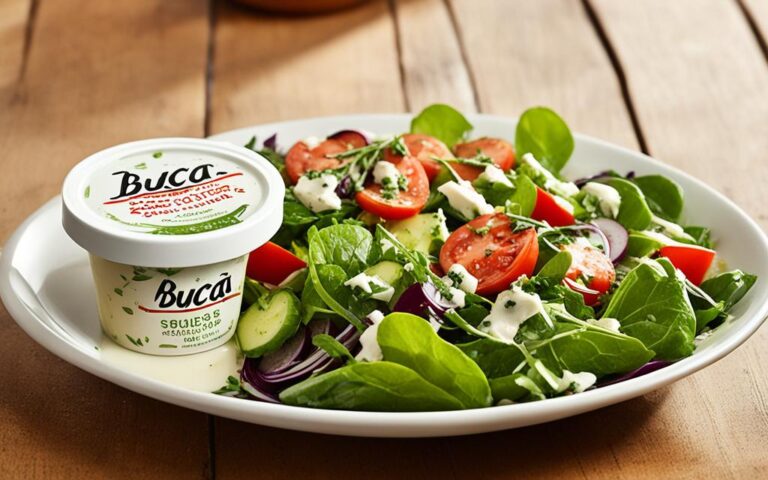
Buca’s Signature Salad Dressing Recipe
Ever wanted to make Buca Di Beppo’s salad dressing at home? You’re in luck, because…
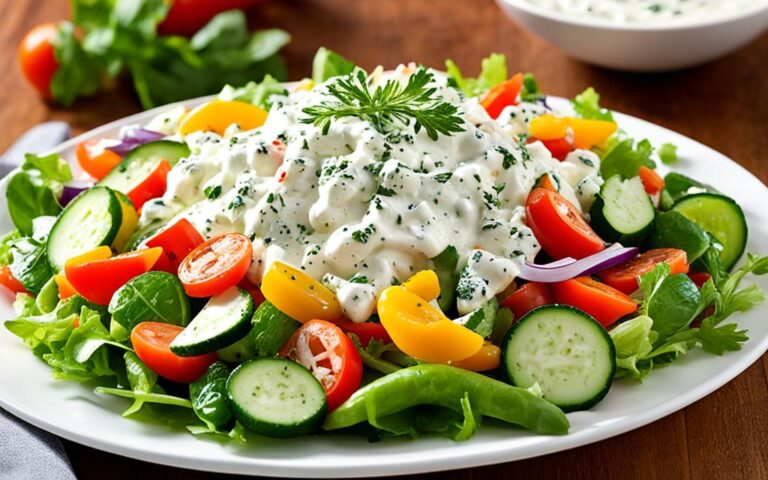
Creamy Vegetable Salad Recipes with Mayonnaise
Searching for the perfect side dish for your next gathering? Creamy vegetable salad recipes with…
Pittsburgh Salad with Riviera Dressing Recipe
The Pittsburgh salad is a favorite in the steel city. It’s a simple dish. It…
Homemade Buddy’s Salad Dressing Recipe
Buddy’s Pizza in Detroit is famous for its tasty salads, especially their Antipasto Salad. It…