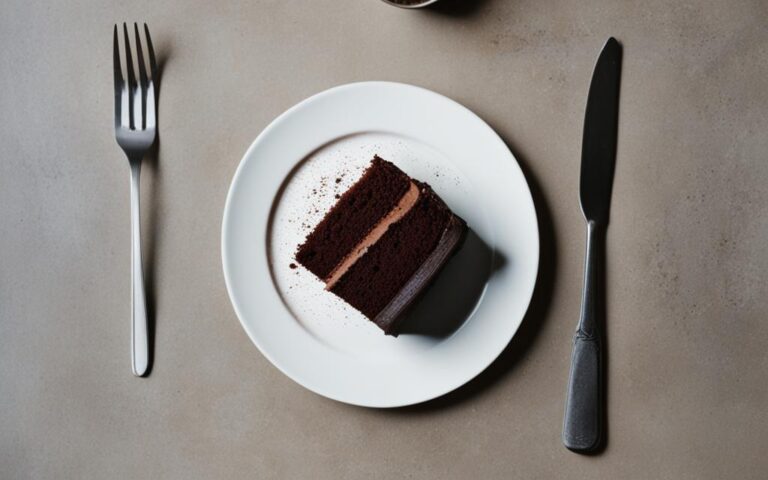
Gorgeous Chocolate Cake with Pink Icing Ideas
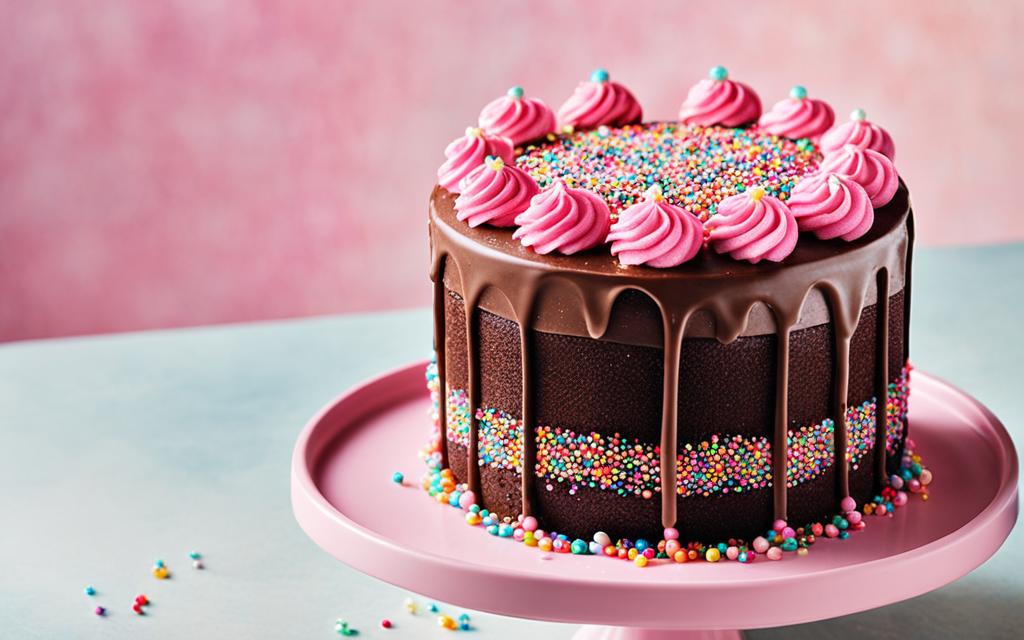
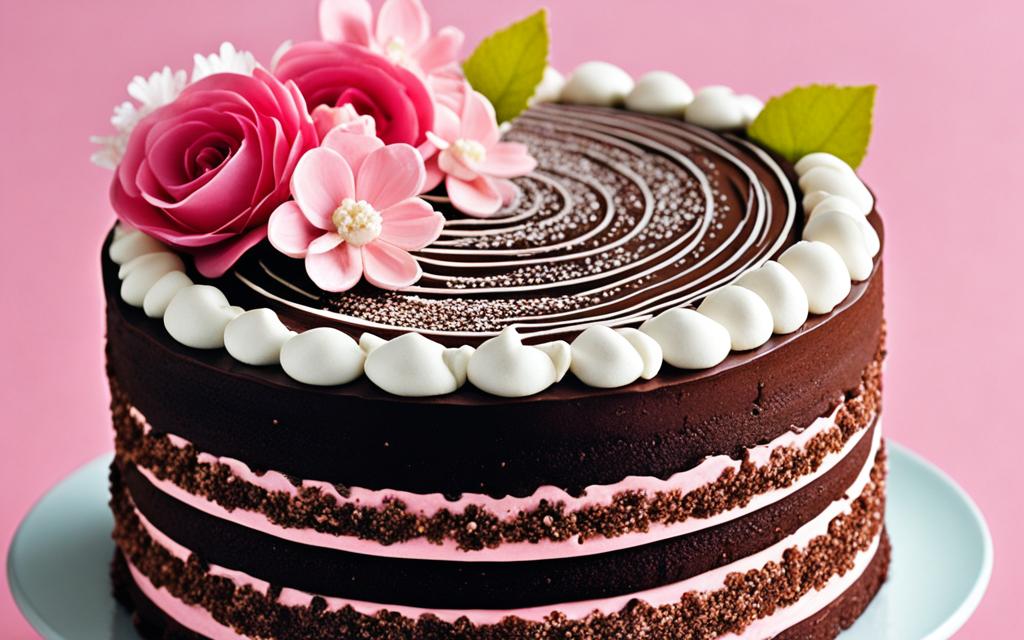
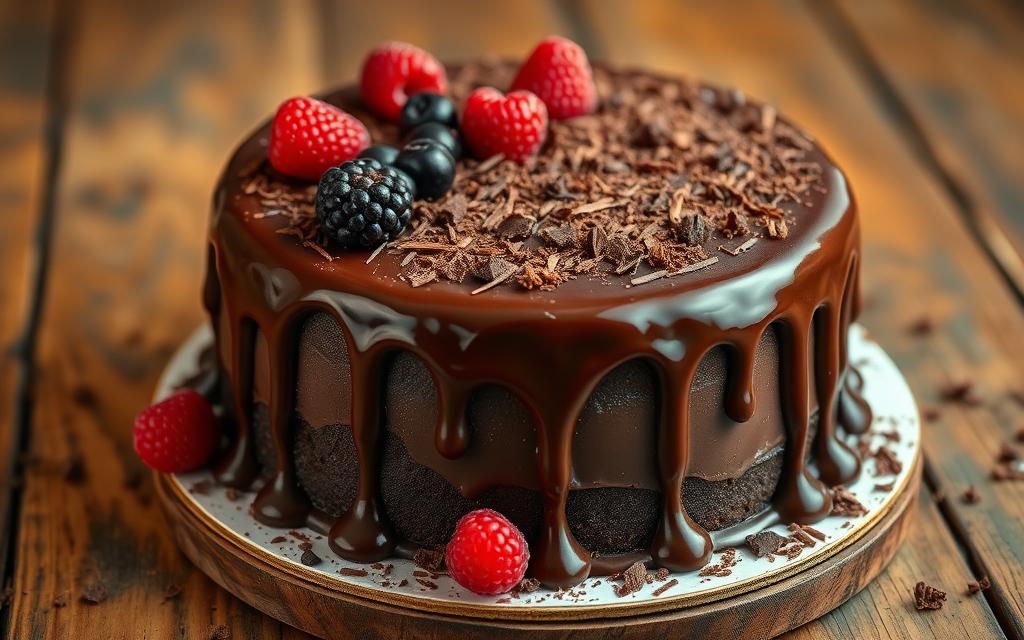
Welcome to our world of exciting chocolate cakes with pink icing. Here, you’ll find amazing ideas for your next baking adventure. These cakes, with their elegant to playful designs, are sure to impress. They’re perfect for birthdays, bridal showers, or just because you love chocolate.
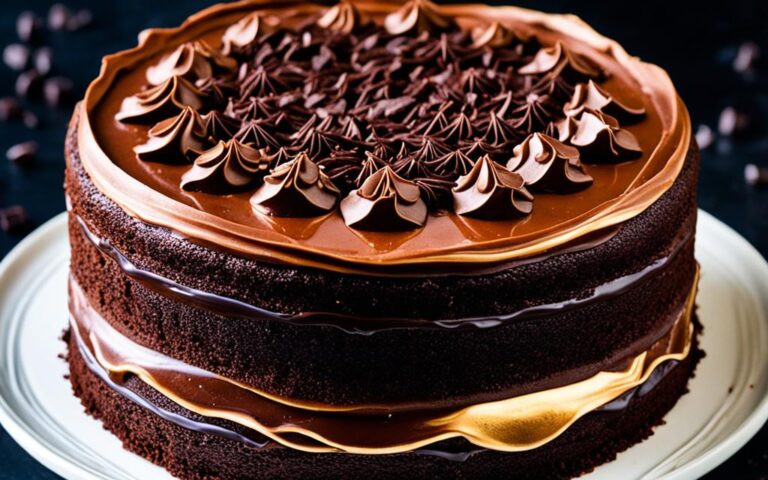
Chocolate cakes offer endless options, especially with pink icing. We’ll show you various recipes, flavors, and decorating tips. You’ll learn to make moist, decadent cakes like Hershey’s Black Magic Cake. Plus, we’ll help you create the perfect pink icing.
Get ready for a baking journey full of chocolate scents and pink icing’s bold color. We have expert advice to make your cakes turn out just right. Learn the best ways to measure ingredients and whip up a fluffy pink icing. We’ll also teach you how to decorate your masterpiece beautifully.
Whether you’re an experienced baker or new to baking, this is the place for stunning cakes. Let your imagination go wild as you bake a cake that tastes amazing and looks like art. Show off your skills, and create memories with your delicious creations.
Chocolate Cake Recipes with Pink Icing
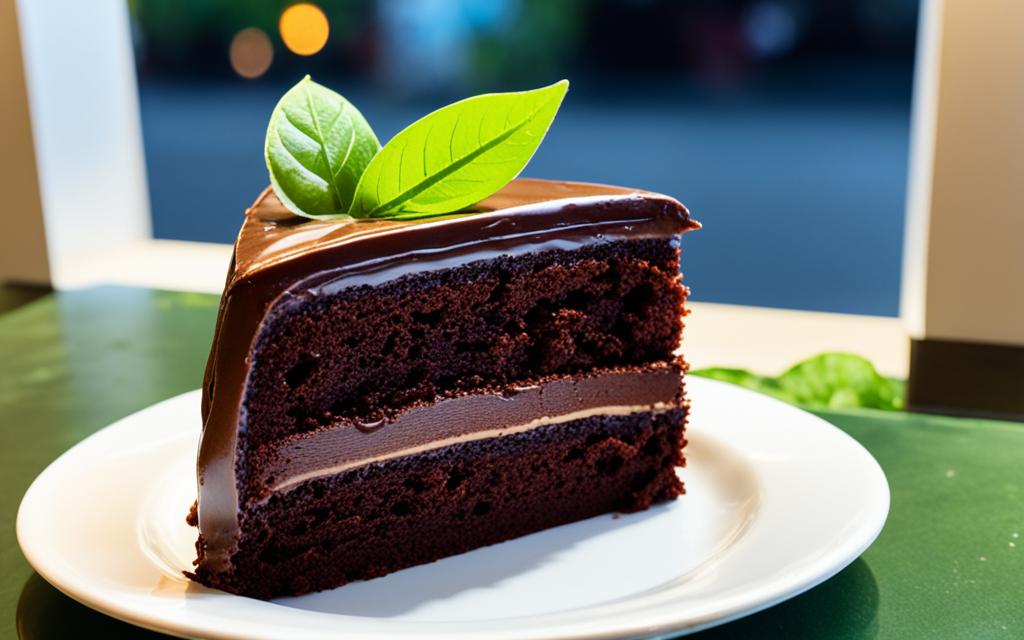
Let’s explore tasty chocolate cake recipes that go great with pink icing. The Hershey’s Black Magic Cake is a favorite for its soft, moist feel. It uses brewed coffee to enhance the chocolate’s taste without making it too sweet. We’ll guide you through making this fantastic cake and adding a bright pink peppermint icing.
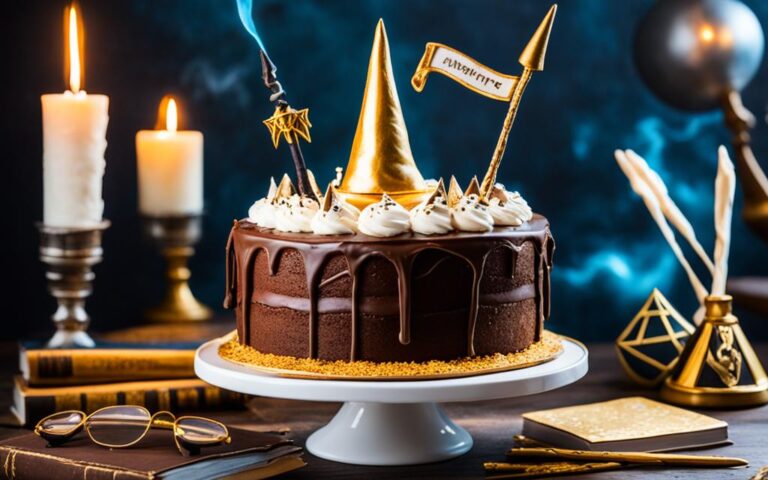
You’ll also learn how to decorate with peppermints, meringues, and mint star cookies.
“The Hershey’s Black Magic Cake is a decadent treat blending chocolate and coffee. With its vibrant pink peppermint topping, it’s a real eye-catcher. You’ll impress everyone with its unique flavors and stunning look!”
Step-by-Step Hershey’s Black Magic Cake Recipe:
- Preheat the oven to 350°F and grease and flour your cake pans.
- In a large mixing bowl, whisk together the dry ingredients: all-purpose flour, sugar, cocoa powder, baking soda, baking powder, and salt.
- Add the wet ingredients: eggs, buttermilk, vegetable oil, and vanilla extract. Mix until smooth.
- Gradually pour in the hot brewed coffee, stirring constantly.
- Divide the batter evenly between the prepared cake pans.
- Bake for 30-35 minutes, or until a toothpick inserted into the center comes out clean.
- Let the cakes cool completely before removing them from the pans.
- Prepare the pink peppermint frosting by beating softened butter, powdered sugar, peppermint extract, and pink food coloring until light and fluffy.
- Place one cake layer on a serving plate and spread a generous amount of the pink frosting on top.
- Repeat with the second cake layer, then frost the sides of the cake.
- Garnish with crushed peppermints, meringues, and chocolate-covered mint star cookies for an extra touch of elegance.
Variations:
If you want to make the Hershey’s Black Magic Cake your own, try these twists:
- Add a layer of fresh berries for a fruity surprise.
- Try a creamy strawberry or raspberry buttercream instead of pink peppermint.
- Add edible glitter or gold leaf for some sparkle.
Prepare to dazzle with a Hershey’s Black Magic Cake that’s both rich and beautiful. This moist cake combines bold flavors with lovely pink icing. It’s perfect for celebrations, making a big impression every time.
| Ingredients: | Instructions: |
|---|---|
| Brewed coffee | Preheat the oven to 350°F and grease and flour your cake pans. |
| All-purpose flour | In a large mixing bowl, whisk together the dry ingredients: all-purpose flour, sugar, cocoa powder, baking soda, baking powder, and salt. |
| Sugar | Add the wet ingredients: eggs, buttermilk, vegetable oil, and vanilla extract. Mix until smooth. |
| Cocoa powder | Gradually pour in the hot brewed coffee, stirring constantly. |
| Baking soda | Divide the batter evenly between the prepared cake pans. |
| Baking powder | Bake for 30-35 minutes, or until a toothpick inserted into the center comes out clean. |
| Salt | Let the cakes cool completely before removing them from the pans. |
| Eggs | Prepare the pink peppermint frosting by beating softened butter, powdered sugar, peppermint extract, and pink food coloring until light and fluffy. |
| Buttermilk | Place one cake layer on a serving plate and spread a generous amount of the pink frosting on top. |
| Vegetable oil | Repeat with the second cake layer, then frost the sides of the cake. |
| Vanilla extract | Garnish with crushed peppermints, meringues, and chocolate-covered mint star cookies for an extra touch of elegance. |
| Butter | |
| Powdered sugar | |
| Peppermint extract | |
| Pink food coloring |
Tips for Making a Perfect Chocolate Cake with Pink Icing
Making a perfect chocolate cake with pink icing is like an art. It needs you to focus on the little things and be precise. This guide will help you create a cake that not only tastes great but also looks beautiful.
1. Prep the Cake Pans
First, get your cake pans ready. Grease and flour them so your cake won’t stick, or use parchment paper. Don’t forget to add parchment paper strips on the sides, too.
2. Accurate Ingredient Measurements
Getting the ingredient amounts right is key for a perfect cake. Weigh everything with a kitchen scale. This way, your cake will be moist and tasty.
3. Optimal Baking Time and Temperature
Always follow the recipe for baking times and heat. Preheat your oven well and put your pans on the middle shelf. Try not to open the oven too much.
4. Proper Assembly and Frosting Techniques
Make your cake look pro by leveling the tops of the layers. Put some buttercream or ganache between the layers for a strong base. Then, use a spatula to ice your cake evenly.
5. Keep the Cake Moist with a Sugar Syrup Trick
Keep your cake moist by brushing each layer with sugar syrup. Pick a syrup flavor that goes with your cake, like vanilla or coffee. This will also make your cake tastier.
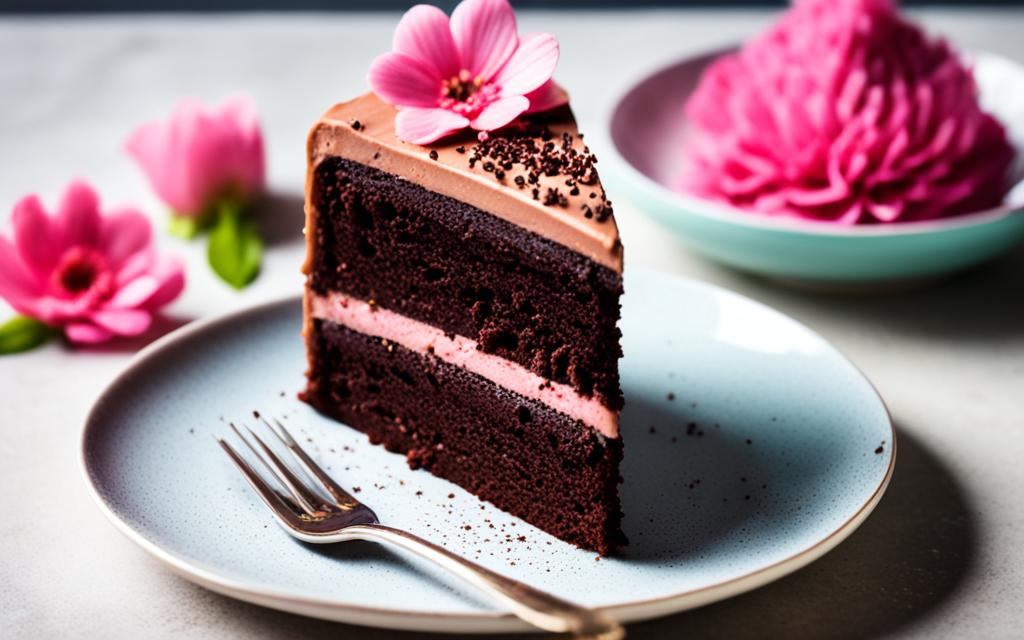
“Baking is about so much more than following a recipe. It’s about the memories and joy you share with loved ones through delicious treats.”
Remember, making the perfect cake takes time. Don’t worry if your first cake doesn’t turn out just right. Keep trying new recipes and frosting styles to discover what you love. With a little practice, you will be making amazing chocolate cakes with pink icing.
Conclusion
We hope you’ve found some great ideas in this article for a beautiful chocolate cake with pink icing. It’s a fun project for bakers of any level. Mixing chocolate’s deep flavor with the bright pink icing is truly special.
There are many recipes to try, like the famous Hershey’s Black Magic Cake. Or, you can get creative with different flavors and designs. Your cake will be unique, showing your style and skill.
Whether it’s a special day or you’re craving chocolate, this cake will please anyone. So, get your apron on, gather your ingredients, and start baking. Enjoy the fun of making your cake stand out. Happy baking!
FAQ
Can I use a different type of cake instead of chocolate?
Yes, different cakes can be used for your dessert’s base. Just remember, the taste and texture might change. This depends on the cake recipe you pick.
How do I make the pink icing?
Making pink icing is easy. Just add a bit of food coloring to a basic buttercream icing. Mix until you get the pink color you want. You can also buy pink icing from a store.
Can I use natural food coloring for the pink icing?
Sure, natural food coloring works great for pink icing. Beet juice, strawberry puree, or powdered raspberries are good natural choices. They can color your icing naturally.
How long does it take to bake a chocolate cake?
It takes around 25 to 35 minutes to bake a chocolate cake. The time can change with the recipe or cake pan size. Check if it’s done by sticking a toothpick in the center. If it comes out clean or a bit moist, the cake is ready.
Can I make the chocolate cake in advance?
Yes, you can prepare the chocolate cake early. Store the baked cakes in an airtight container at room temperature for up to three days. Or, freeze them for a longer time. Thaw the frozen cake in the fridge before adding decorations or serving.

