


Top Articles


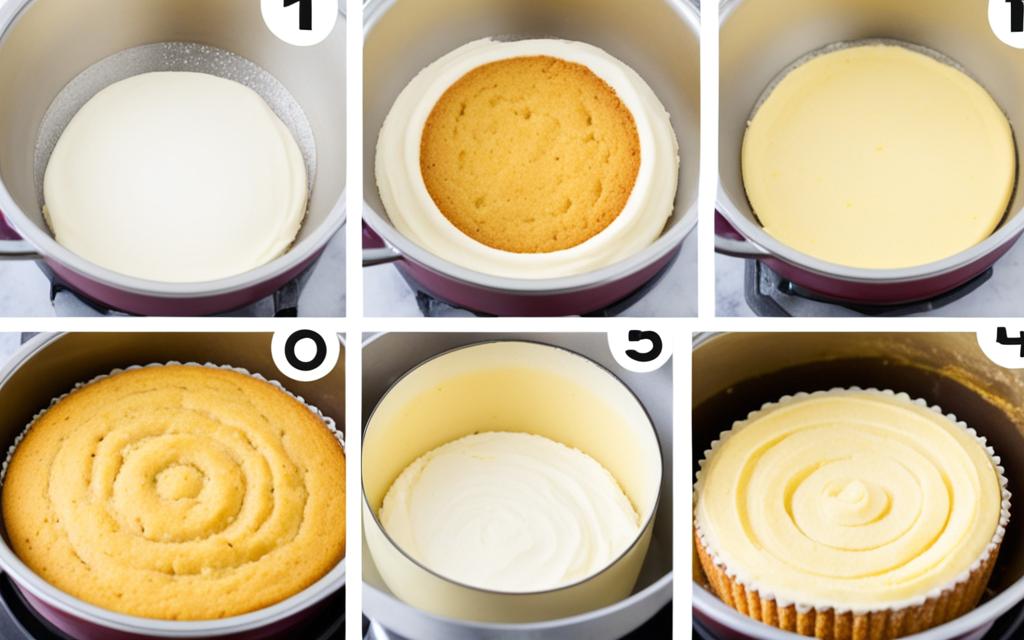
Cakes


Health


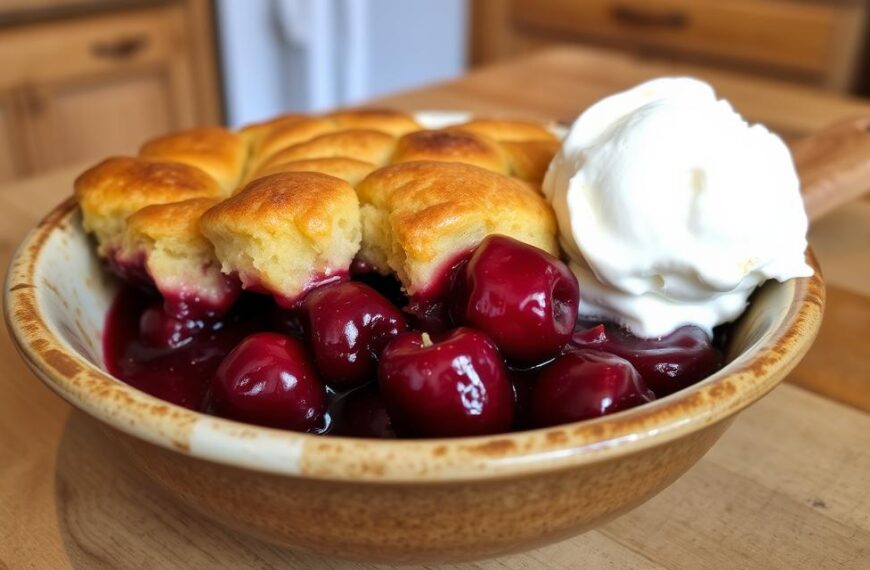
Deserts


Phisical Wellness


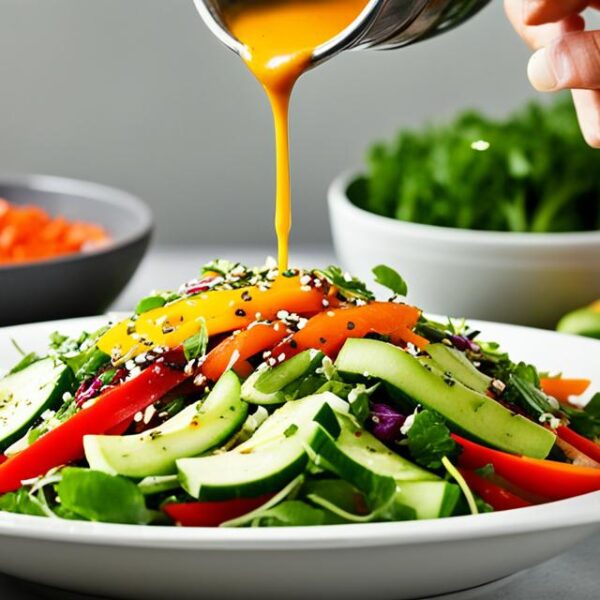
Salads

Pasta Salad with Olive Garden Dressing Recipe
This easy pasta salad recipe is a delightful mix of pasta, fresh veggies, and zesty…

DIY Suddenly Salad Classic Copycat Recipe
Make the classic Suddenly Salad at home with this recipe. This DIY pasta salad is…

Girard’s Champagne Salad Dressing Recipe
Girard’s champagne dressing adds elegance to salads. While the true recipe remains a secret, many…

Just Salad’s Spicy Avocado Dressing Recipe
Want to make your salad pop? Try Just Salad’s Spicy Avocado Dressing. This smooth mix…

Classic Mayfair Salad Dressing Recipe
Explore the classic taste of the Classic Mayfair Salad Dressing recipe. Inspired by St. Louis’…

Pittsburgh Salad with Riviera Dressing Recipe
The Pittsburgh salad is a favorite in the steel city. It’s a simple dish. It…
