Feel like making a snack that’s both easy and yummy? This easy recipe for chocolate chip fairy cakes is perfect. It’s great for when you want to bake for fun or for a party. Everyone will love these little cakes.
You only need a few things like margarine, caster sugar, and chocolate chips. These ingredients make a great cake. It’s easy to do, so it’s perfect for new or experienced bakers.
First, heat your oven. Then mix the margarine and sugar until they look nice and smooth. Add eggs and vanilla to make the batter smell lovely.
In another bowl, mix flour and baking powder. Add this slowly to the wet mix and your batter is ready. It should be light and fluffy.
Now, fold in the chocolate chips. Make sure they’re spread out in the batter. Then pour the mix into cupcake cases.
Put the cakes in the oven and wait for the magic. Your home will smell amazing as they bake. When they’re golden and springy, they’re done.
Ingredients and Method for Chocolate Chip Fairy Cakes
To start, gather the ingredients for chocolate chip fairy cakes:
Margarine
Caster sugar
Self-raising flour
Eggs
Vanilla extract
Baking powder
Chocolate chips
Now, let’s follow the steps to make them:
First, preheat your oven to the right temperature.
Next, grease your baking tin well to prevent sticking.
Then, in a bowl, cream the margarine and sugar until light and fluffy.
Beat in the eggs and vanilla with this mixture well.
After that, sift in the flour and baking powder gradually.
Also, fold in the chocolate chips evenly throughout.
Now, spoon the mix into the cupcake cases, filling each most of the way.
Finally, bake until they’re golden and a toothpick comes out clean when inserted.
Your chocolate chip fairy cakes are now done. They’re perfect for any event. Try topping them with sprinkles or fresh fruit to add your unique touch.
Tips and Variations for Chocolate Chip Fairy Cakes
Want your chocolate chip fairy cakes to be the best they can be? Here are some tips and variations. Use these to make your baking extra special.
Tips
When baking, lightly press the center of a cake. If it springs back, it’s done perfectly. This will make your cakes soft and fluffy every time.
Variations
Want to make your cakes unique? Try different toppings. You can use colorful sprinkles for fun, or fresh fruit for sweetness. The choice is yours, and it adds a special touch to any occasion.
Love chocolate? Make your cakes extra chocolatey by adding cocoa powder. This sweet and rich twist is perfect for chocolate fans.
If you adore chocolate chips, feel free to add more or less. You can customize the recipe to suit your taste.
When your cakes are baked beautifully, add extra flair. A glaze icing and colorful toppings will make them stand out. These cakes will be a hit at any gathering.
FAQ
What are the main ingredients for making chocolate chip fairy cakes?
To make chocolate chip fairy cakes, you’ll need margarine, caster sugar, and more. Don’t forget the self-raising flour, eggs, and vanilla extract. Plus, baking powder and chocolate chips are key.
How do I make chocolate chip fairy cakes?
Start by preheating your oven. Then, cream the margarine and sugar together. Add eggs and vanilla extract. Mix in flour and baking powder. Lastly, fold in the chocolate chips.
Pour the batter into cupcake cases. Bake until they’re golden and springy to the touch.
Can I customize my chocolate chip fairy cakes?
You can totally personalize your fairy cakes. Try different toppings like sprinkles or cut fruit. Mix up the chocolate chip amount, or add cocoa for a richer taste.
If you want them sweeter, top with glaze icing and more sprinkles. So, yes, make them your own with fun touches!
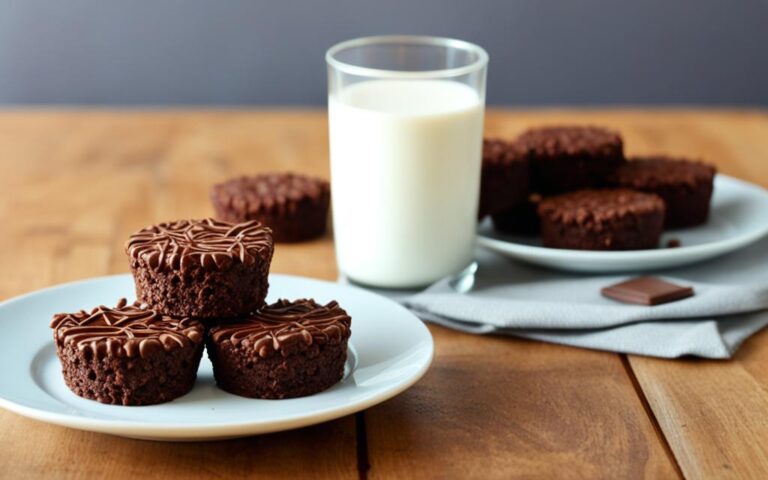
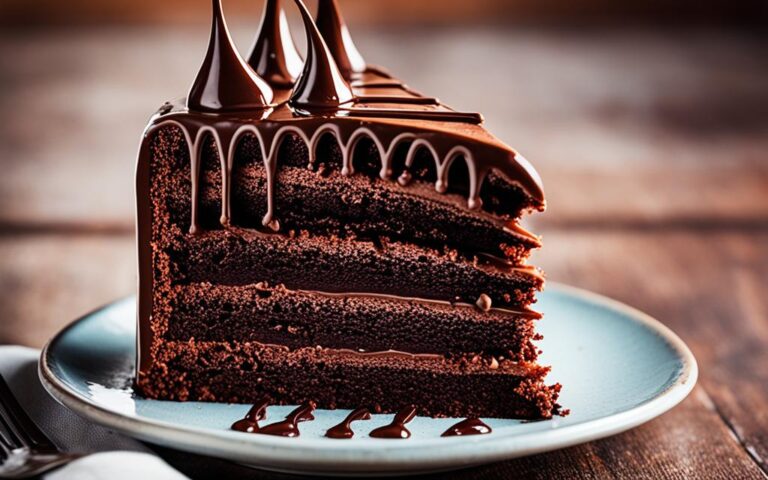
Views: 41Enjoy the mix of rich chocolate taste and crispiness with these chocolate krispie cakes. They’re easy to make and great for your sweet cravings. You just need margarine, sugar, golden syrup, cocoa powder, and Rice Krispies. With these, you’ll make 12 yummy cakes in no time. Start by melting margarine, sugar, and golden syrup…
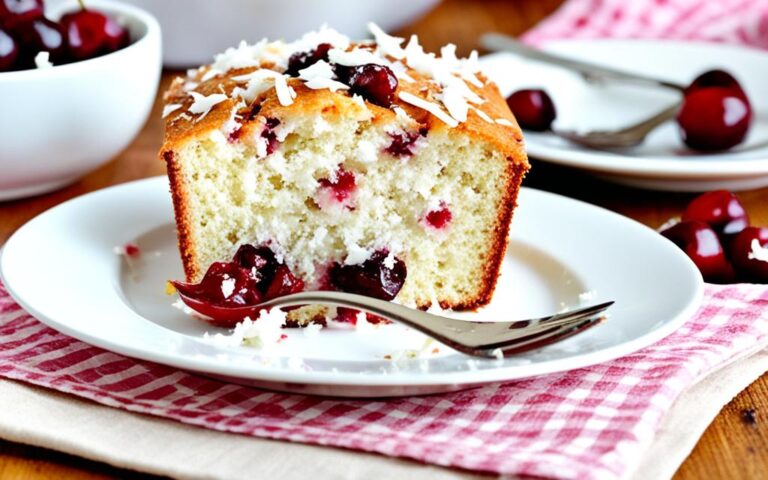
Views: 54Welcome to the wonderful world of baking, where each slice brings joy! Looking for a simple recipe that wows? You’ve found it in this delightful Cherry and Coconut Loaf Cake. It’s a must for afternoon teas, adding both sweetness and style. So, get ready to bake and make some memories! This cake is loved…
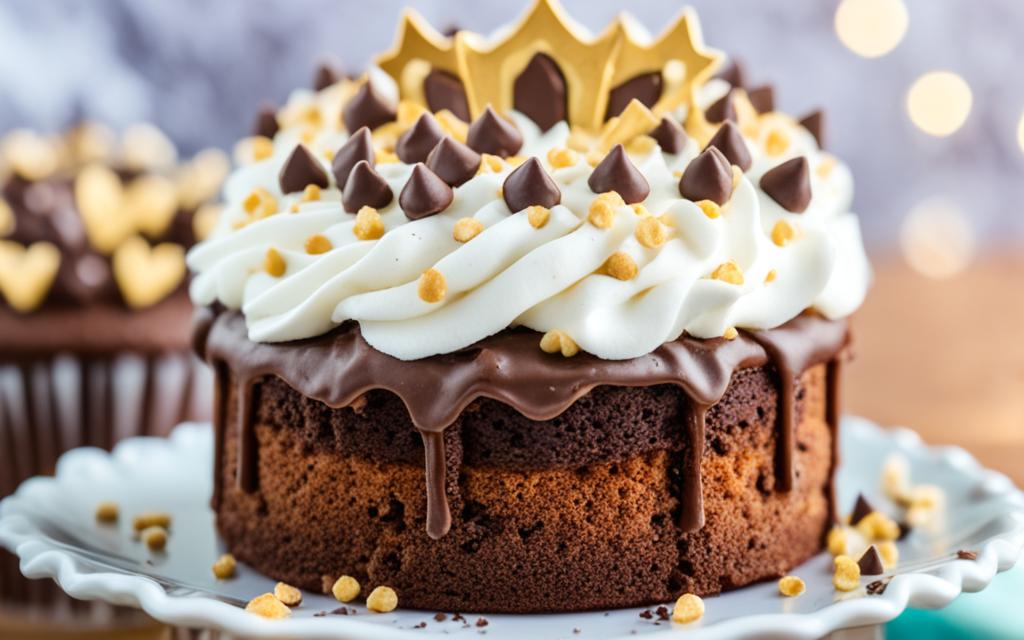
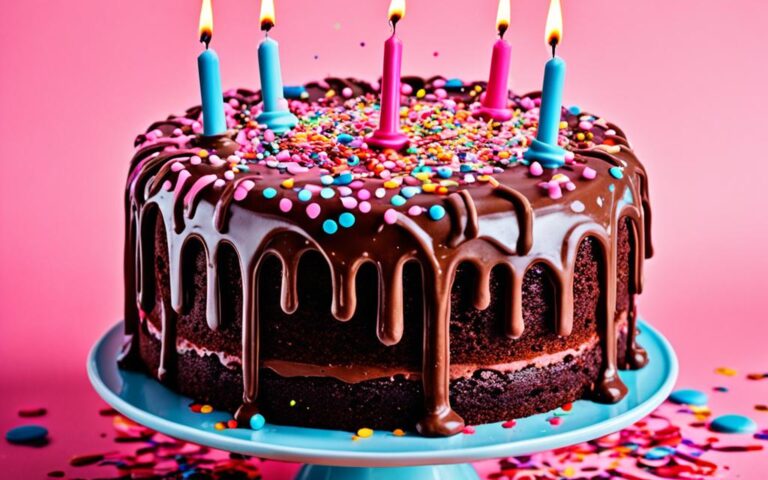
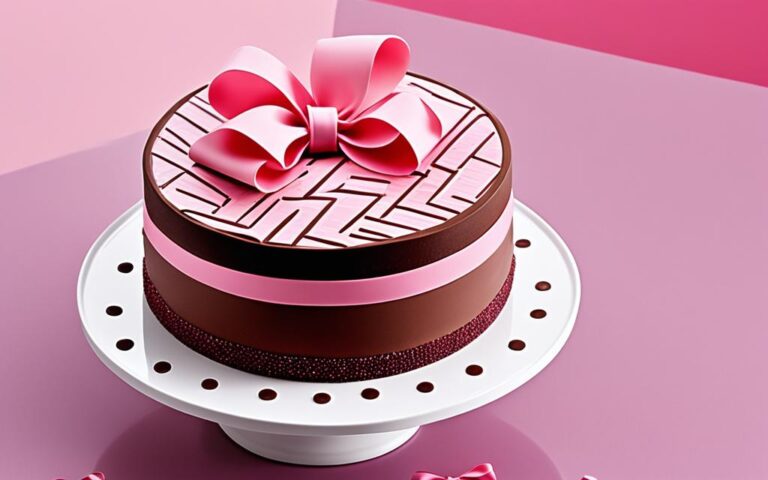
Views: 0A chocolate cake with pink icing is perfect for a Sweet 16 party. It combines rich chocolate flavour with a vibrant pink shade. This adds a feminine touch to the celebration. It’s great for any Sweet 16 or other special parties. You can decorate it with macarons, meringue kisses, and sprinkles. This makes for…
Views: 2Welcome to the delicious world of chocolate cakes with a twist. If you love chocolate cake, you’re in for a special surprise. Imagine biting into a moist chocolate cake with a surprise crunch from chocolate fingers. It’s sure to make your mouth water. We are going on a unique journey into all things chocolate….
Views: 6Welcome to our guide. We’re talking about finding the best chocolate cake in Los Angeles. If you want a delicious slice, you’re in the right spot. We picked the top bakeries and coffee shops in the city. They offer the most delightful chocolate cakes. You’ll find classic cakes and unique flavors to try. Let’s…
Views: 5Chocolate and pink cakes are known for their elegance. They are perfect for birthdays or treats. In this article, we will look at various cake designs and how to craft the best chocolate and pink cakes. This cake brings together the deep taste of chocolate and the light shade of pink. It is both…